Want to start from the beginning? Head to part 1.
Lets walk through preparing a meal sous vide.
For this meal we are going to cook beef. We got a great deal on a whole round cut at our local Kroger. This cut weighs about 4 lbs and should be good for about 4-6 servings (more like 2 if we’re really hungry).
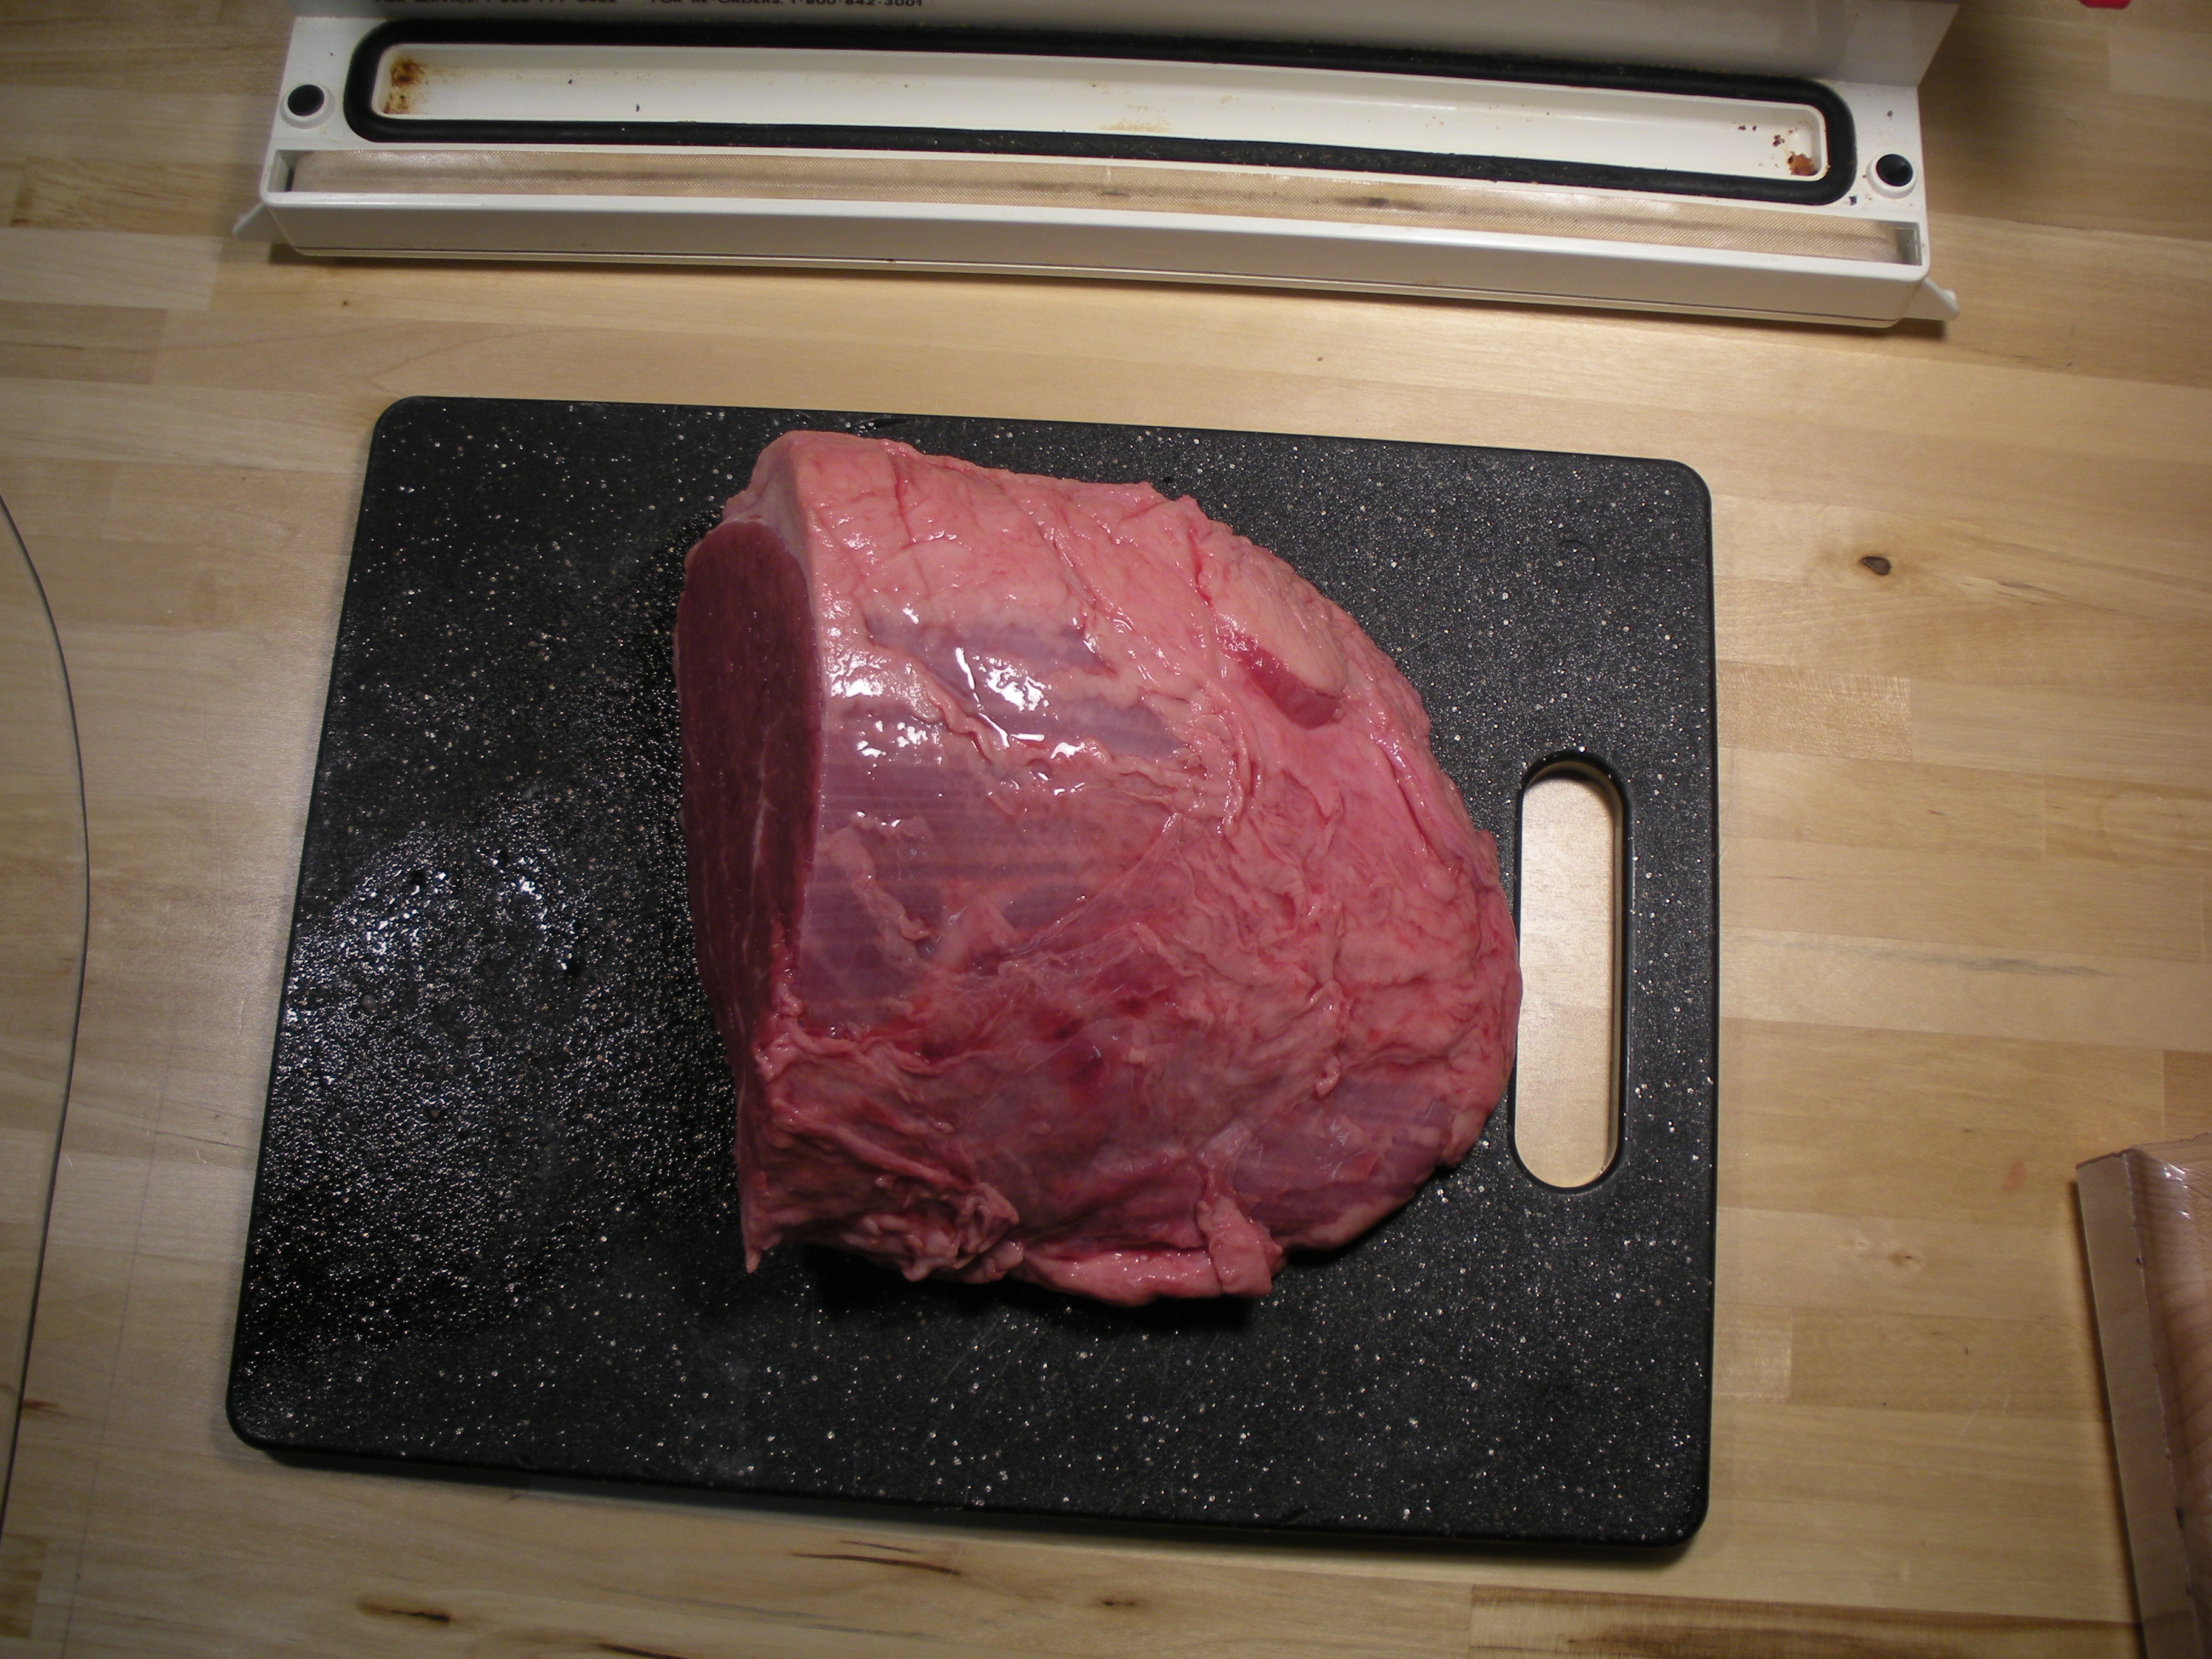
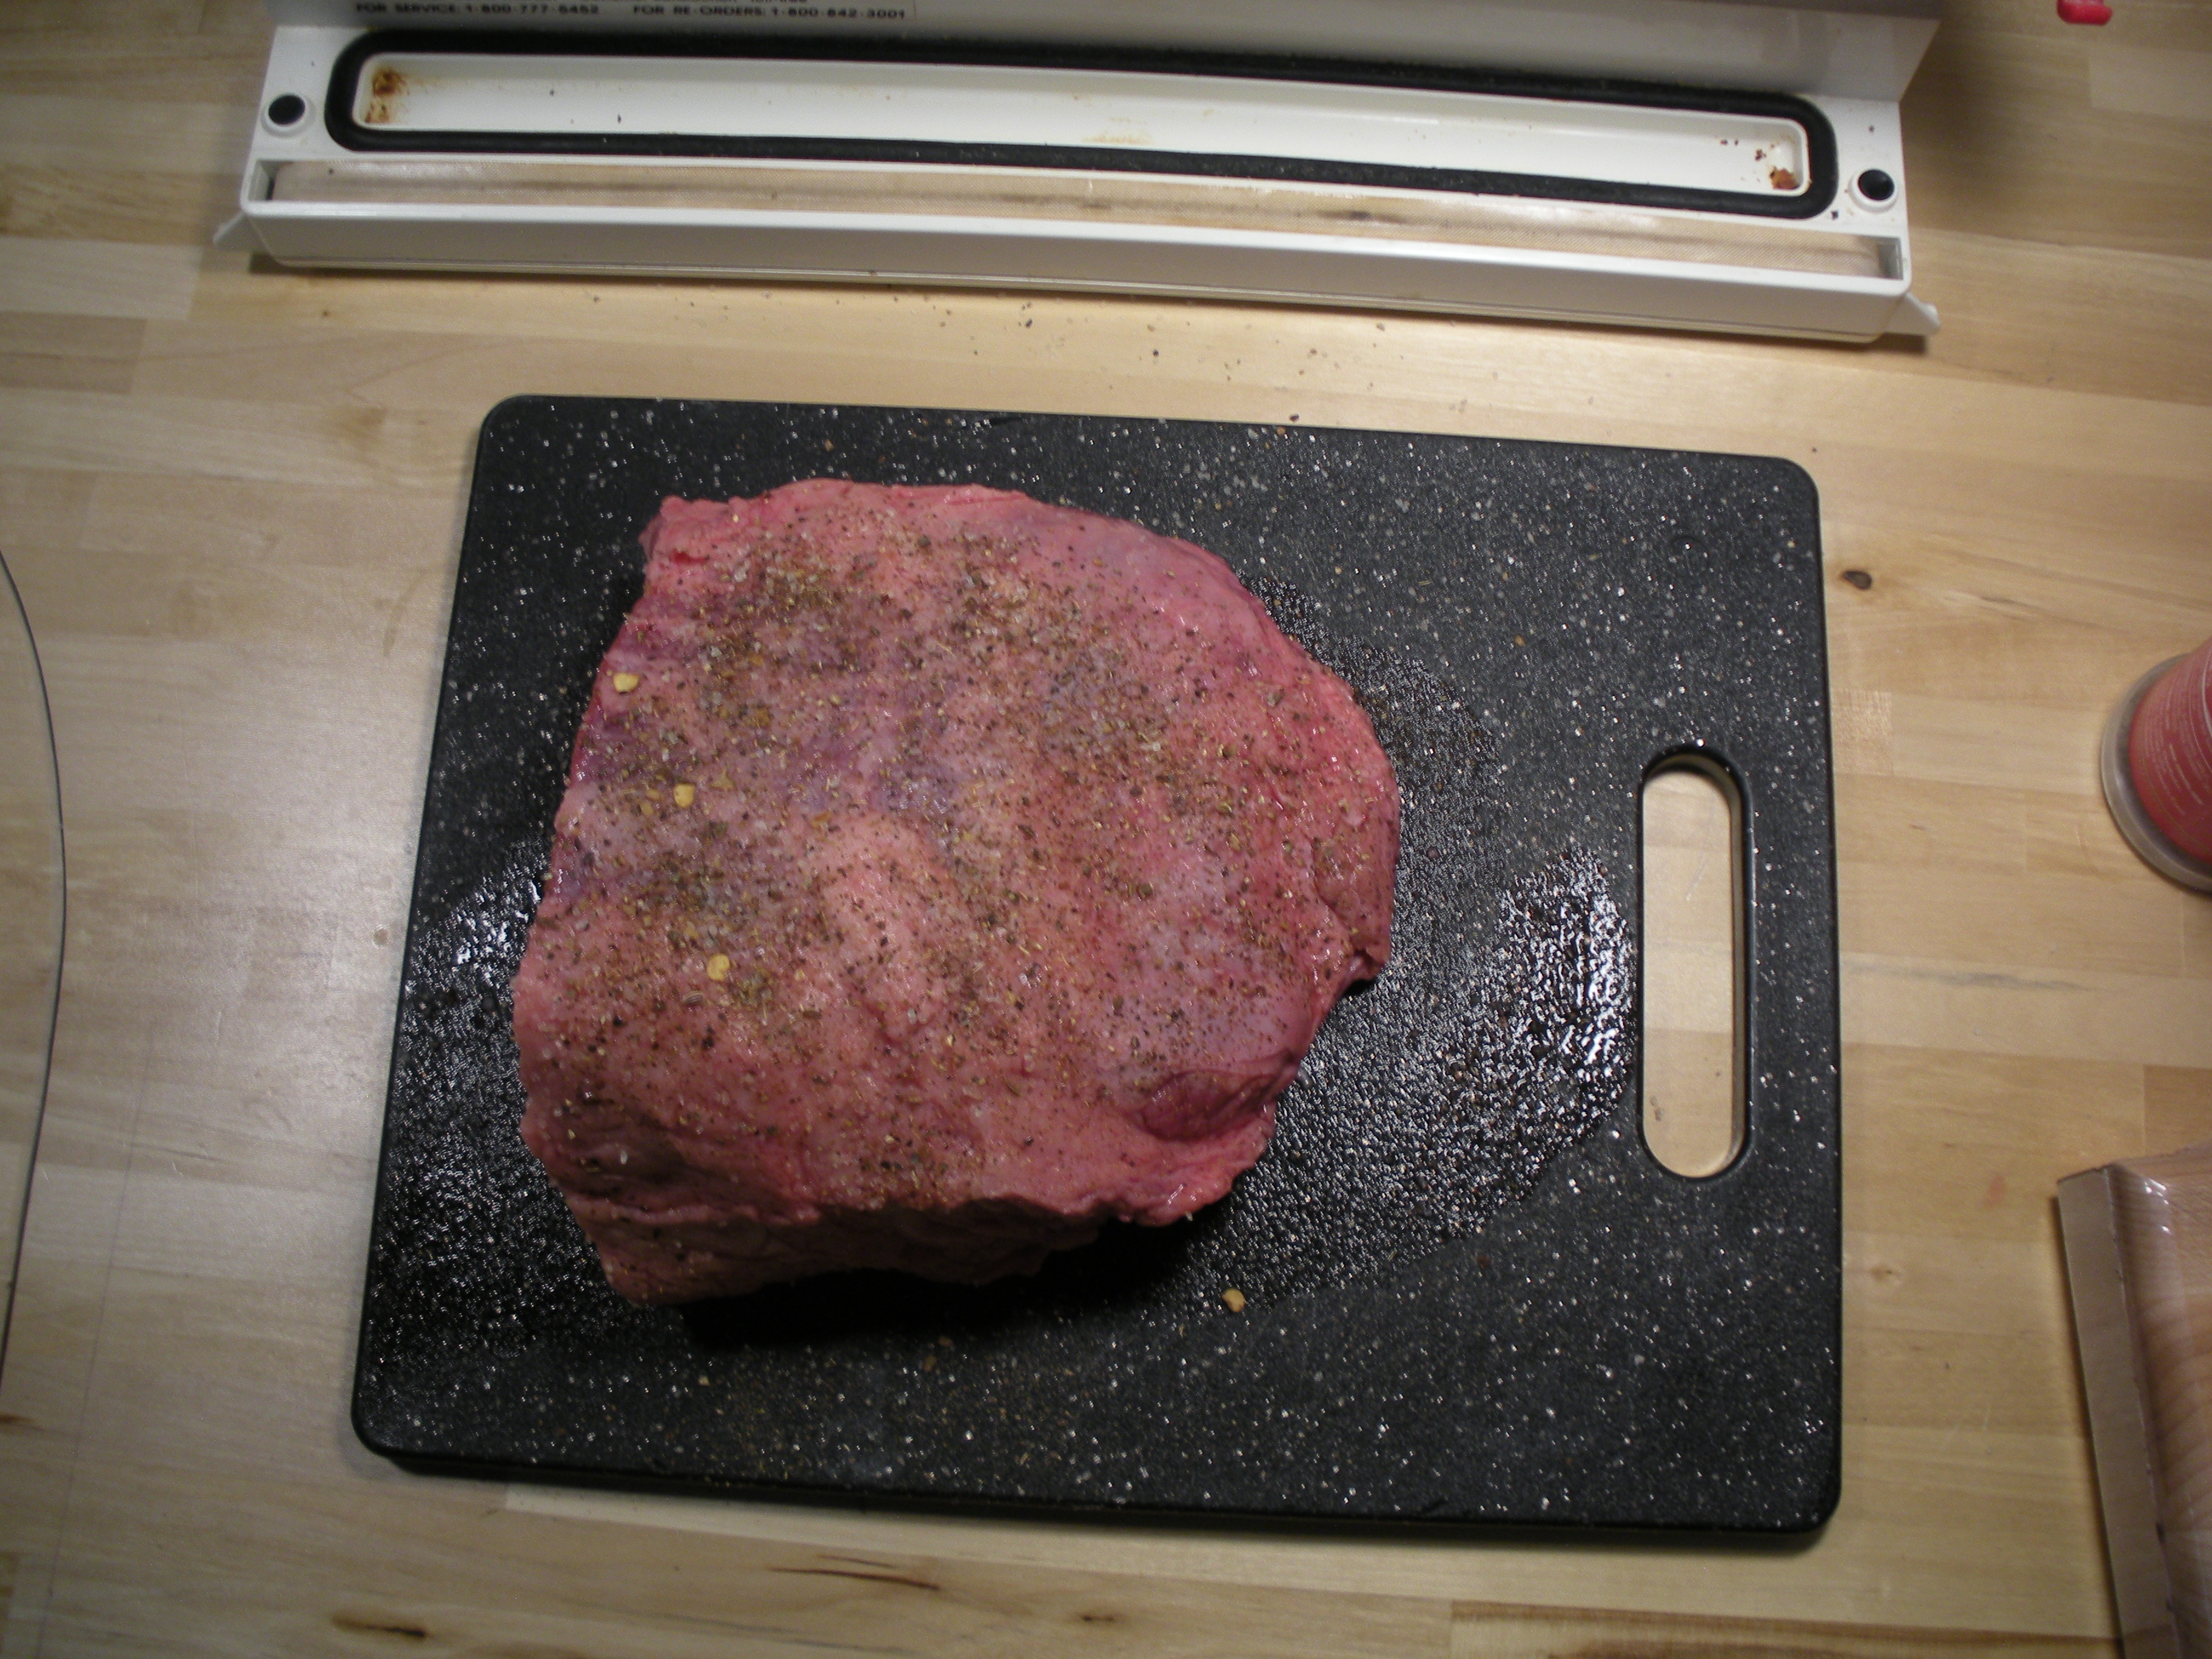
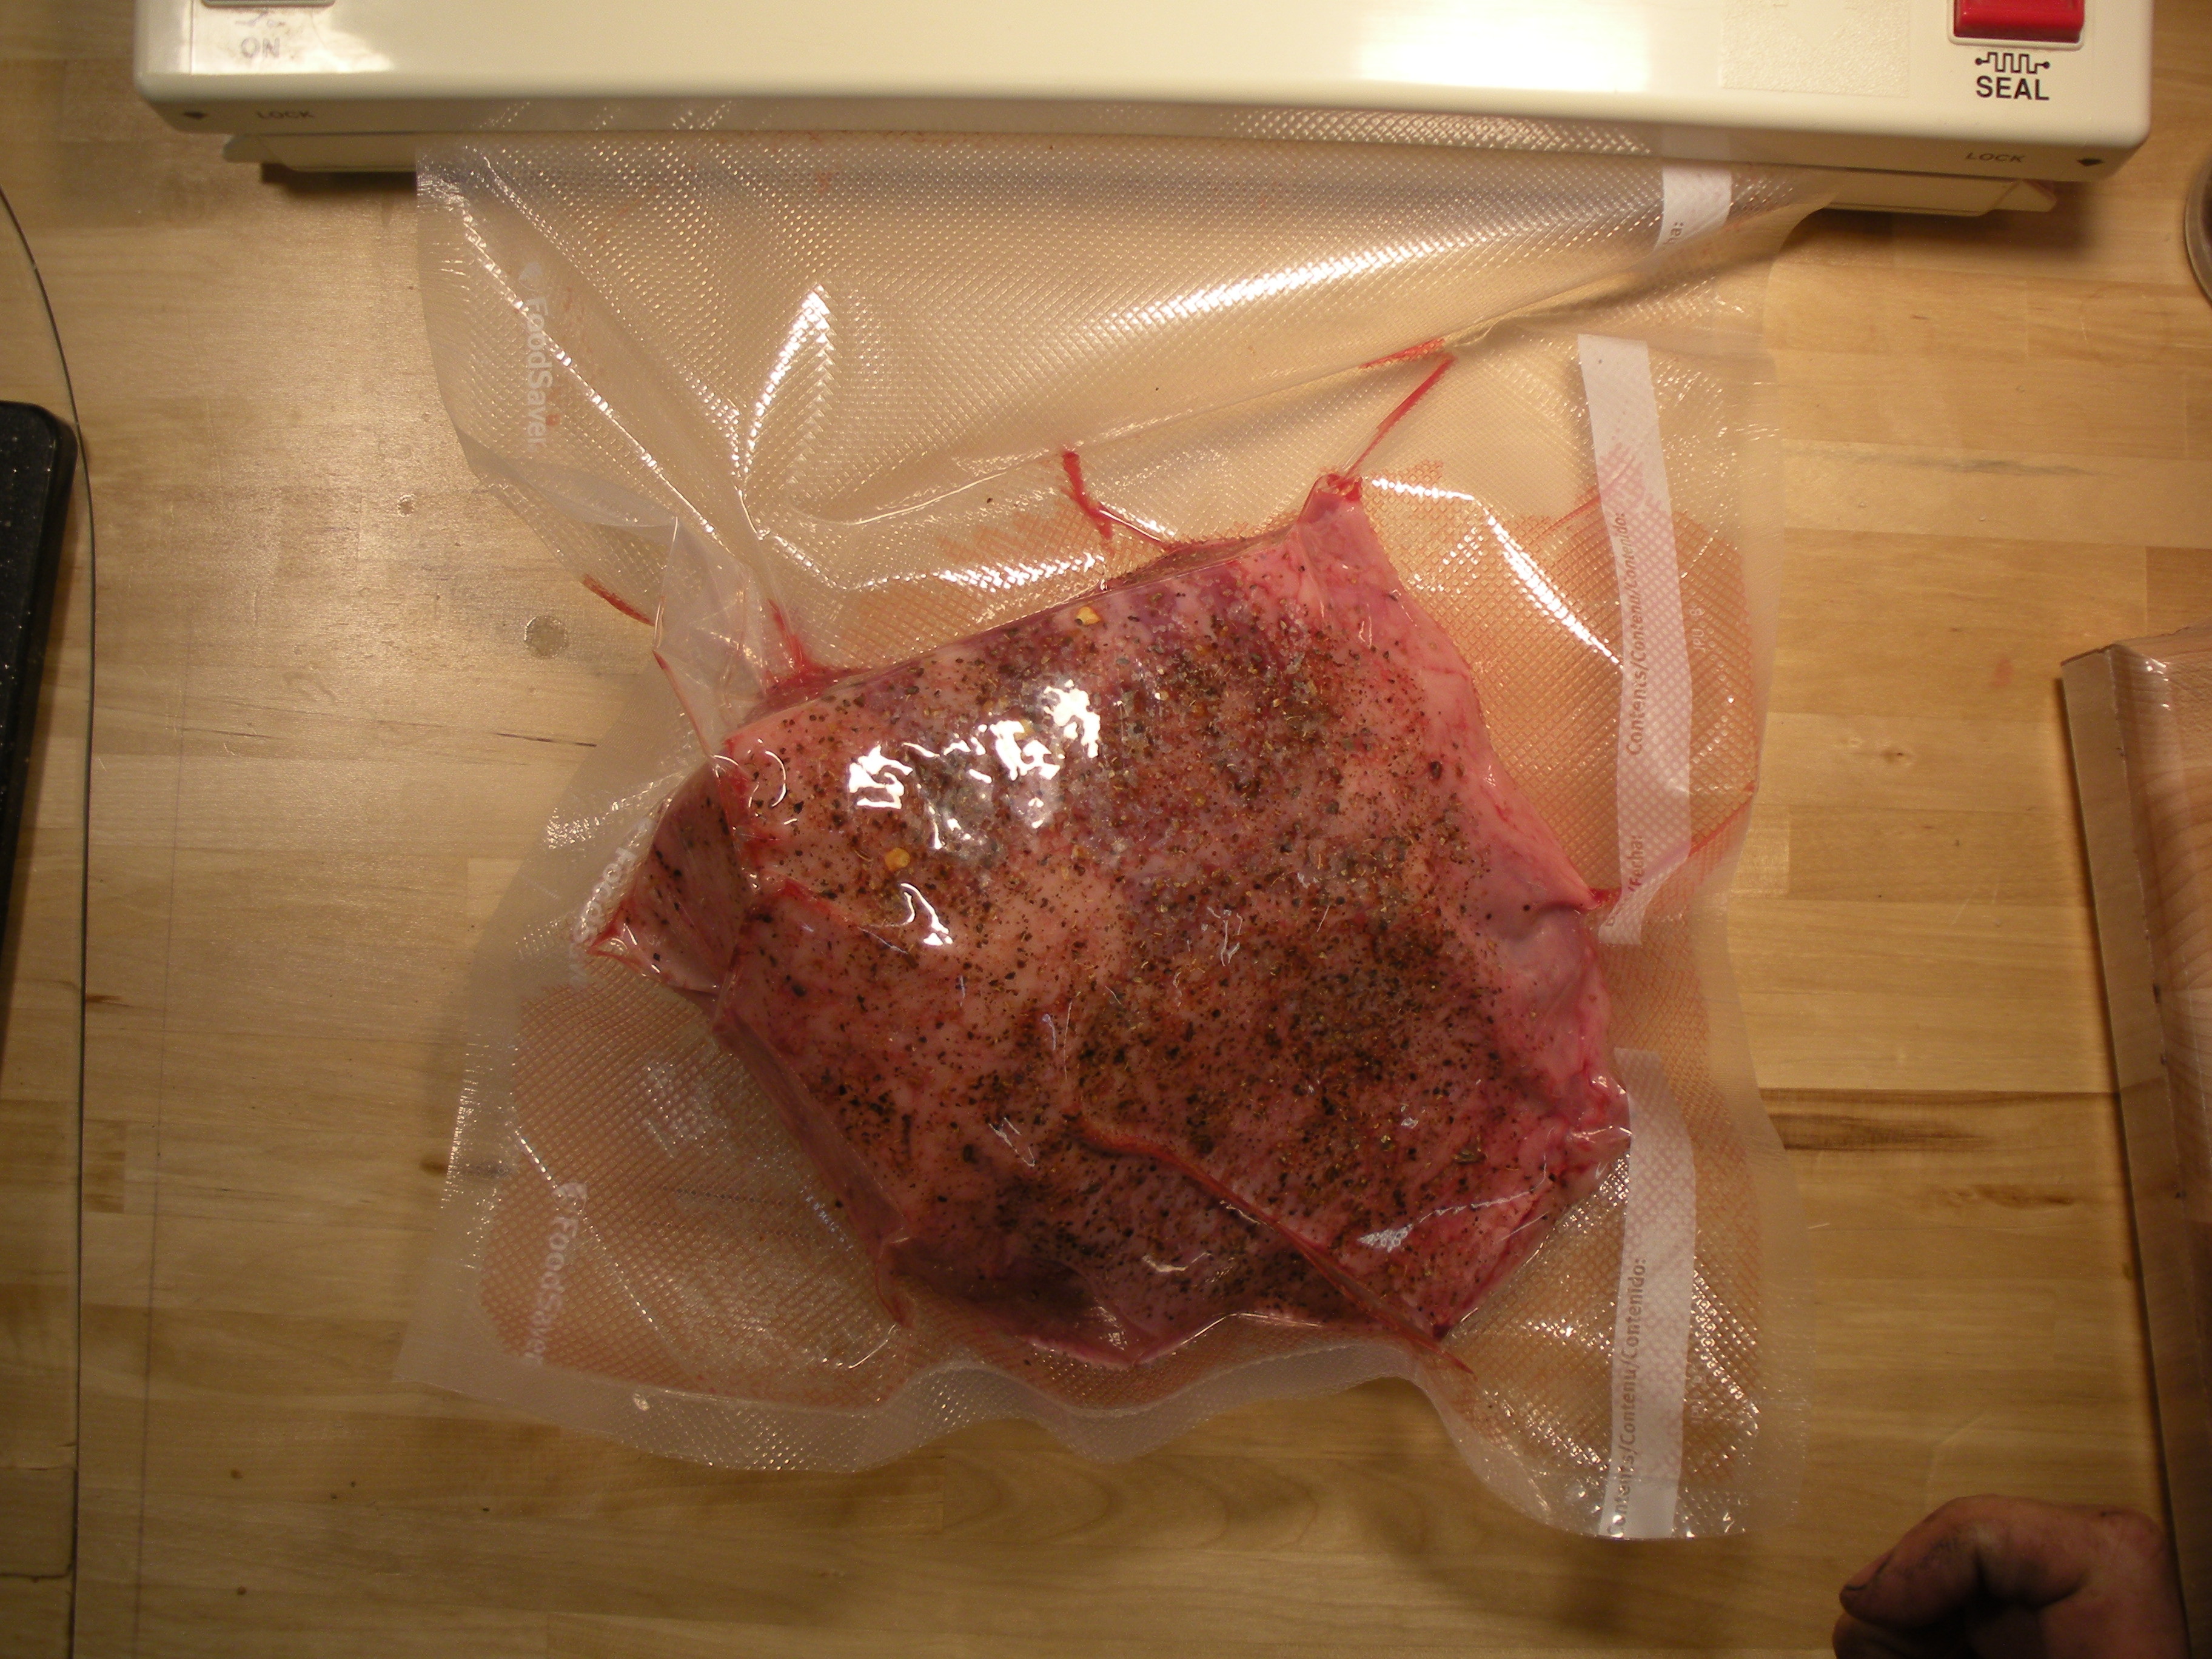
First, season the meat. Keep in mind that flavors will penetrate the meat more strongly than you may find in other forms of cooking, so hold back, maybe 25%, the first time until you decide how you like it. For this cut we are using salt, pepper, and a sprinkle of steak seasoning.

Now your meat is ready to be wrapped and sealed.
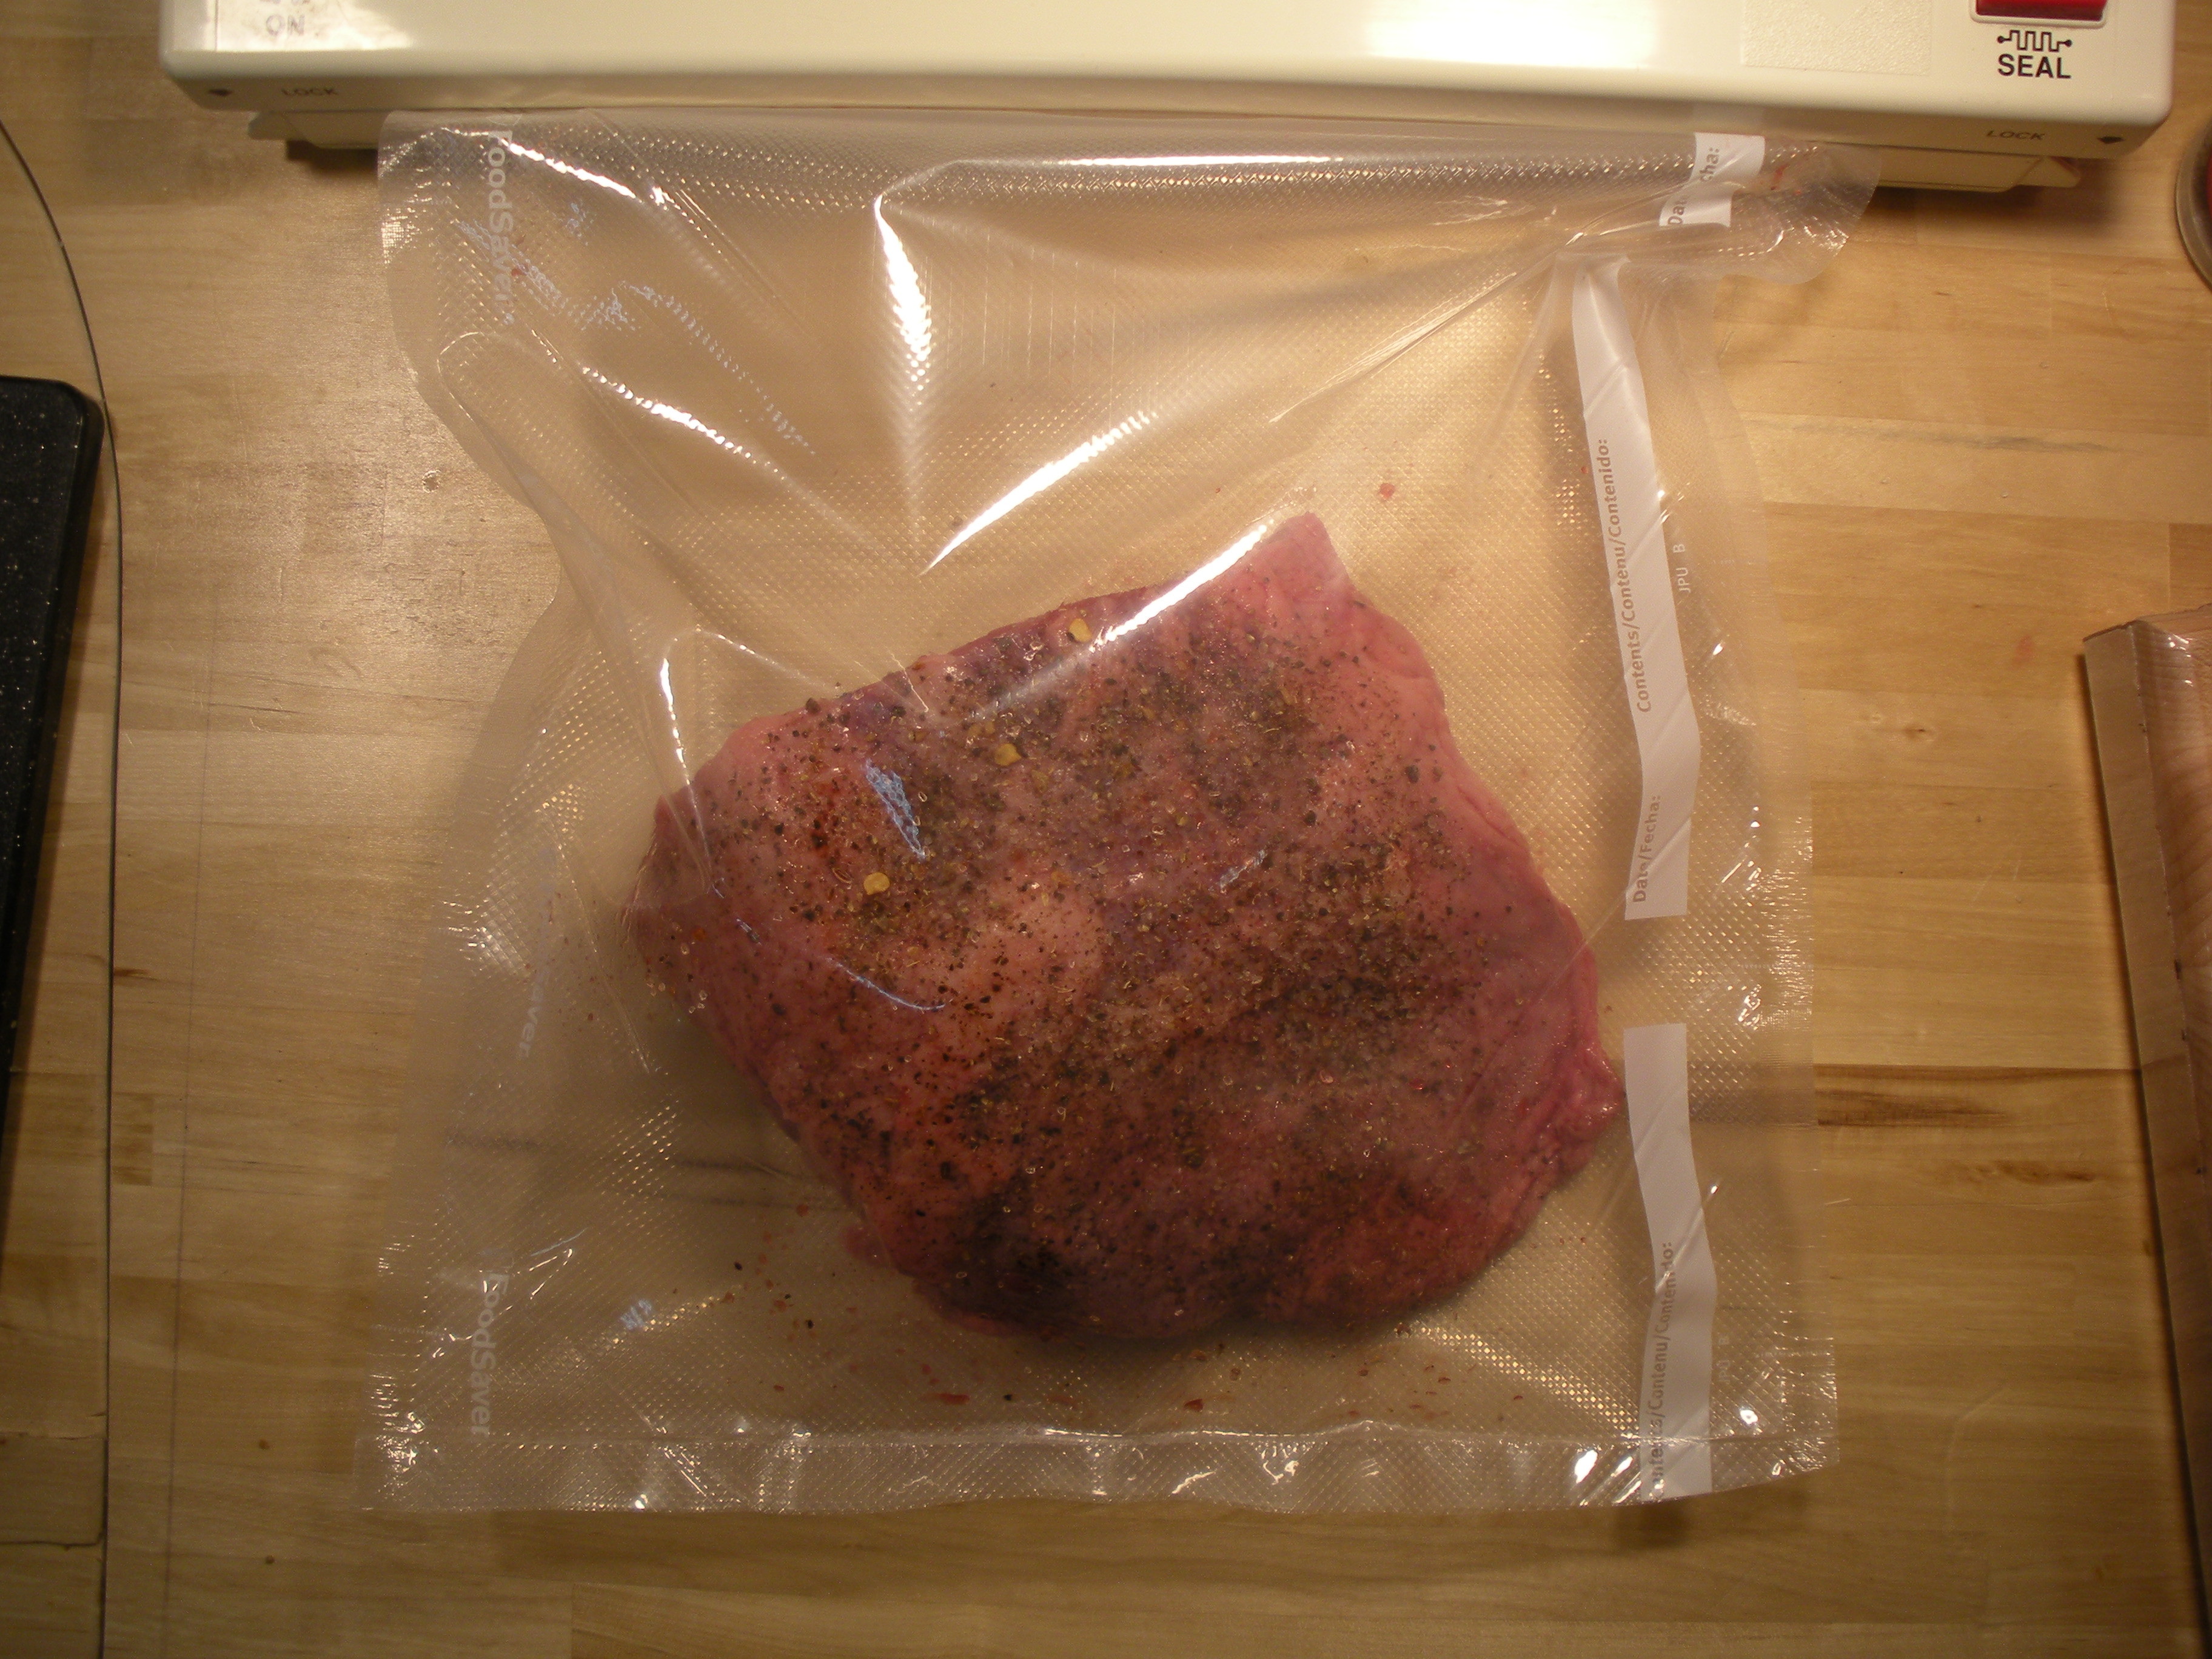
We use FoodSaver “bags”. Vacuum sealing your food is quite easy. First, put the meat in a bag, with at least 2 inches of material above it to allow it to be sealed easily. 3 or 4 inches is even better. You can also buy a roll of the bags and make your own custom lengths, which I prefer.
Now get out your vacuum sealer, like Dave’s “retro” FoodSaver here.
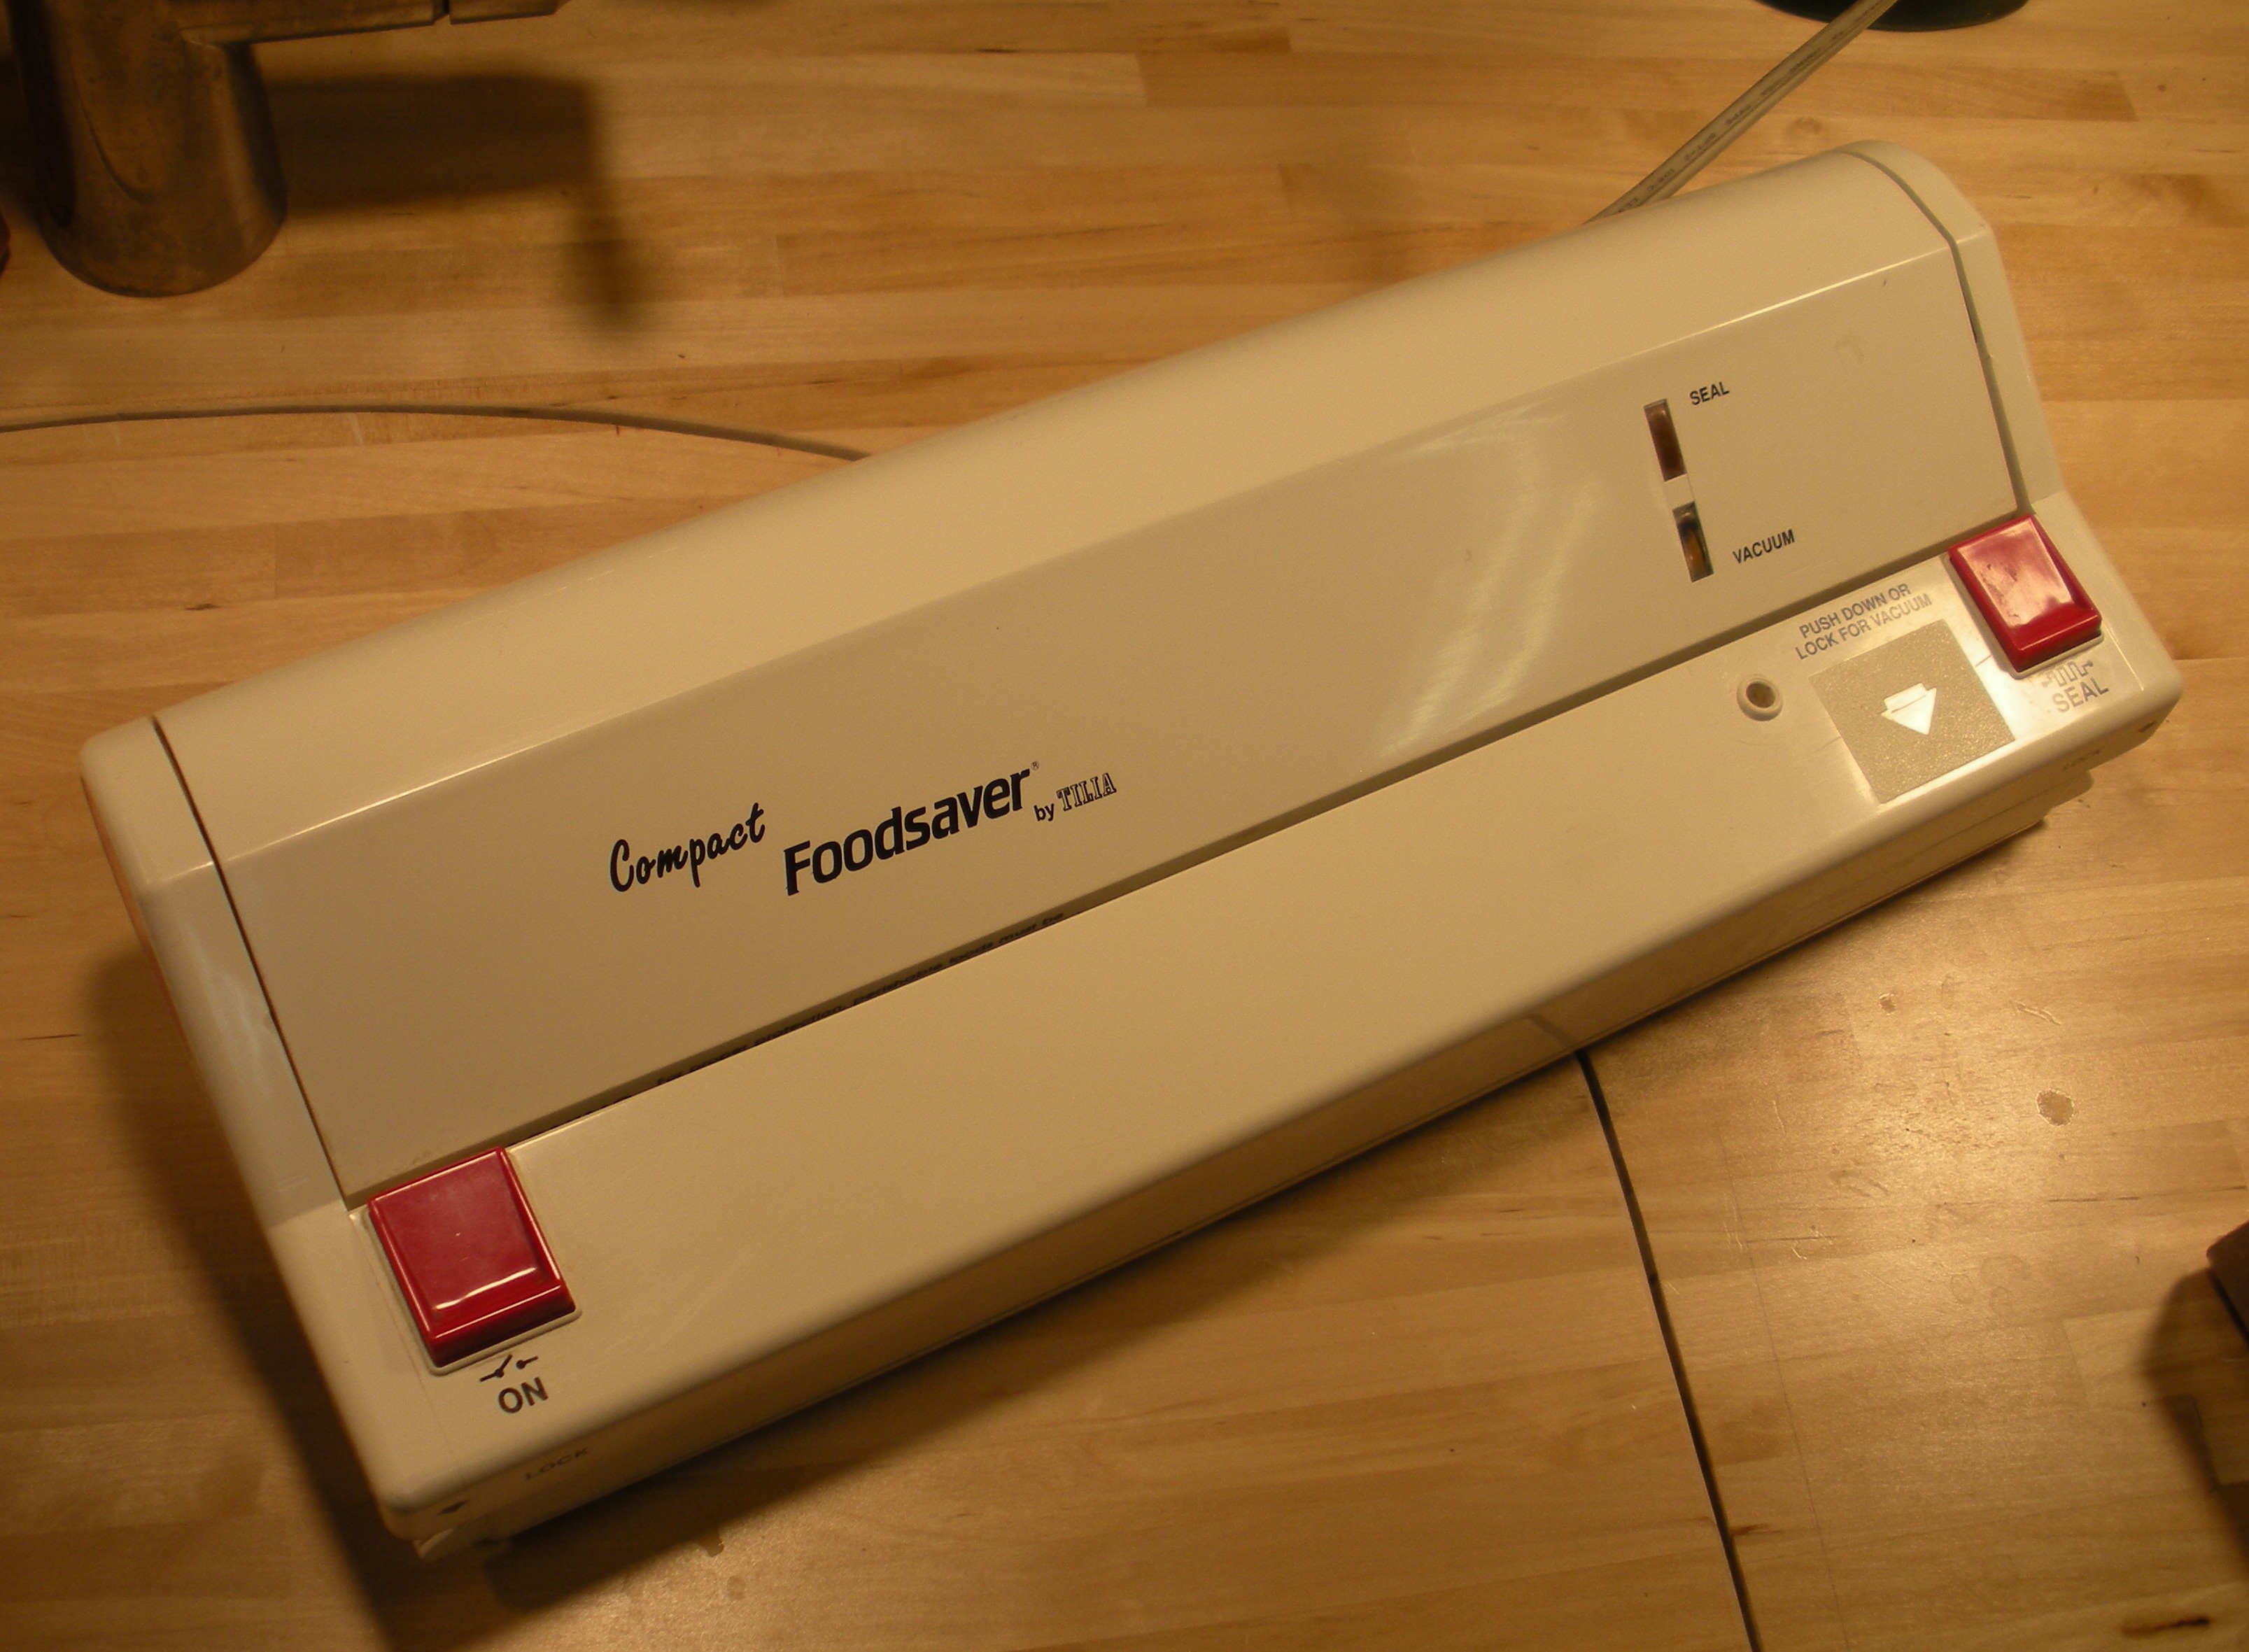
Use the vacuum sealer to suck the air out of the bag and heat seal the end (usually takes 20 seconds).
Notice that the bag end is carefully placed to prevent folded over material which will not heat seal well.
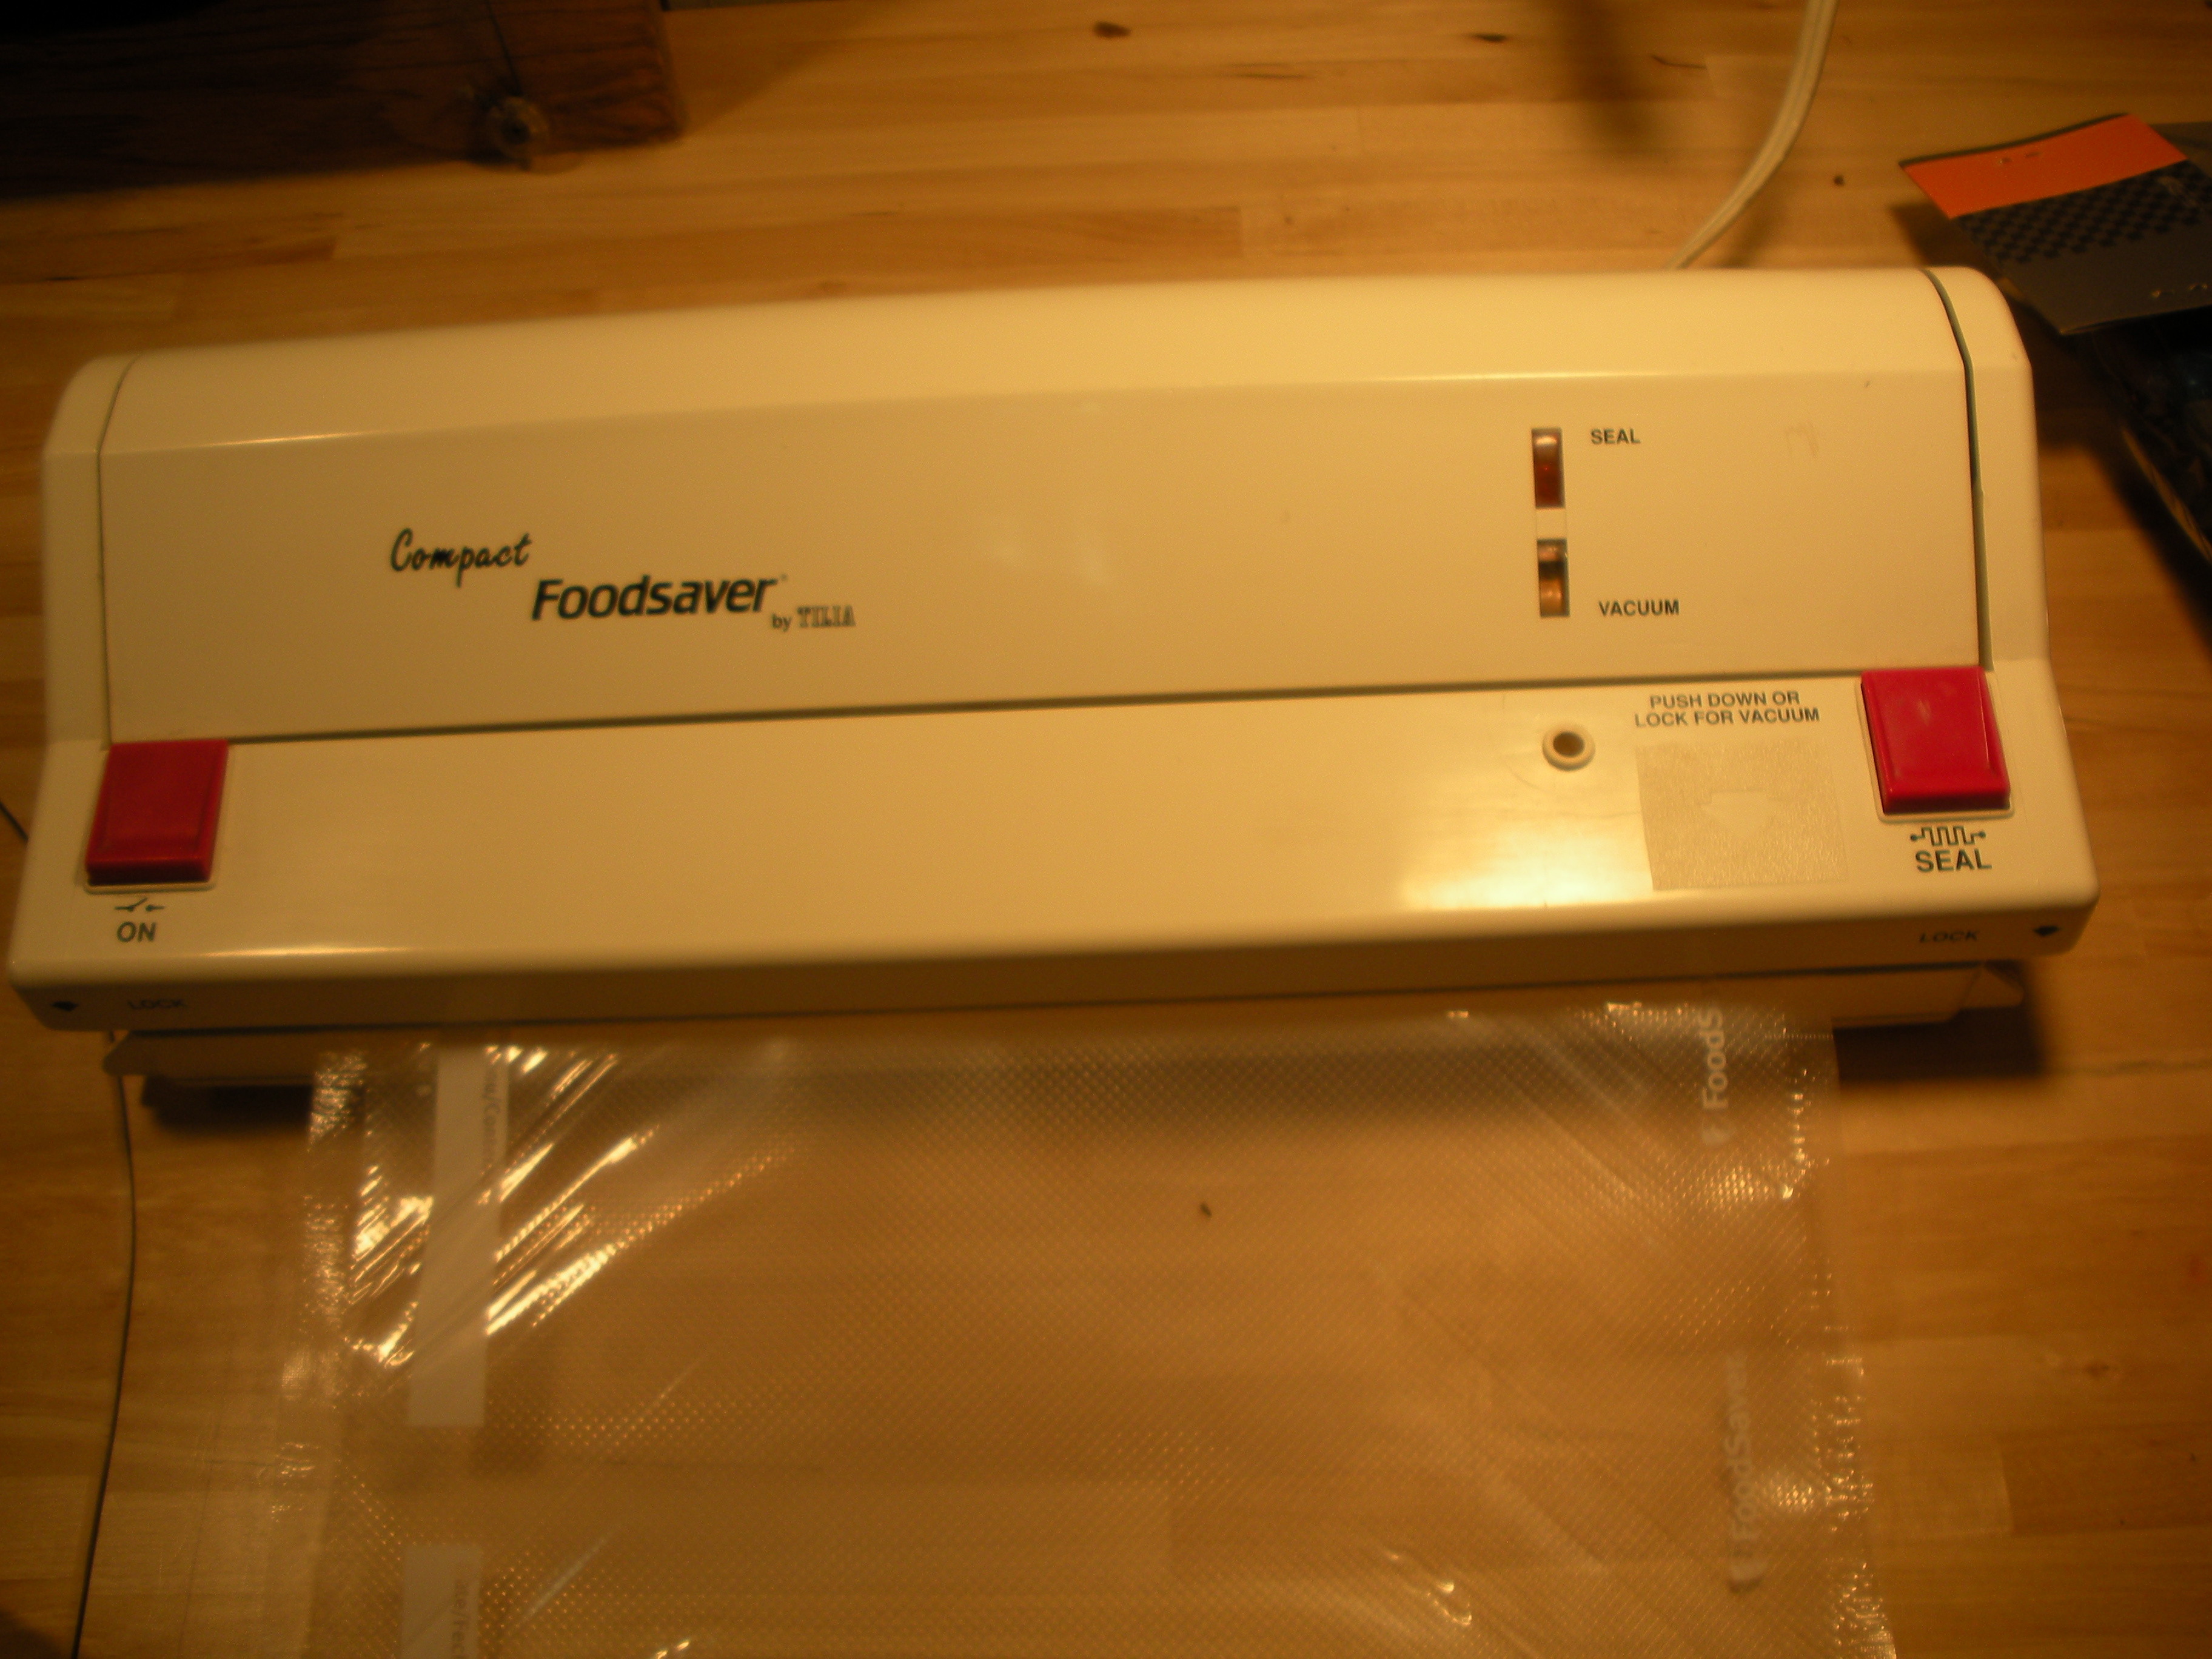
Also note that the vacuum sealer may draw liquid up while it is sealing. This is usually caught in a special tray that should be cleaned. Usually when liquid is making it up to the sealer, it means you have pretty much removed all of the air from the bag, so you can just hit the heat seal button.
So now you have vacuum sealed meat that you can either freeze for later, or get started cooking!
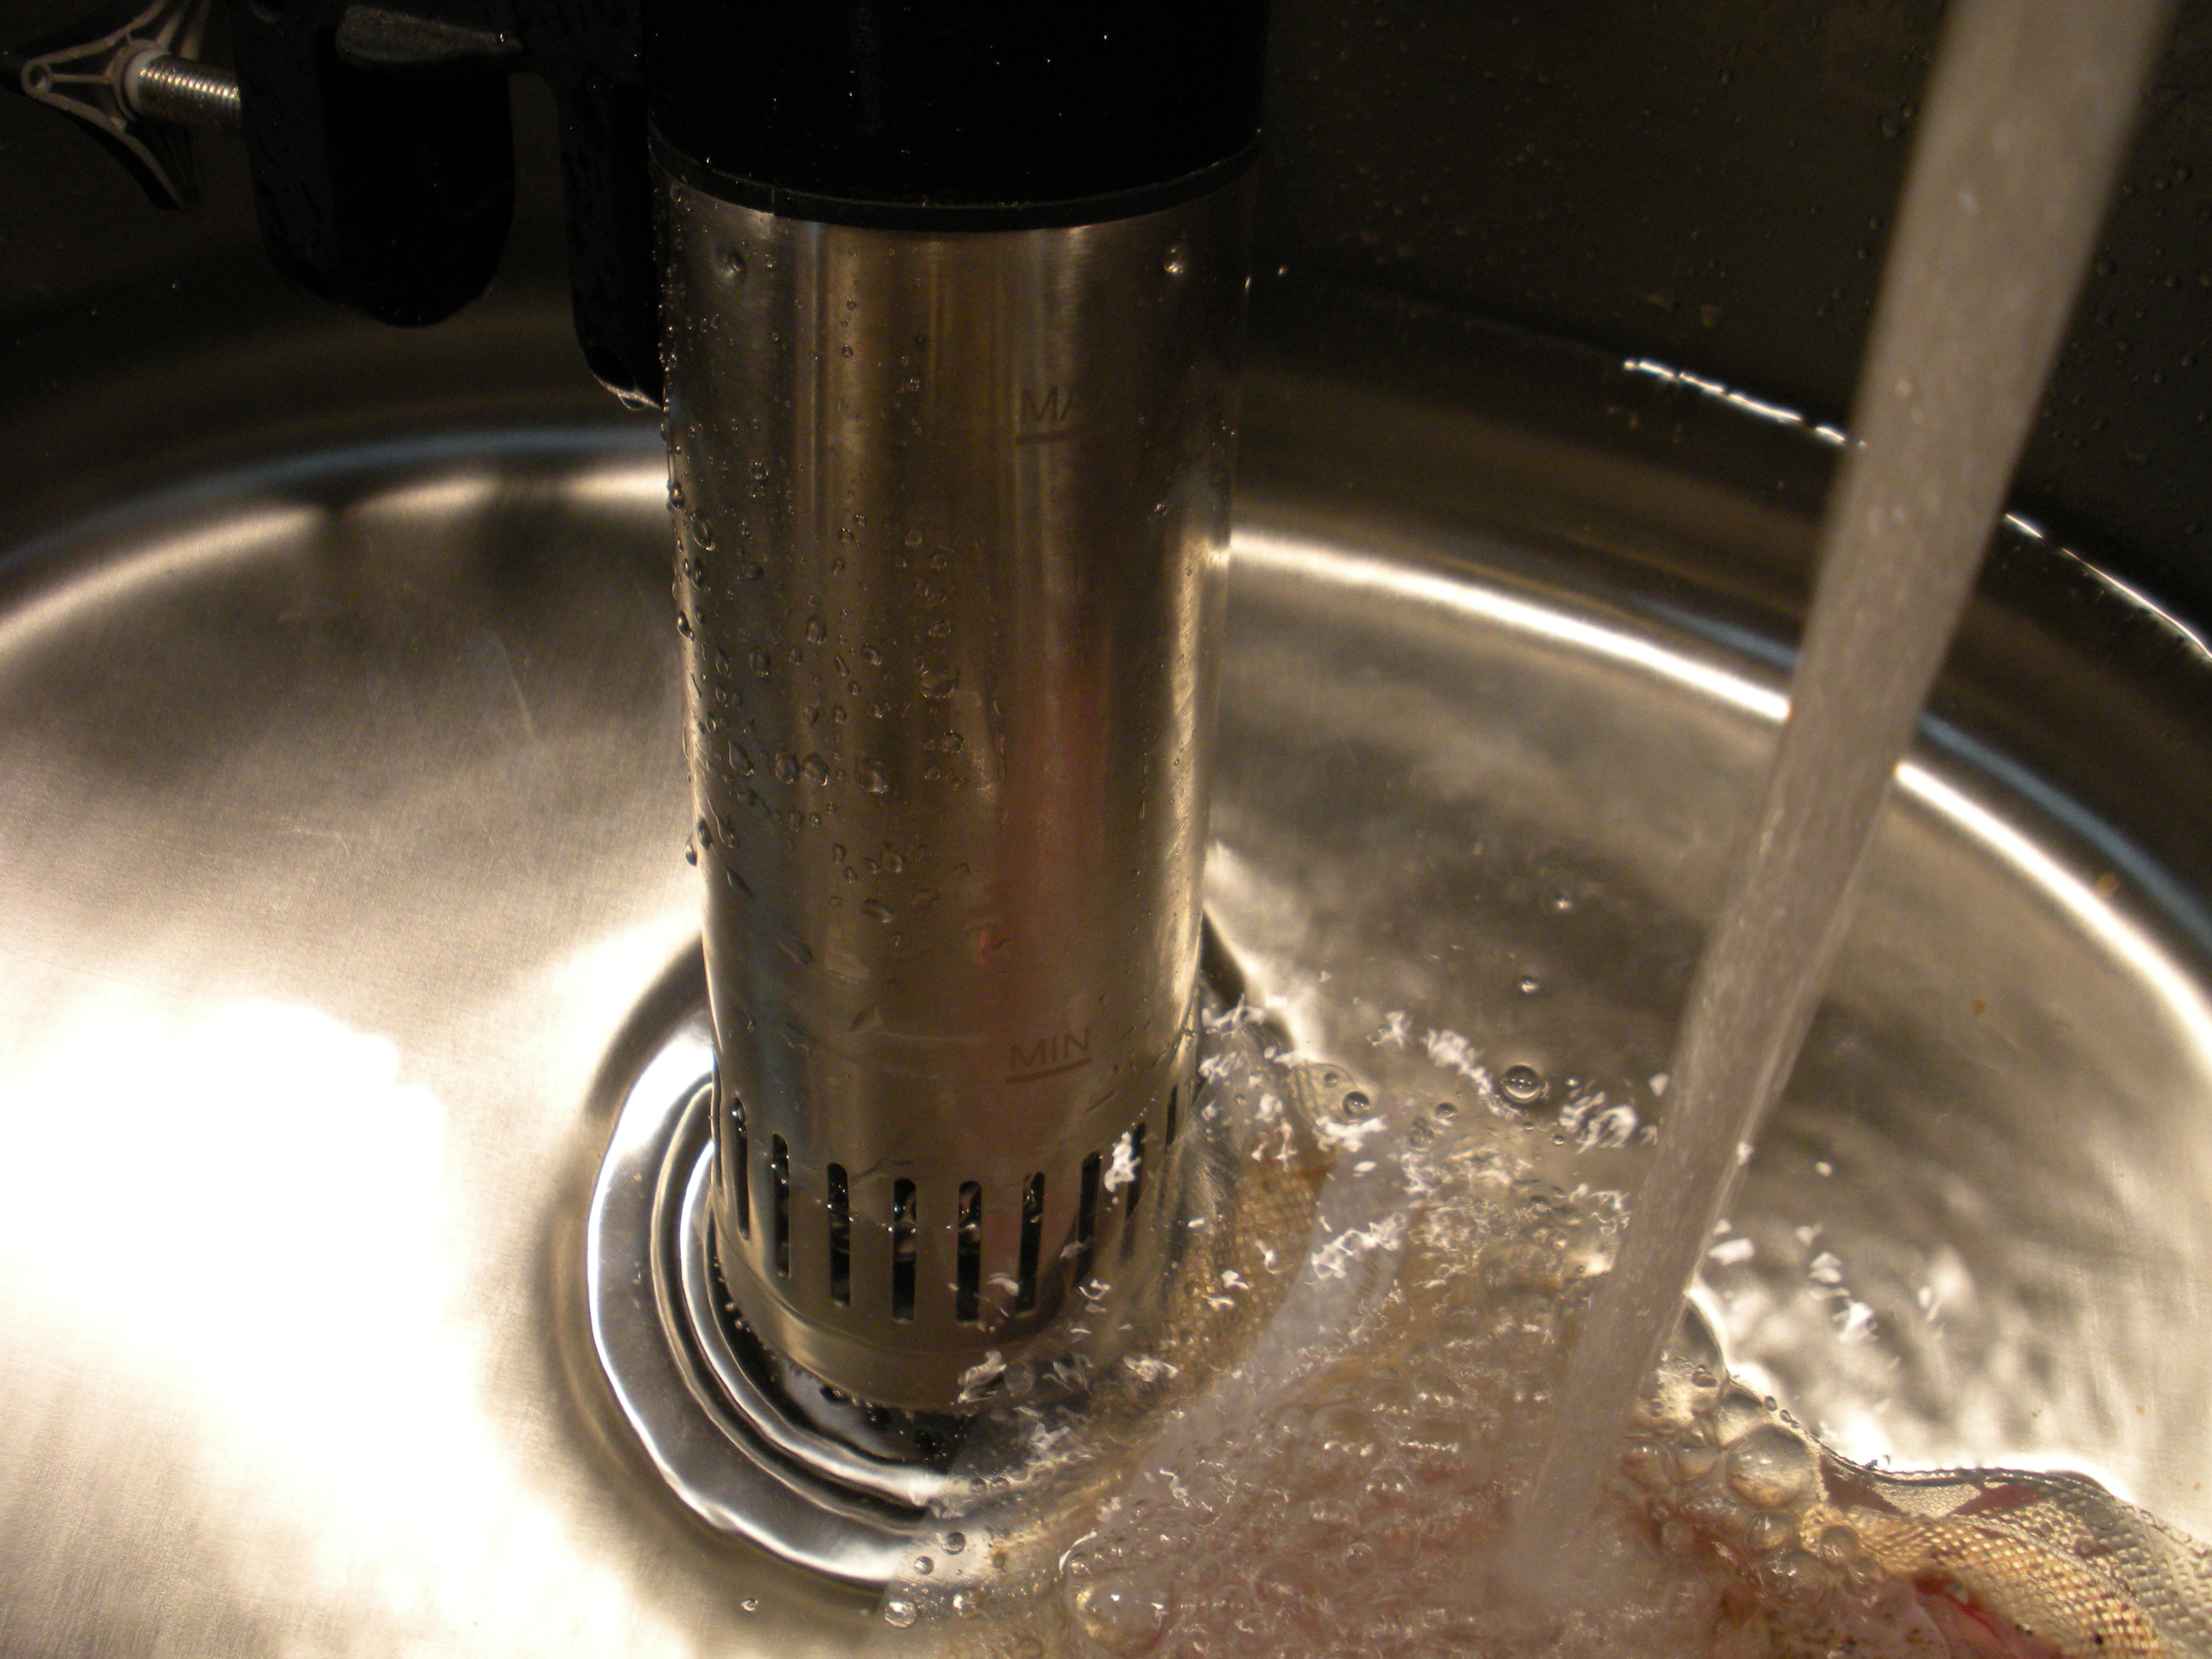
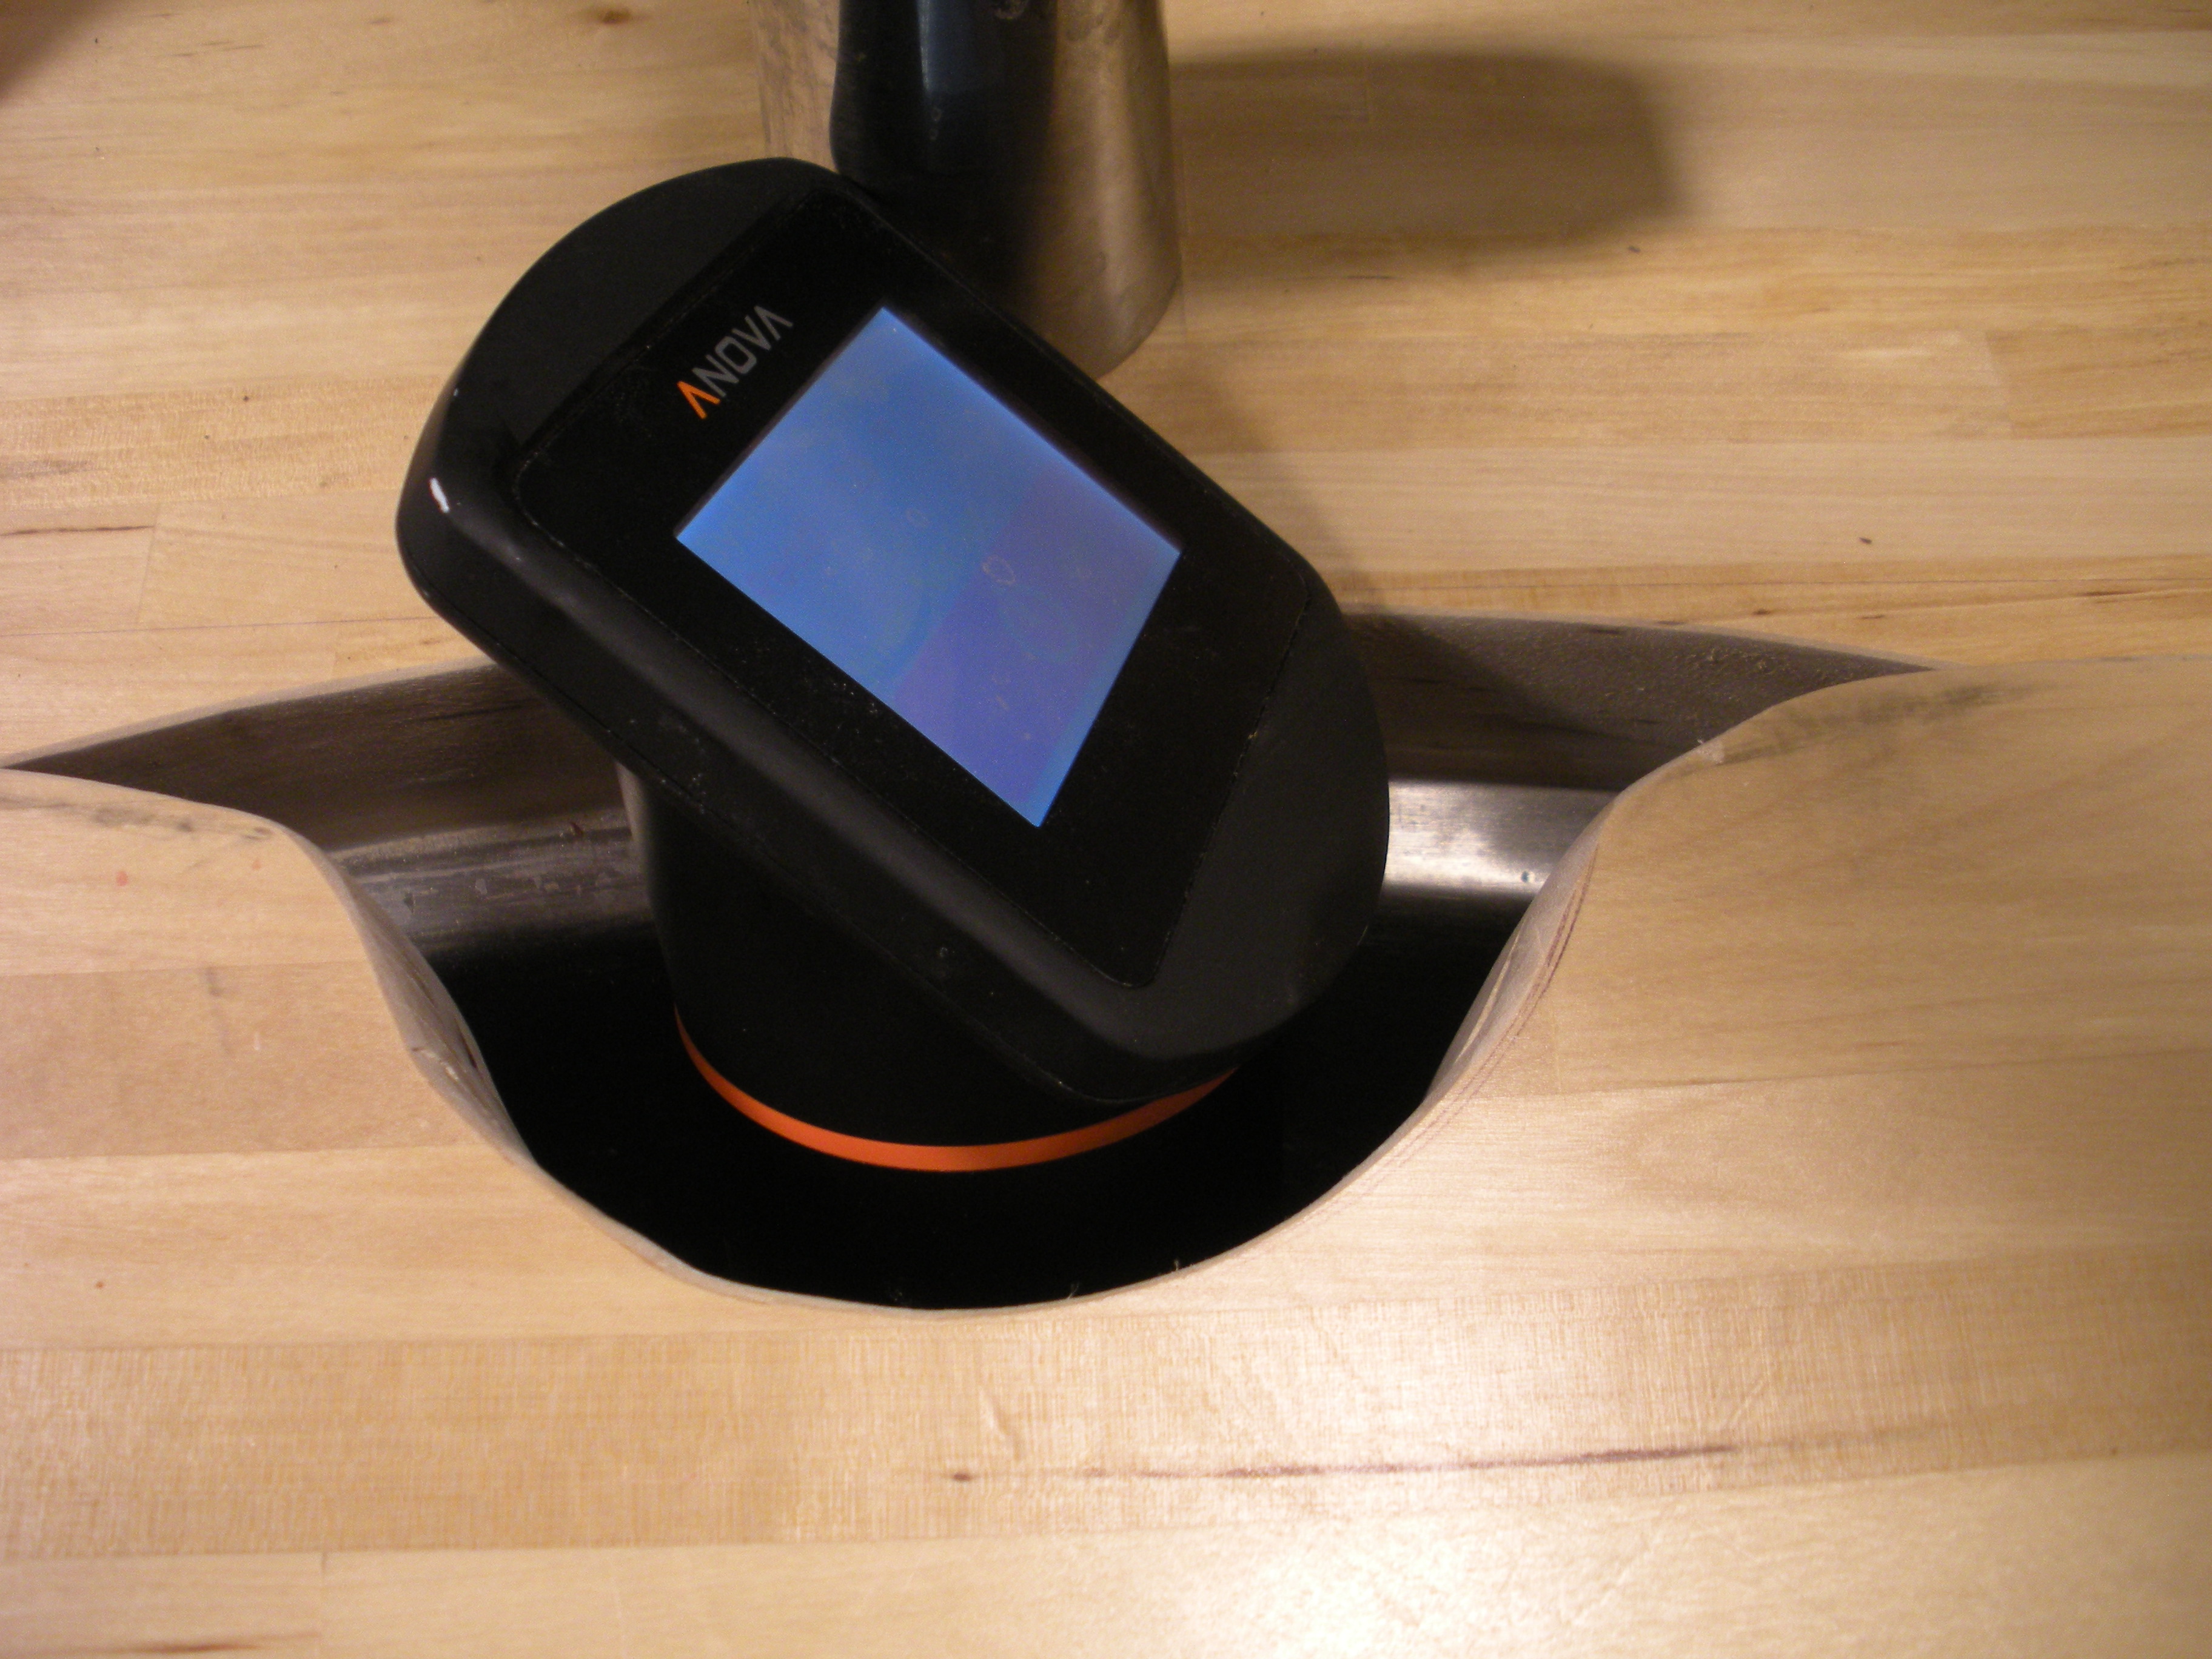
If you are ready to go, fill your container with water. In this case we are using the sink in Dave’s freshly remodelled kitchen. We are using the Anova immersion circulator, since it was easier to reach than the Sansaire by several feet at the time of this writing. For both of the immersion circulators, you must have a minimum height of water to ensure good operation (look closely at the next picture and you can see the markings).
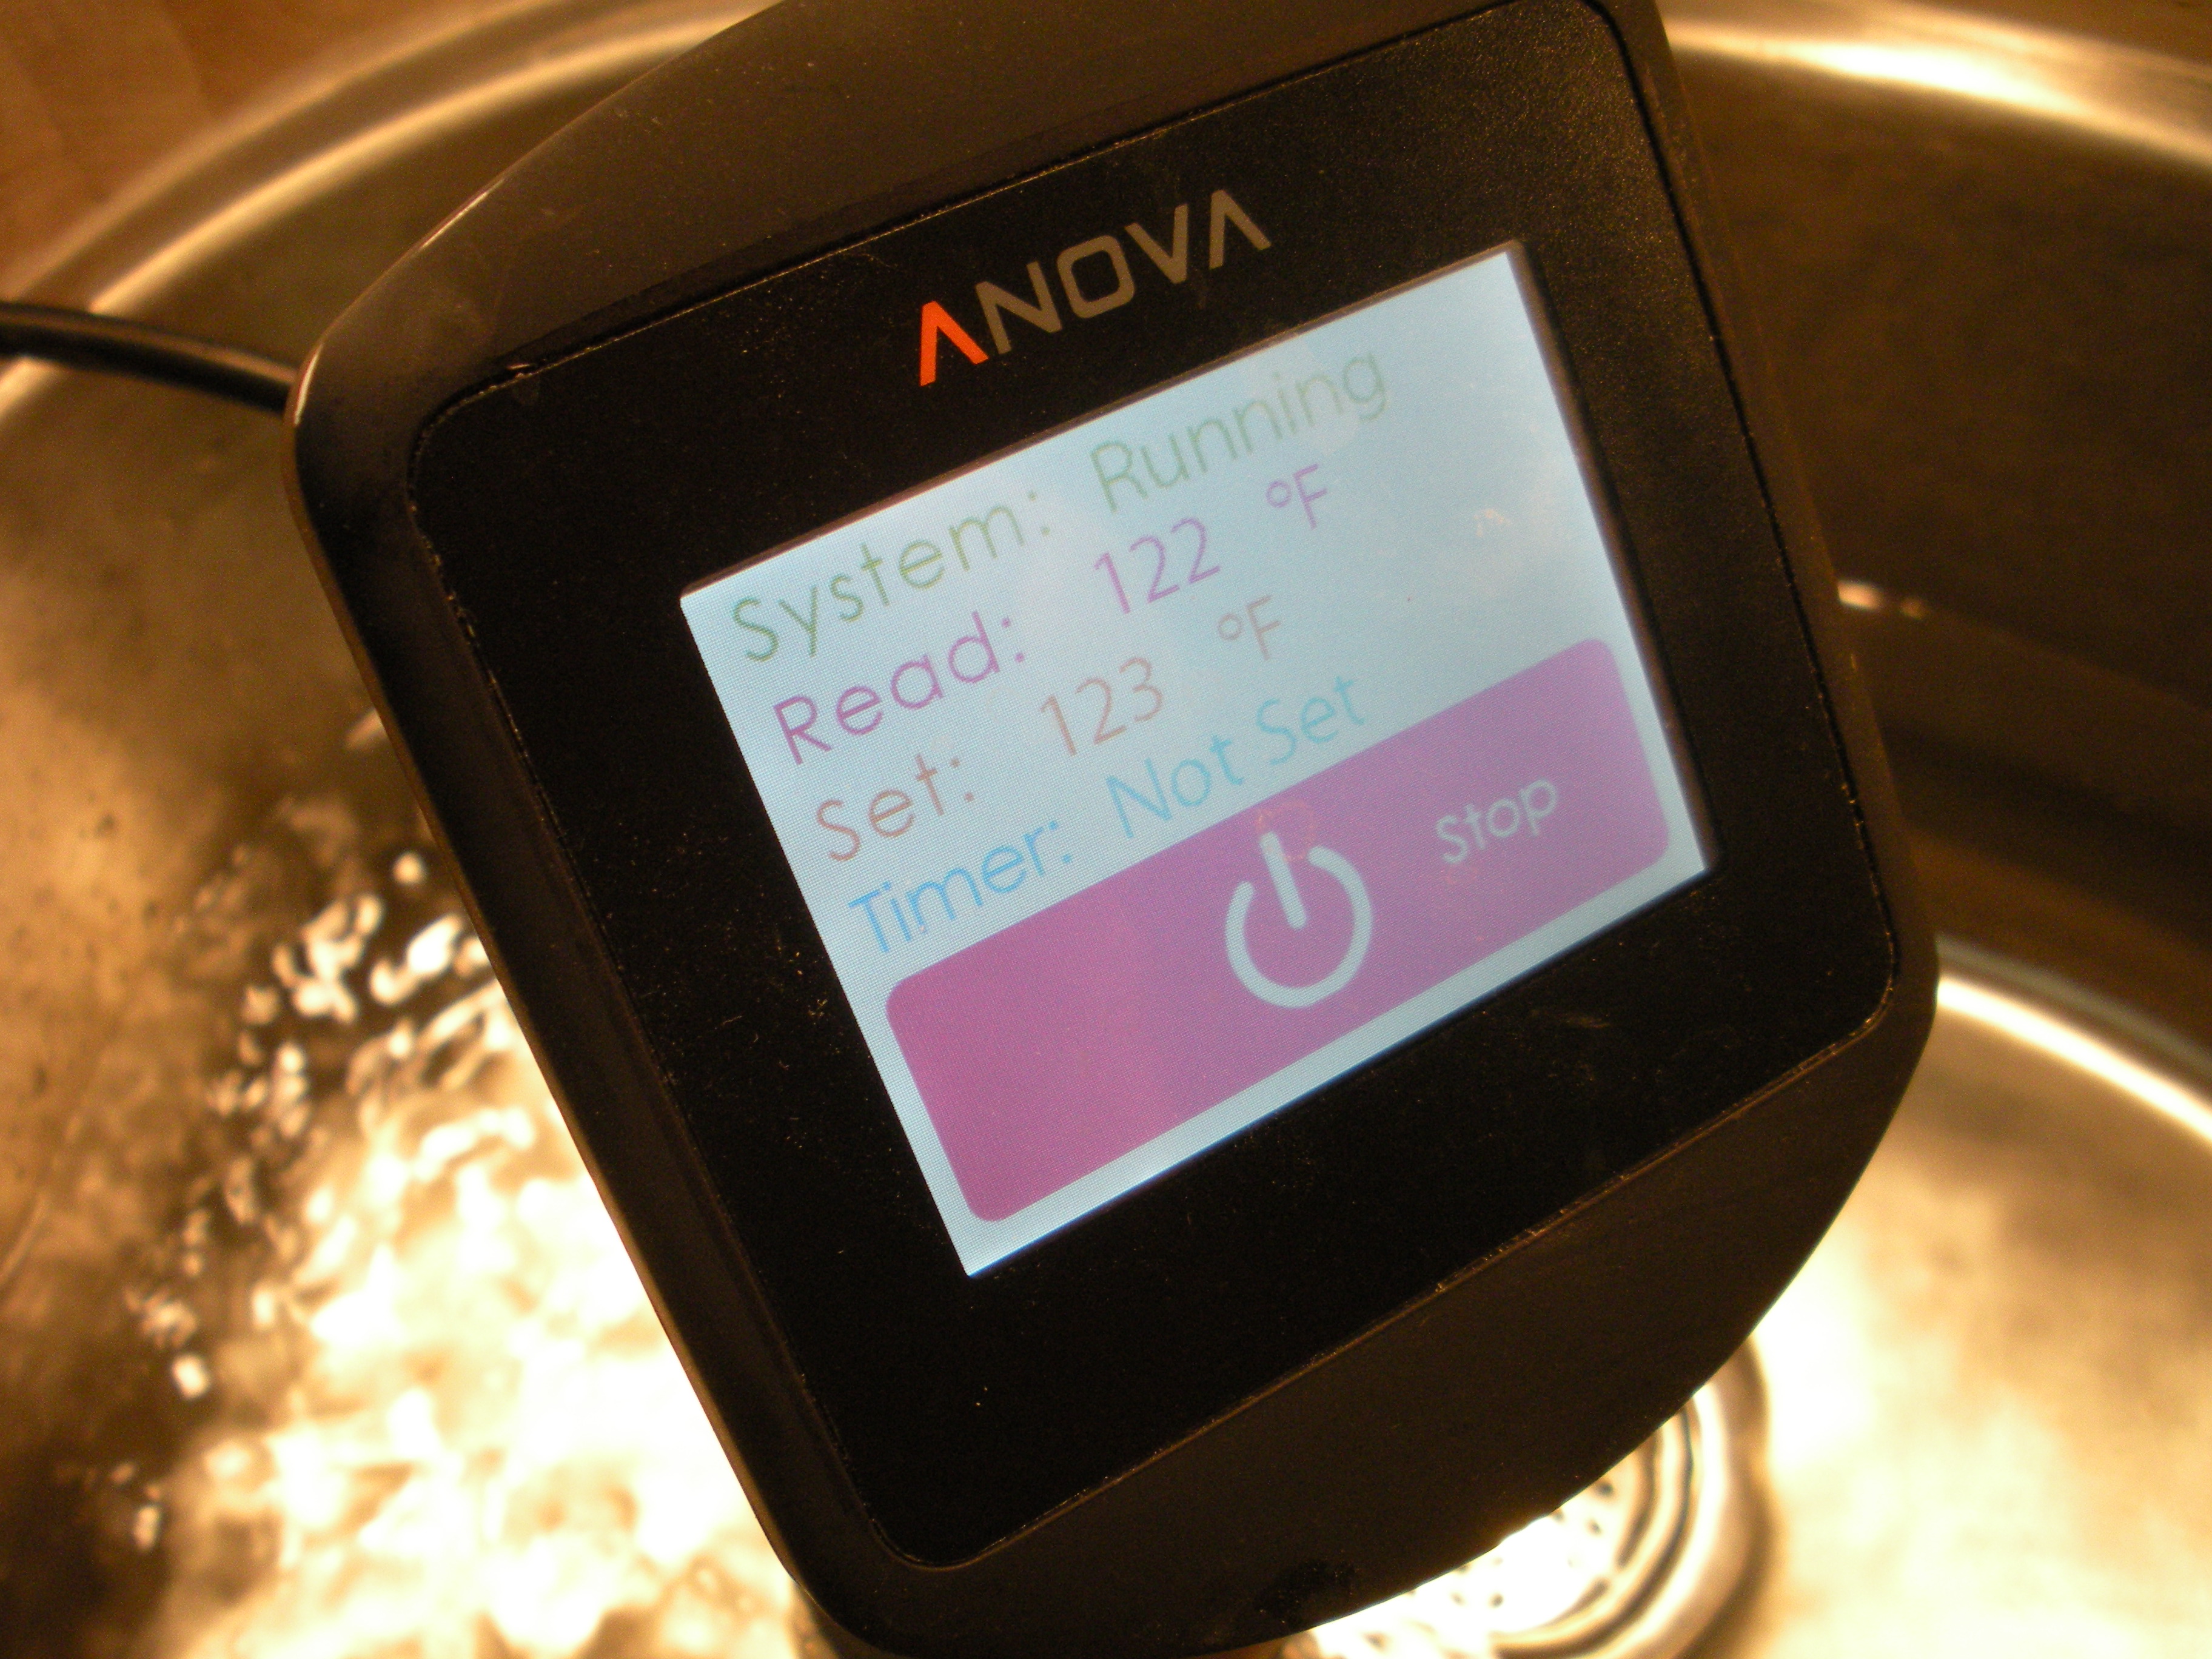
Set the temperature you would like to cook your meat.
And place your vacuum sealed meat in the water.

If you want to keep the humidity lower or prevent sloshing while driving, you can put the sink cover back over the cooking area as seen below.
Technically this will save you a bit of energy too.
For round, here are the parameters we recommend:
Time: 8 to 48 hours (I would say 8 hours is still tough, and 48 might be getting close to the point at which the meat gets too tender)
Temperature: 51C to 55C, or 123F to 131F (The FDA recommended temperature is 145F for beef, but that sure would be well done!) Personally I prefer 53C for a rare to medium rare level of done-ness.
–John
After 24 hours, the power meter shows we’ve used about 10 kWh to cook this roast. At national-average electricity prices, that would be just over $1. That’s an average under 500W, though the heater itself is about 1000W, and cycles on and off roughly once a second. If you’re running it from an inverter, you may notice the lights dimming a bit when it cycles on.
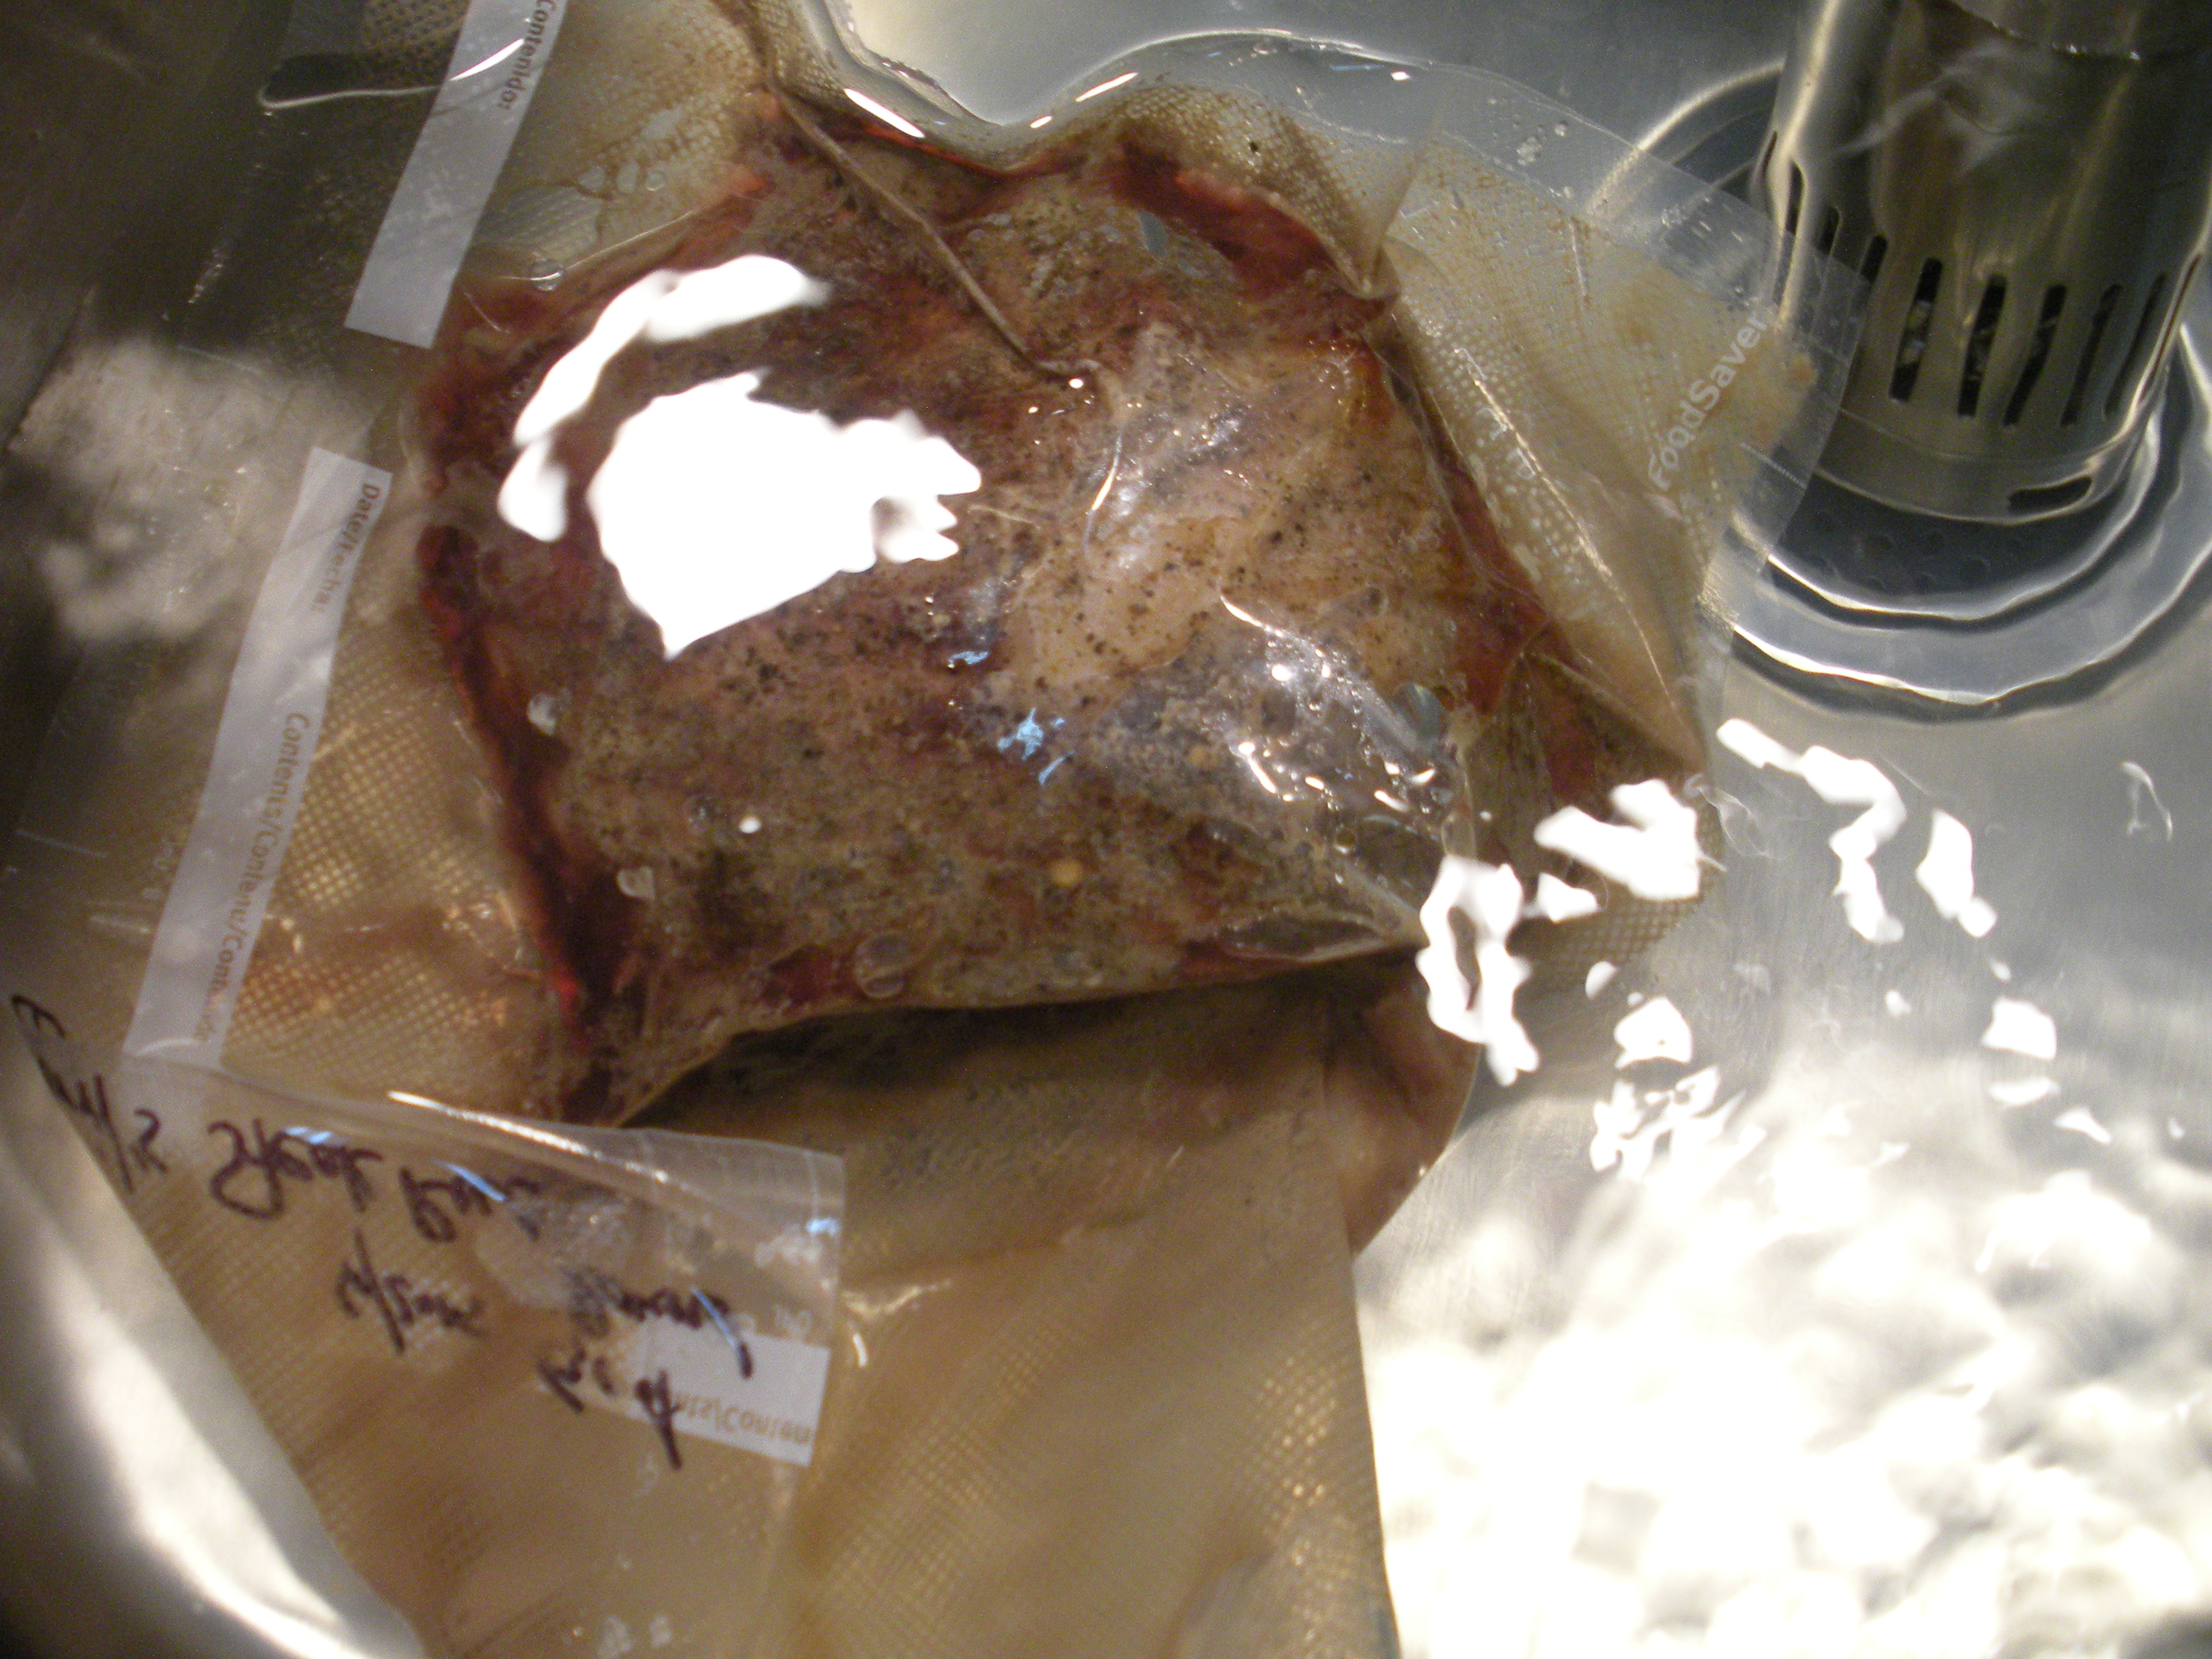
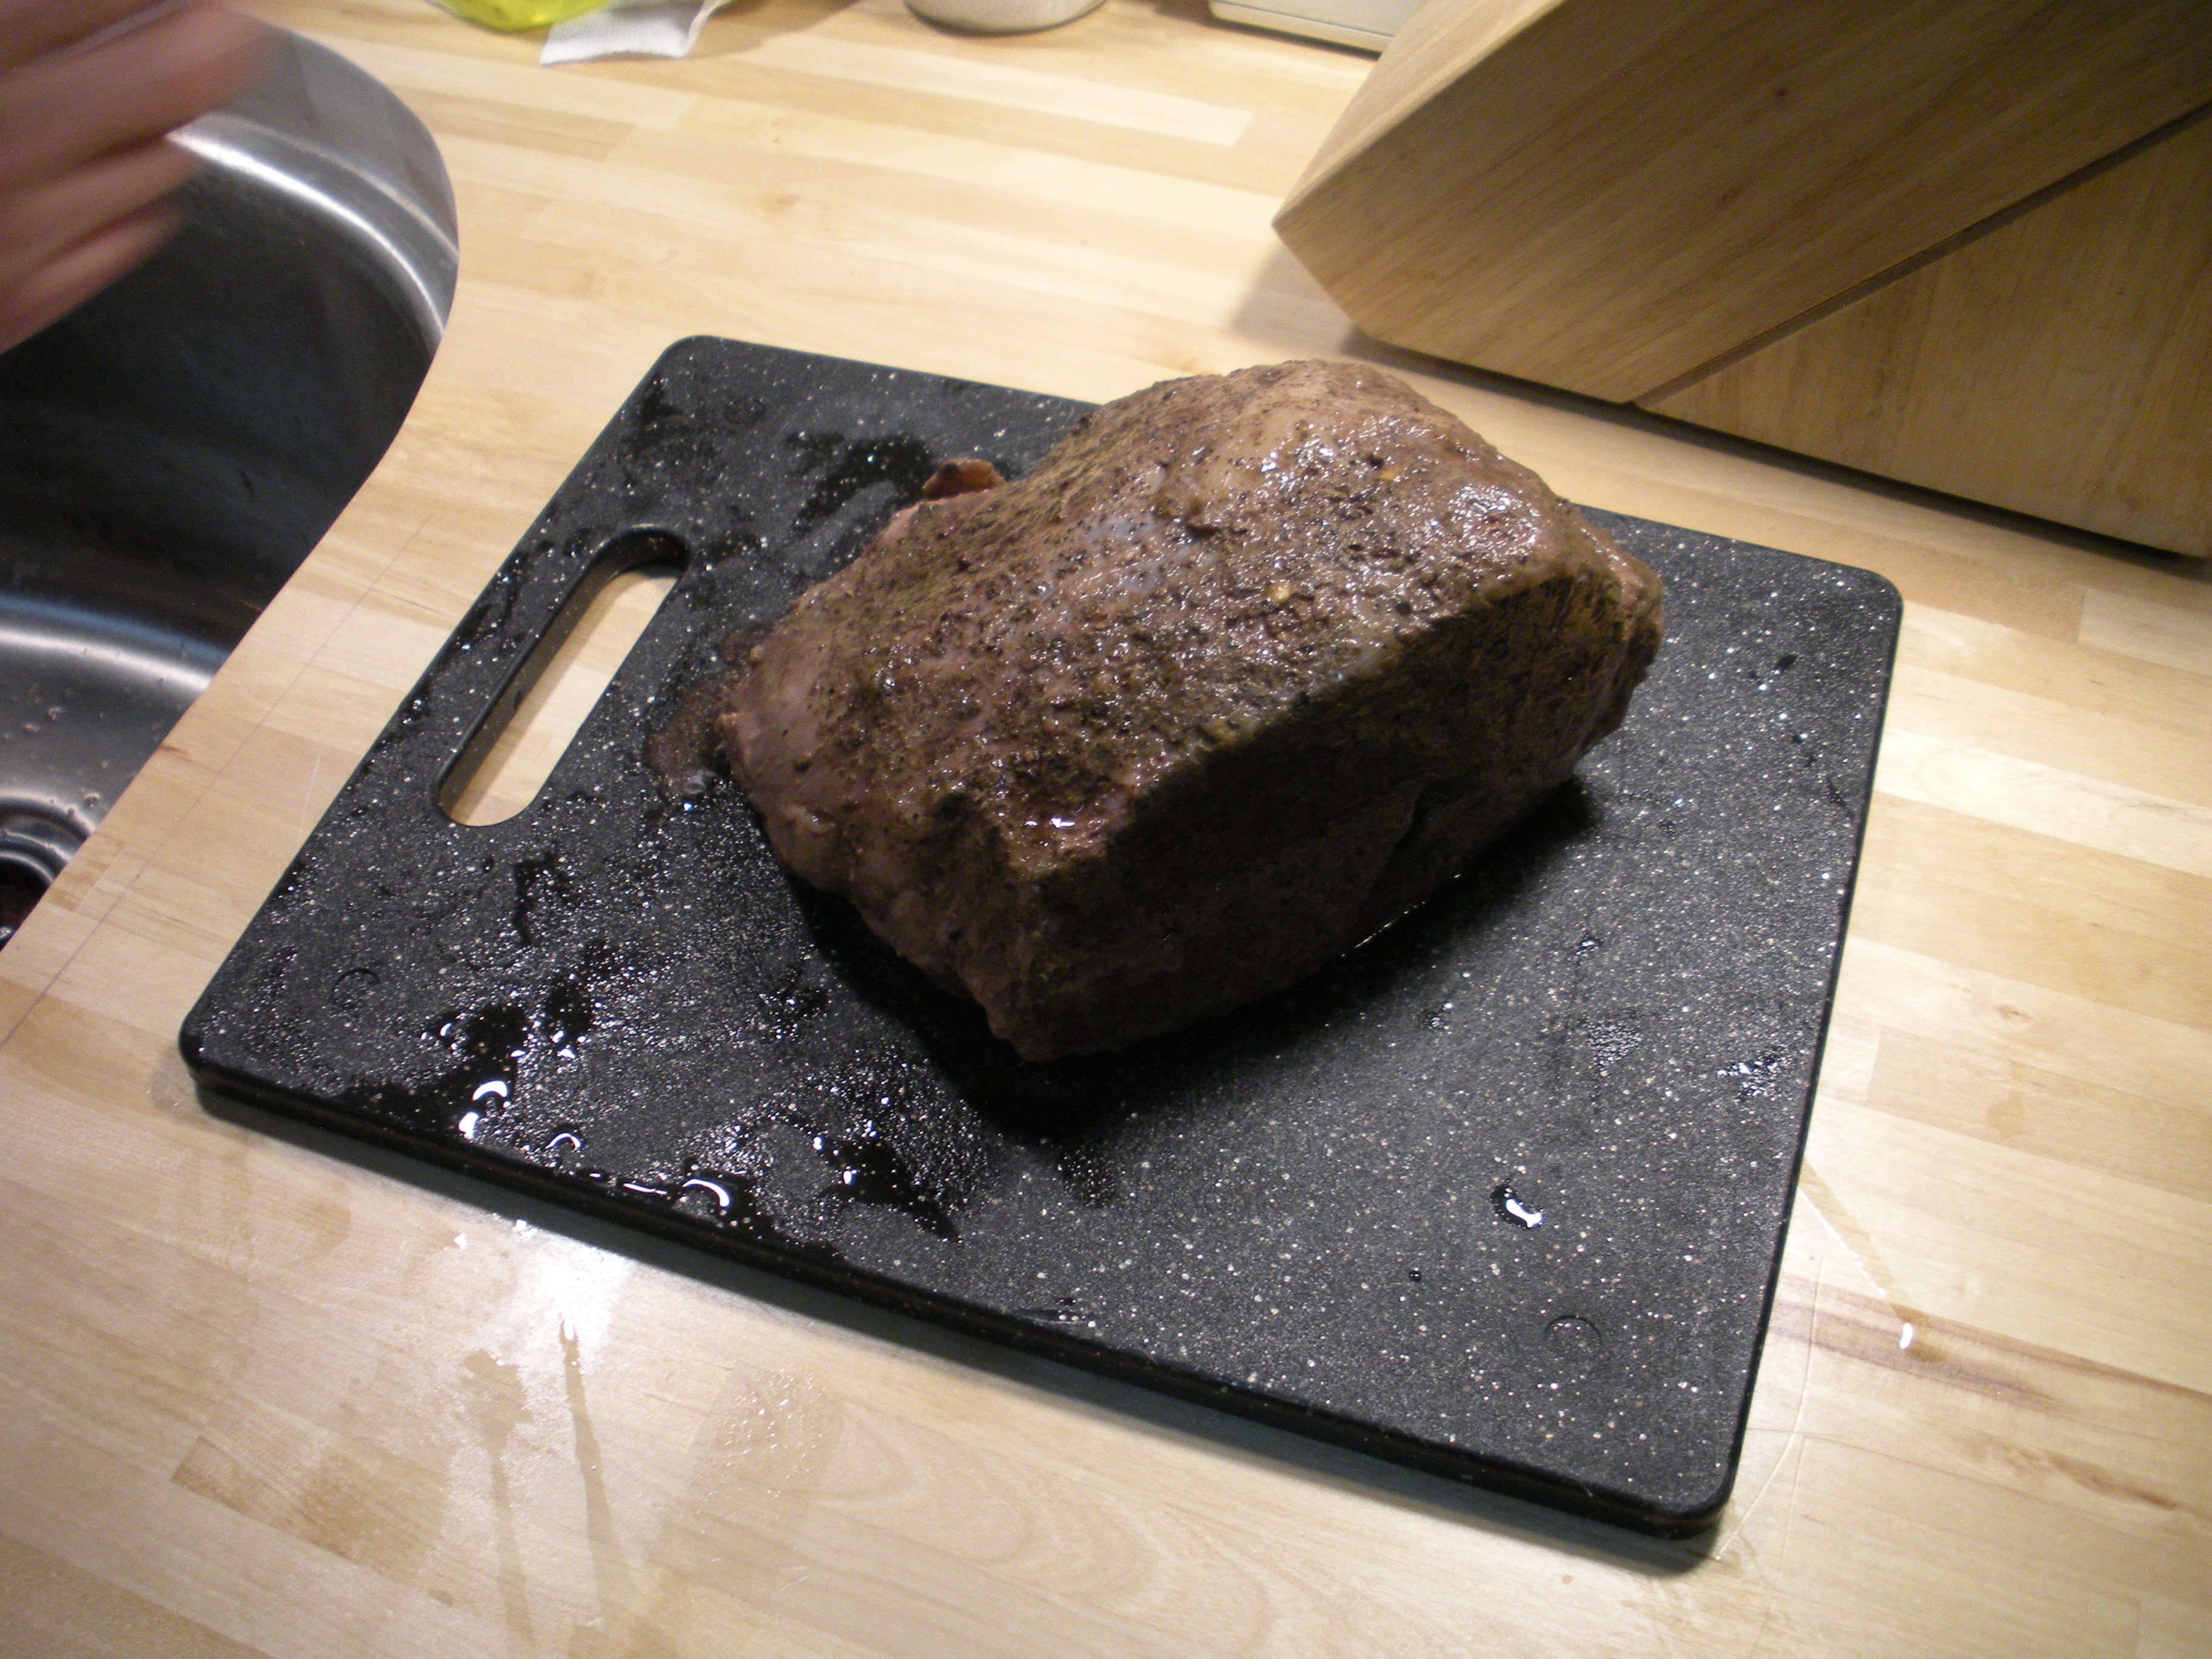
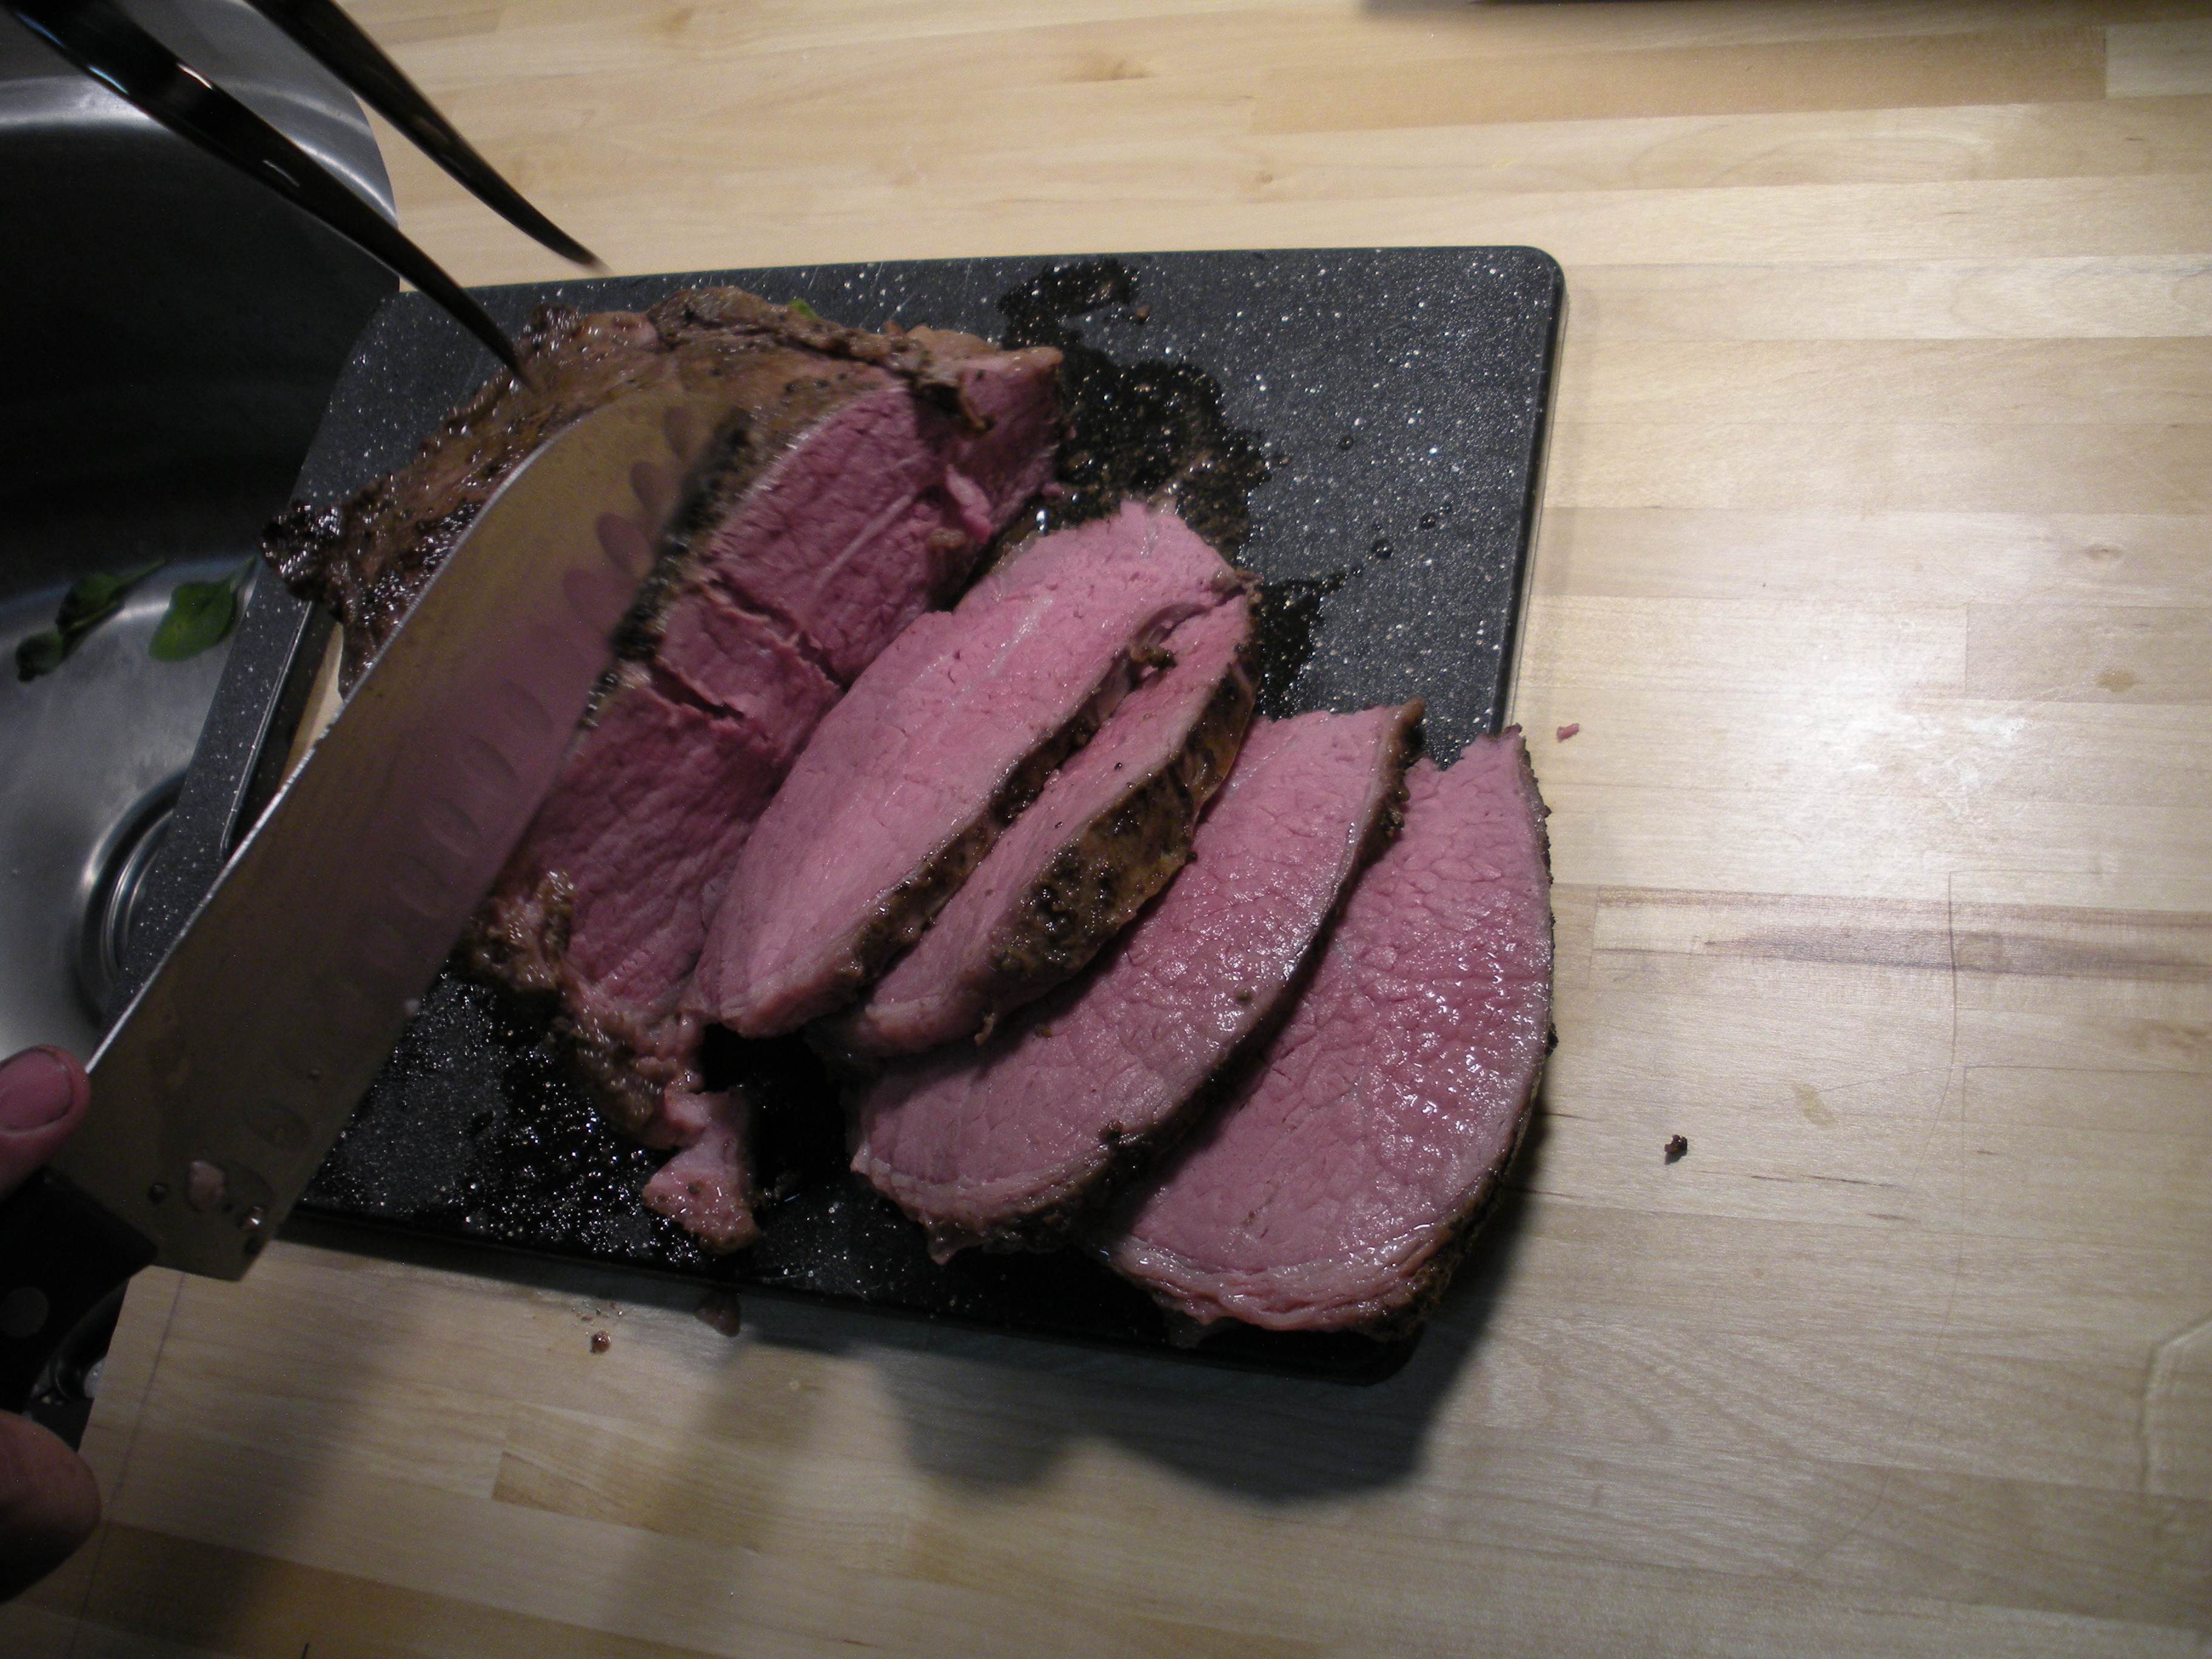
You can see what the roast looks like as it’s nearly done in the sink. The outside looks cooked (brownish grey in color) but not browned. We pulled it out of the bag, patted it dry, and seared the outside (a minute or so at most per side):
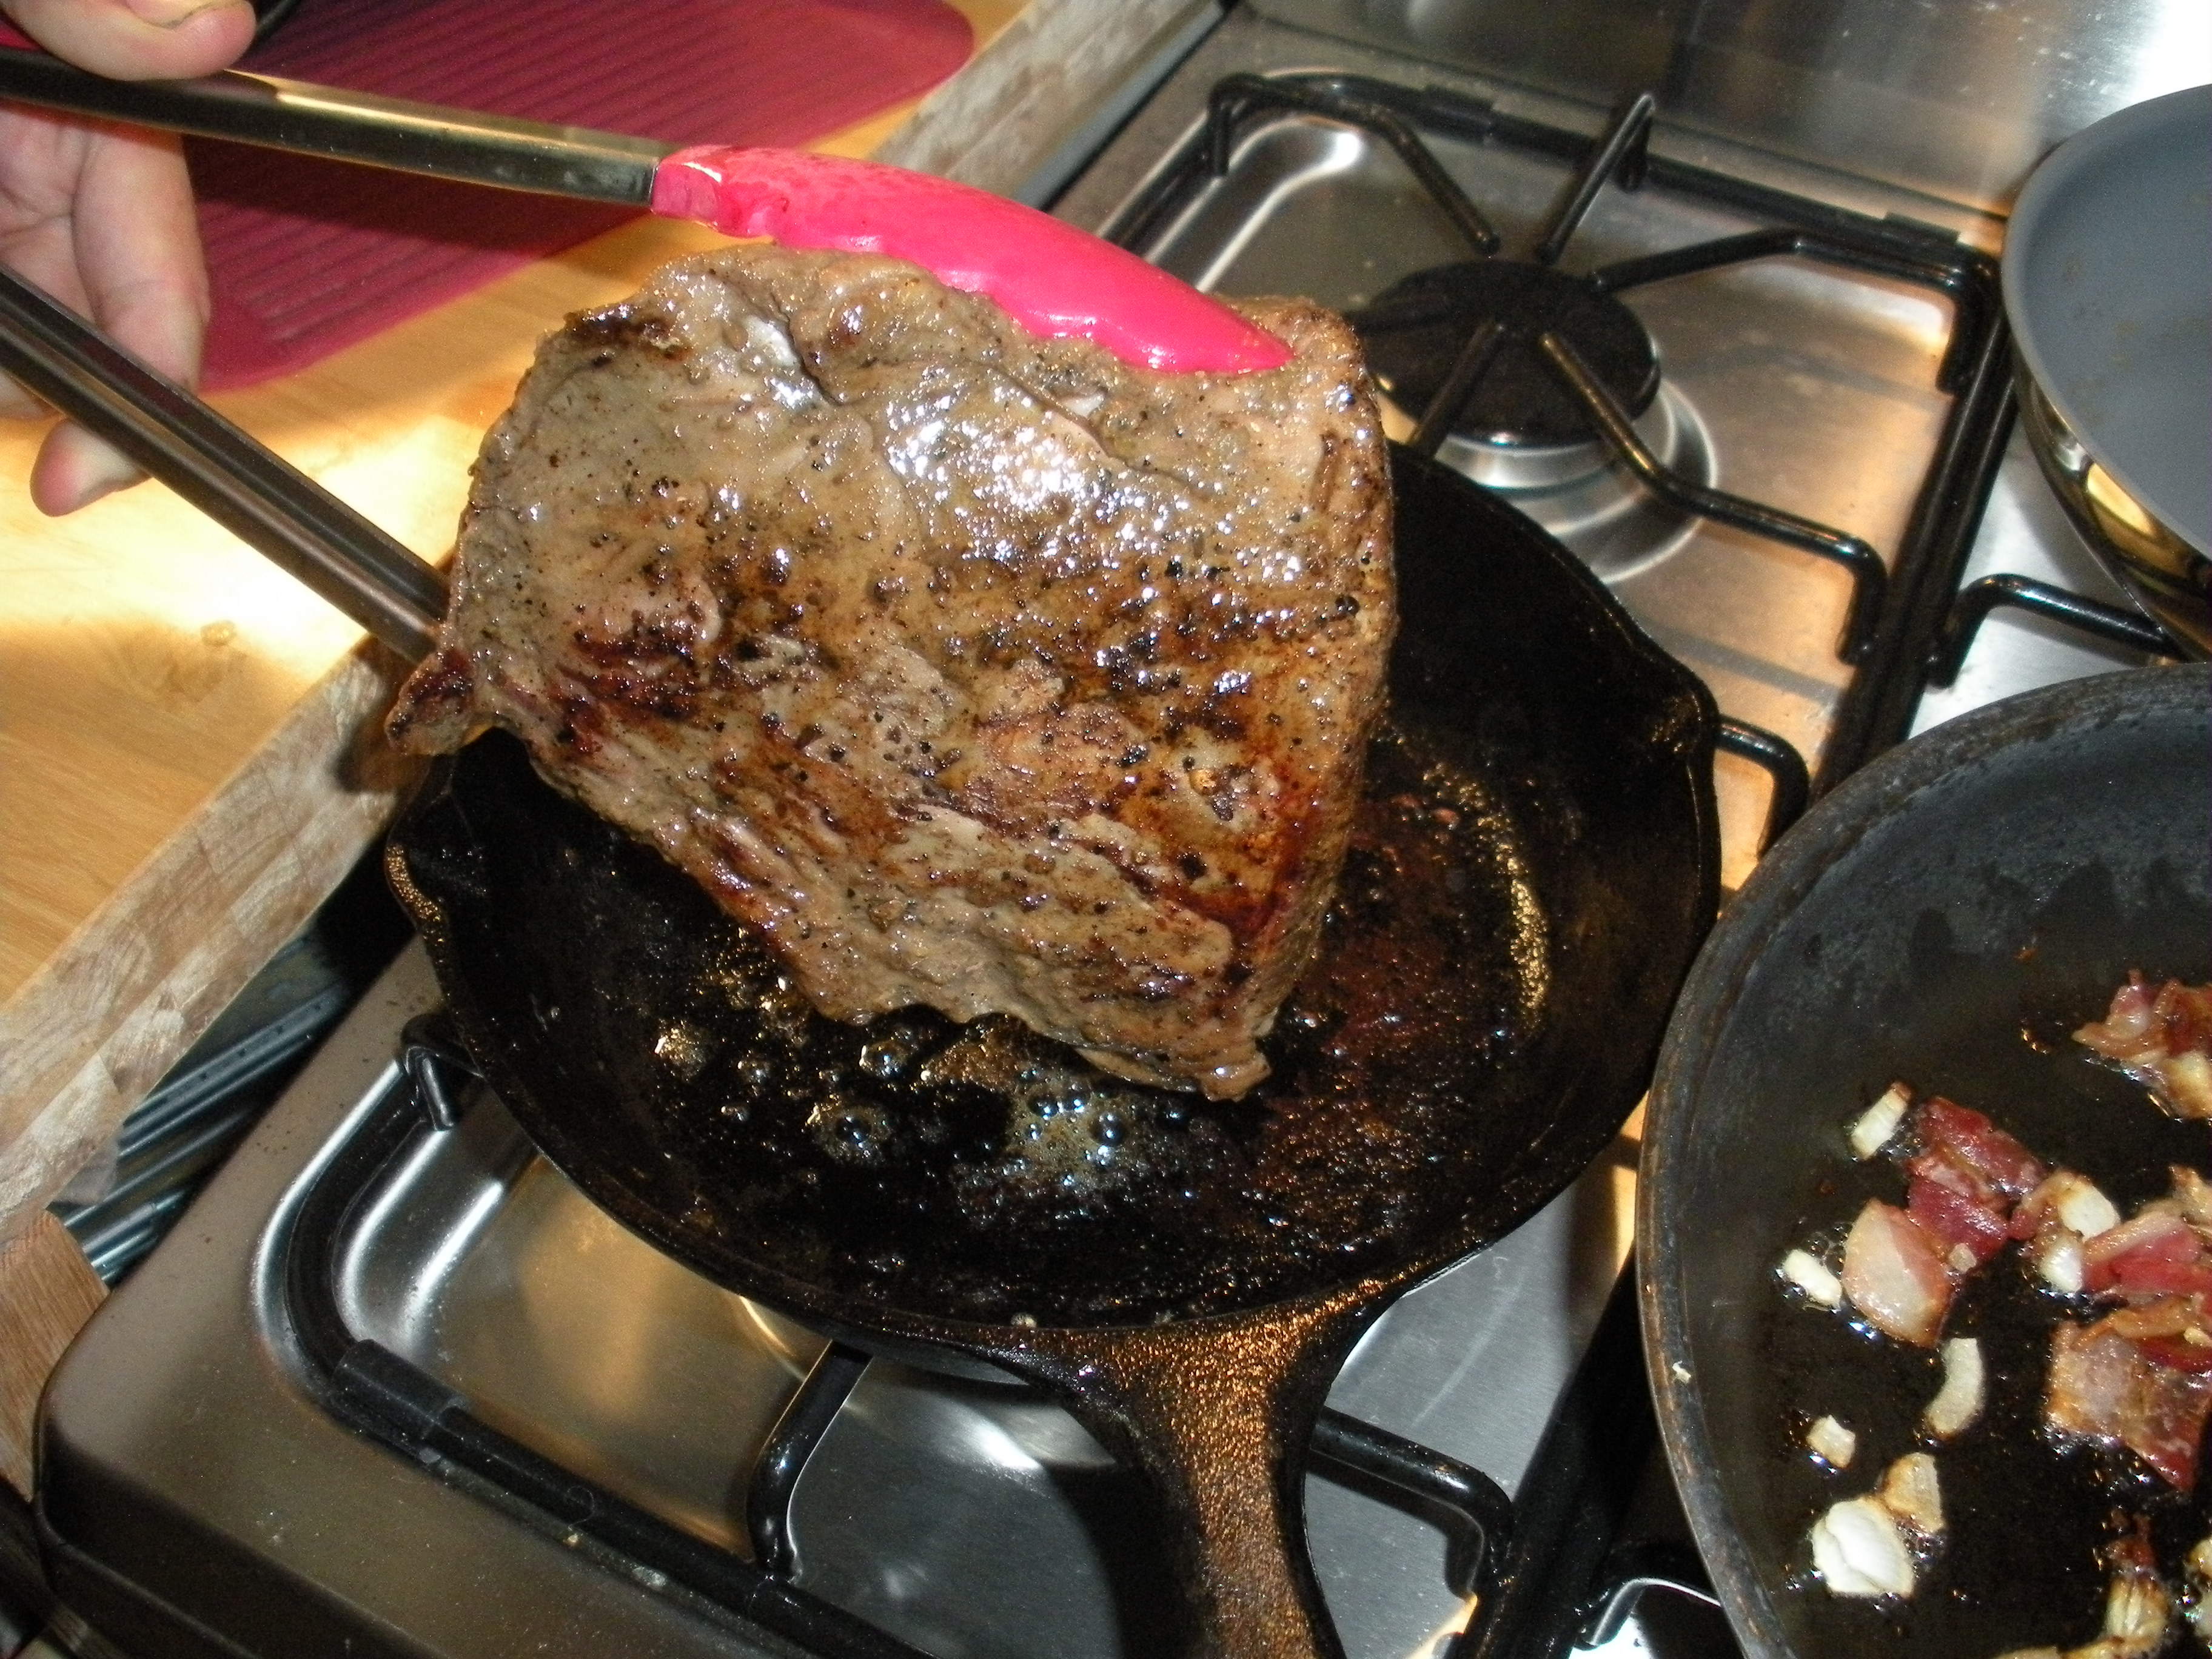
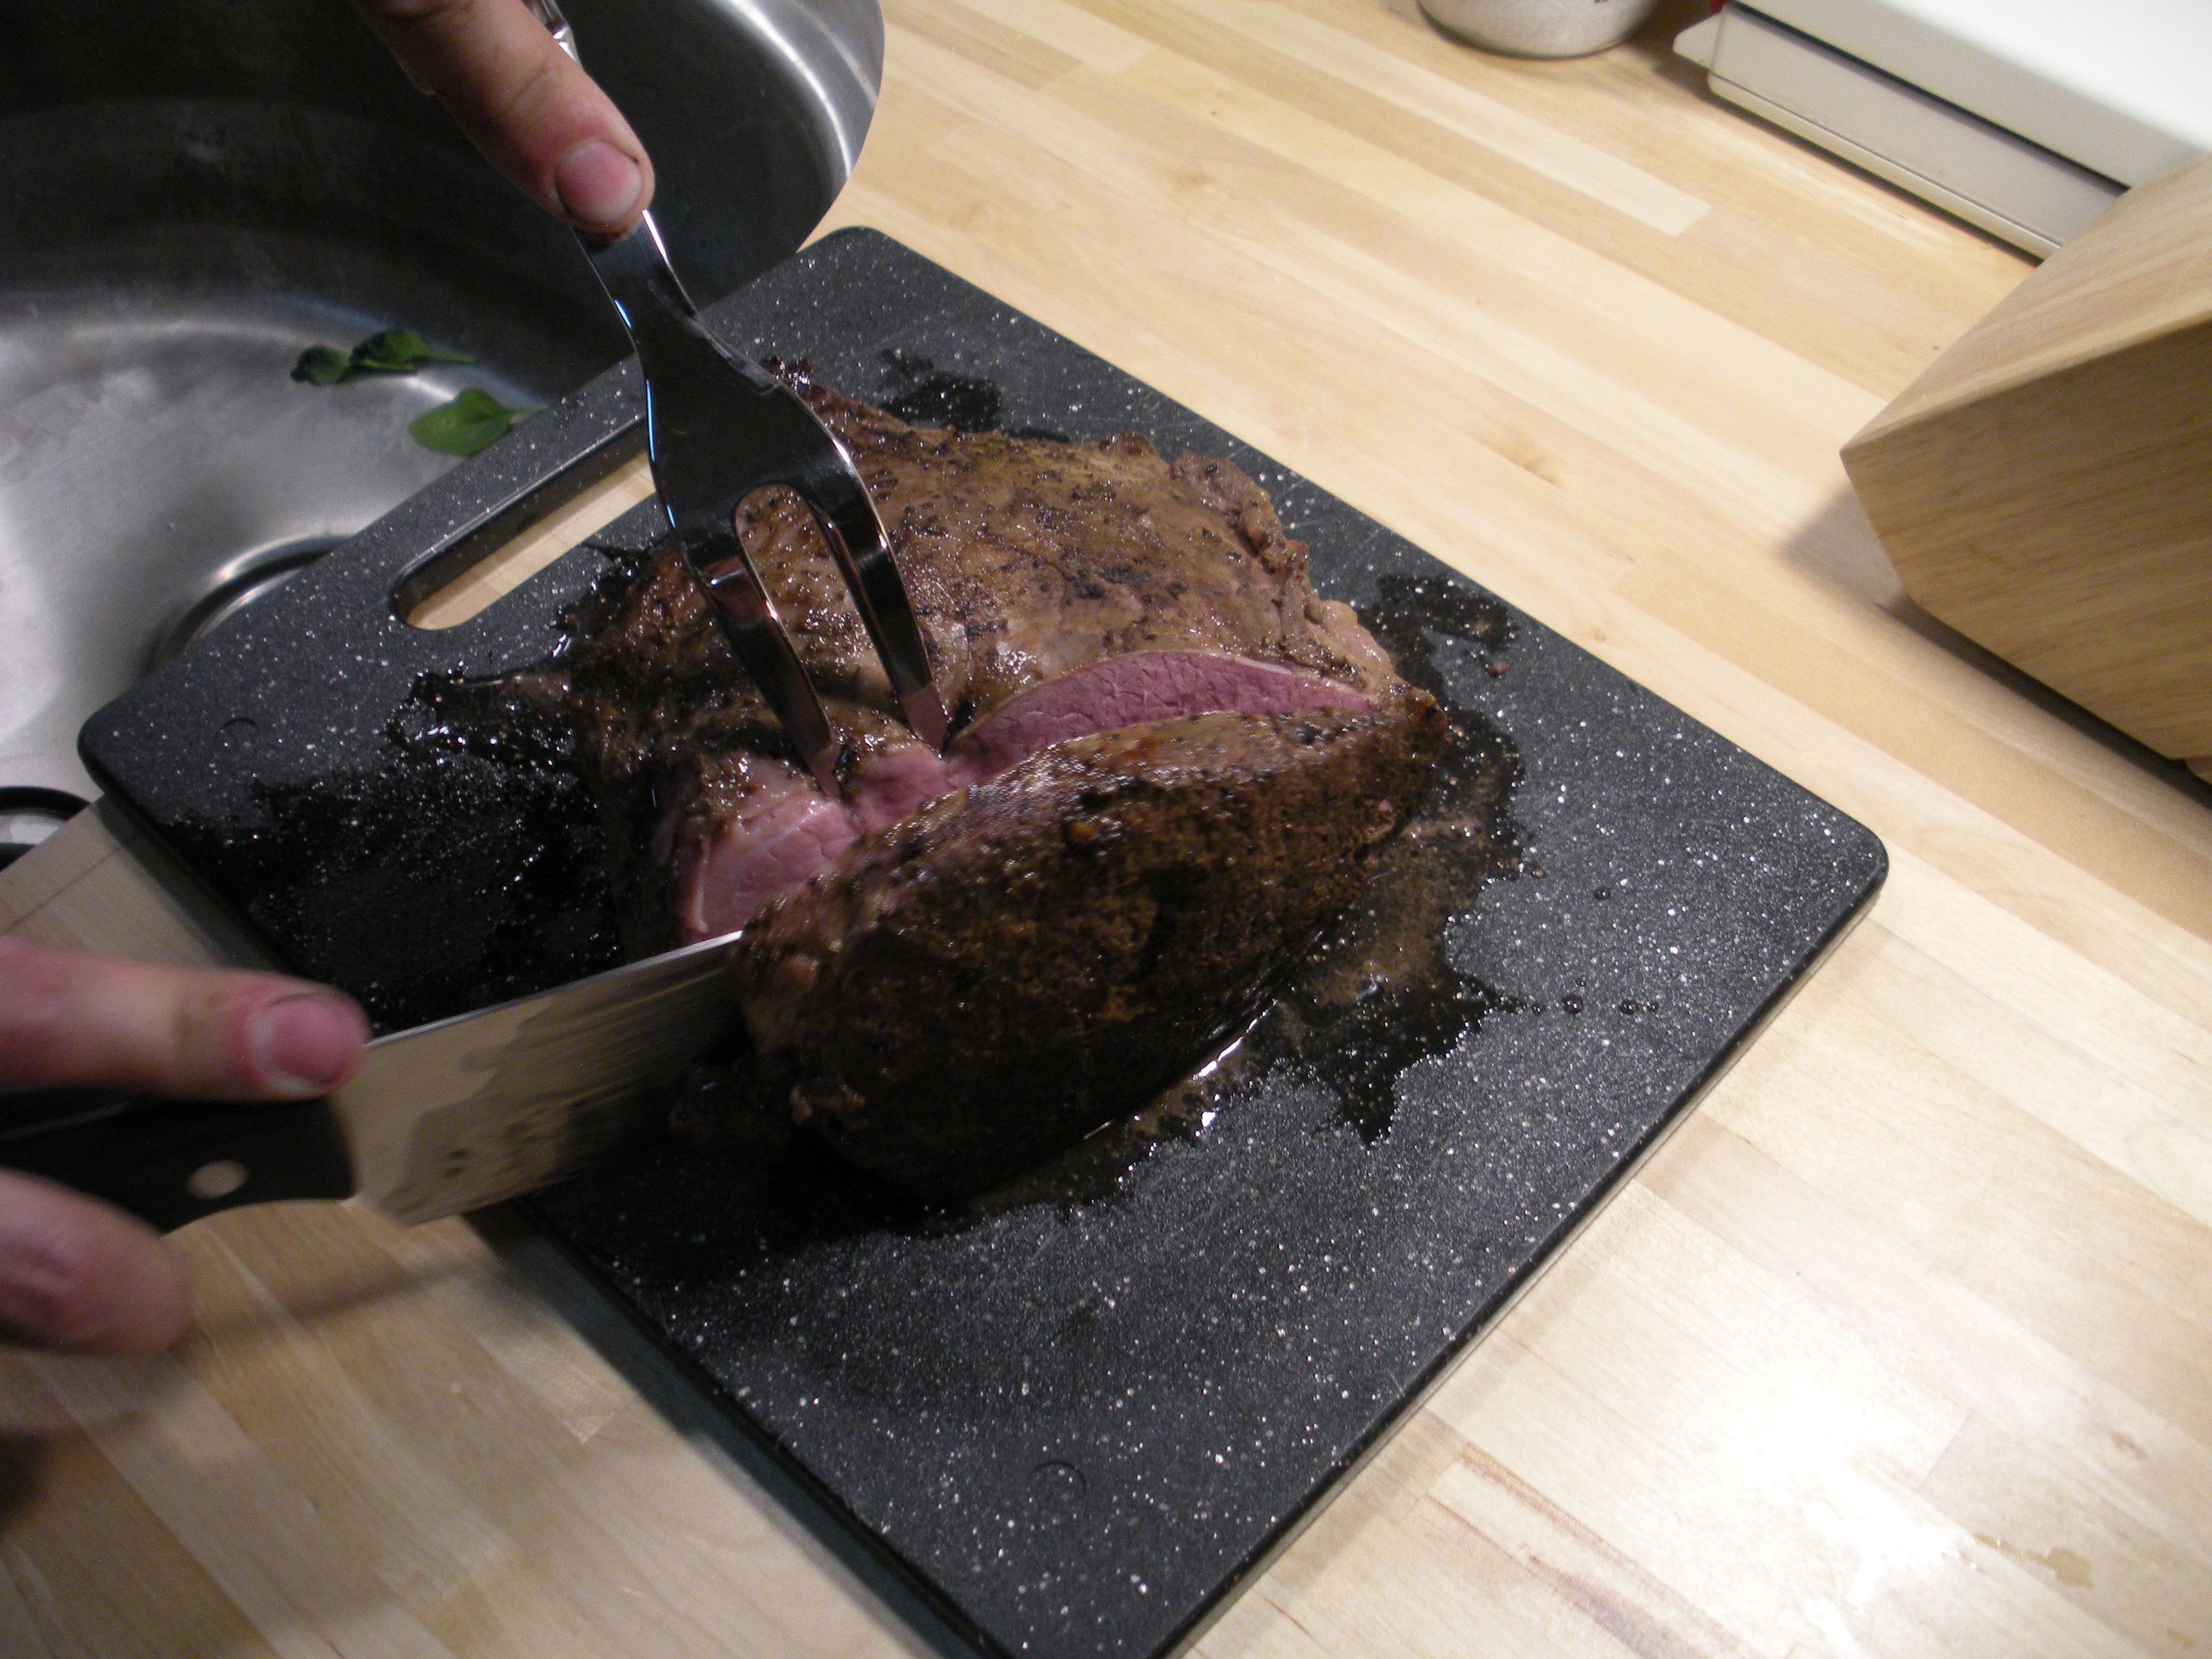
Now let’s see what’s for dinner:
We ate this with some spinach (John will post a recipe), cooked with some bacon and onion while we were searing the roast:
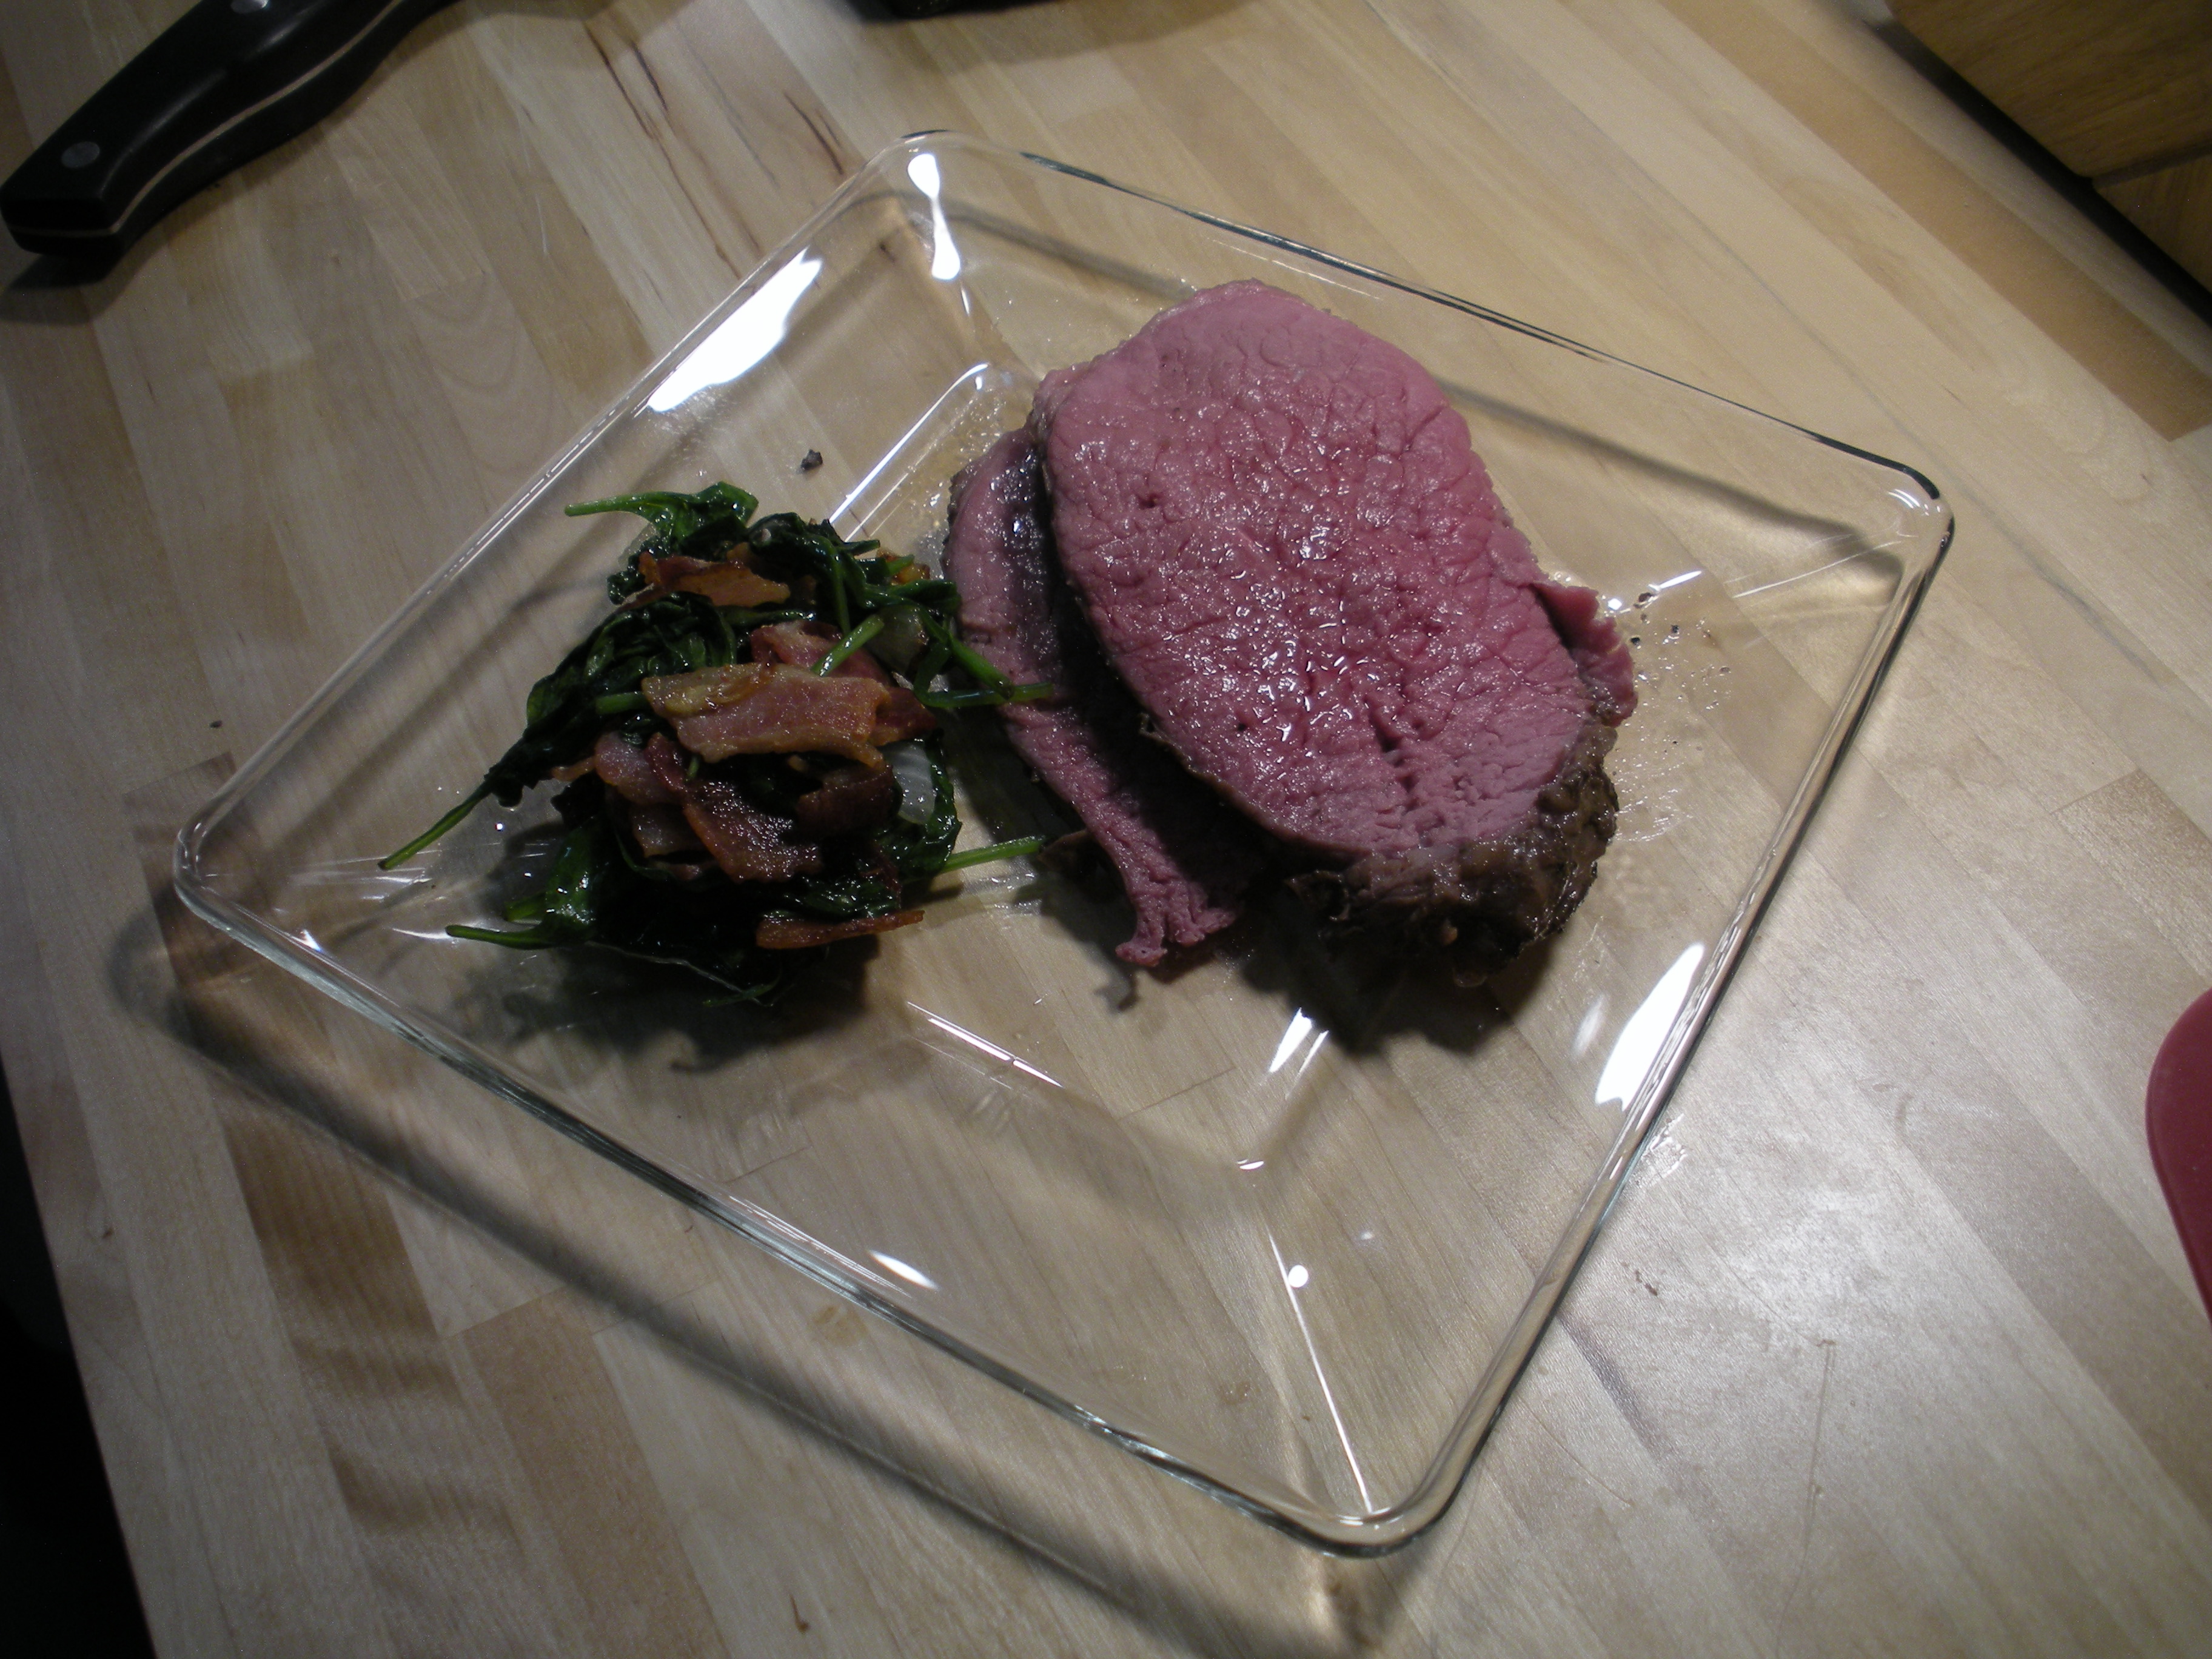
When you add everything up, we were able to have a good–and healthy–meal for less than $5 a head.
–Dave