Keeping the RV entry door closed during travel is obviously important, especially when traveling with pets, kids, or anyone not familiar with what can happen. It’s probably less an issue in rear-engine motorhomes, where there’s less likely to be someone standing near the door, but in RVs with mid-ship entry, it’s not uncommon to have someone standing near or walking past the door while underway. The bump that might knock them off balance might be the same one that causes the door to unlatch. It may not be terribly likely, but the potential consequences are quite severe.

This post is going to show one way to upgrade the latch above to a “motorhome” style latch with a bear-claw mechanism and striker bolt.

The first step to make the project more workable is to remove the door. Nine screws hold the hinges on, and the door is fairly light. It would be easier with two people, but was easy enough solo.
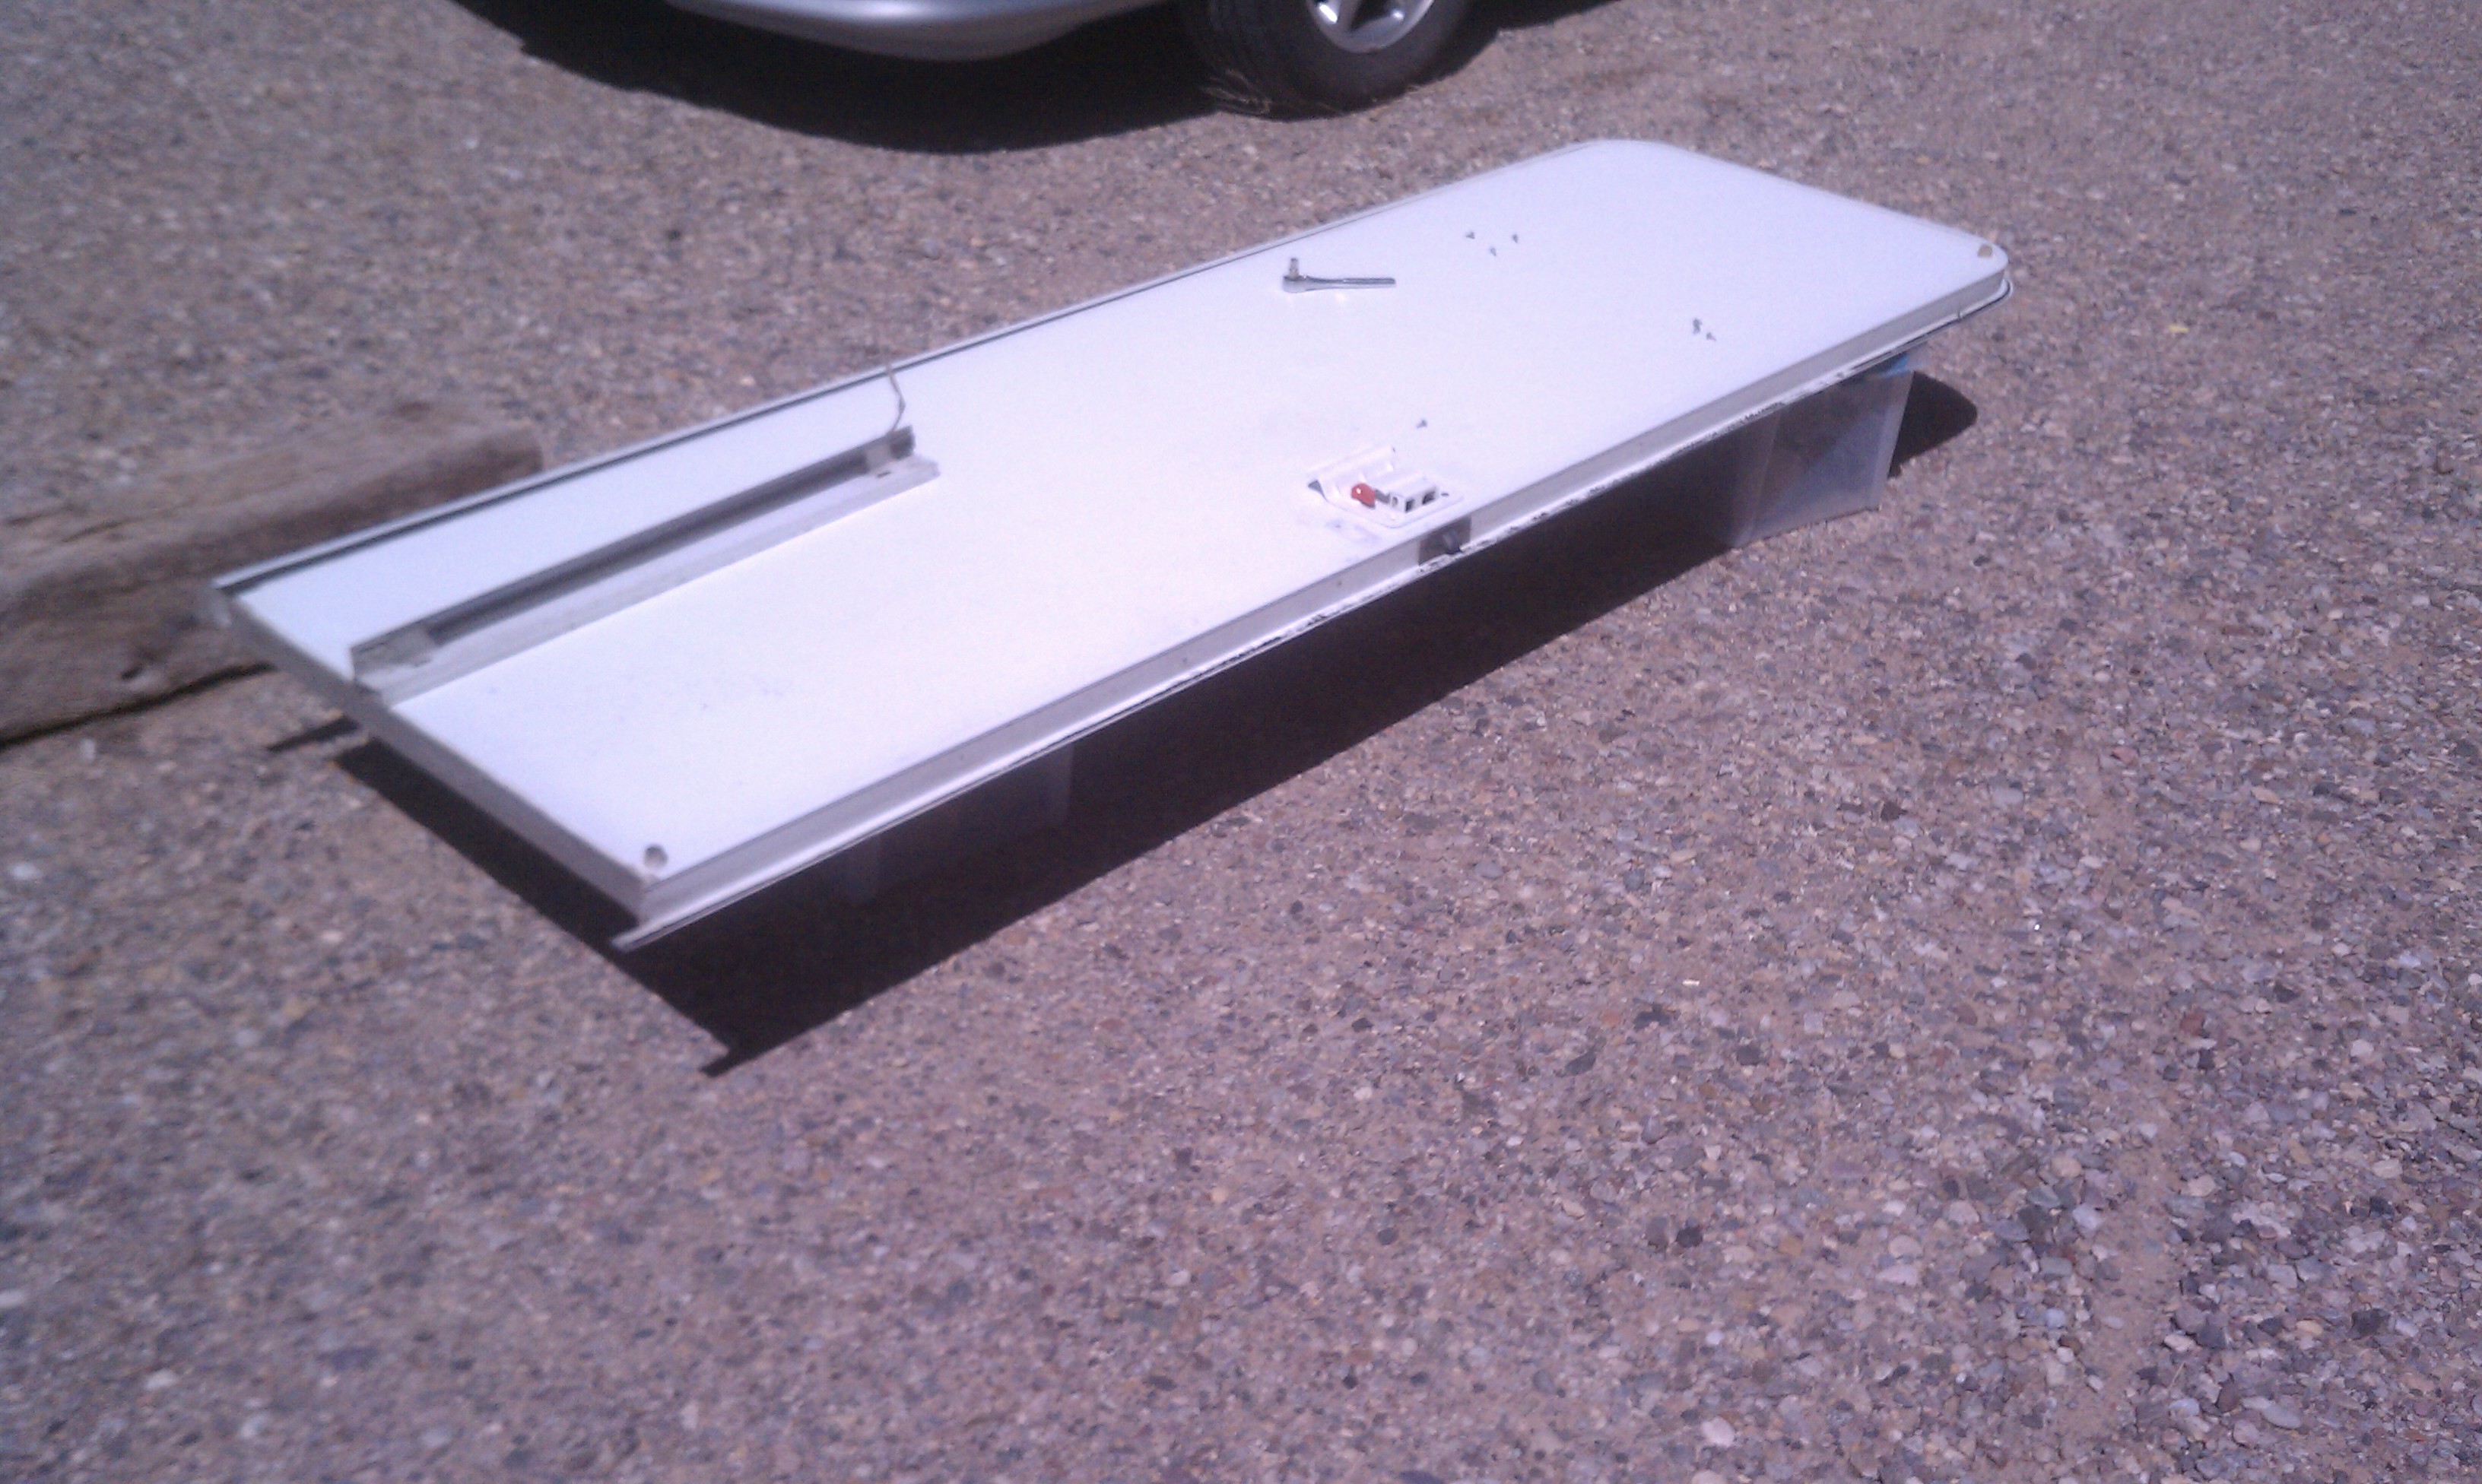
The door was then laid flat, and the trim ring removed. It’s in two pieces–a short piece across the bottom of the door, and another that bends around the other three sides. The inside skin was also removed. It had a number of scrapes and holes, so it was going to be replaced as part of the process and the interior of the door re-insulated. The old latch came off with a few screws–I didn’t take any pictures, though it should be pretty straightforward.
The new latch is a good bit bigger than the old one. We’re replacing the inside door skin, so we’re starting with a clean slate there. Enlarging the hole on the outside is a fairly simple task accomplished with a jigsaw, though be sure to cover the area with tape so the saw doesn’t leave any scratches behind. Before you start, make sure you’ve positioned the hole such that it will work with the existing cut-outs on the side of the door and door frame.

Now here’s where it gets a little more interesting. For the striker bolt to engage the bear claw, the trim around the outside of the door needs to be cut. This will weaken the door itself some, but at the same time we’re installing a much more reliable latch. In the end, the result should be a more secure door system.

Once you’ve got the holes cut out, assembling the latch is pretty simple. The latch itself goes into the door jamb and is held in place by a couple of screws.

Next, the outer handle is set in place, making sure that the outside handle moves the release arm on the latch mechanism (lower right). At this point, still holding the outside handle in place, push the latch jaws closed and pull the handle to make sure it releases.
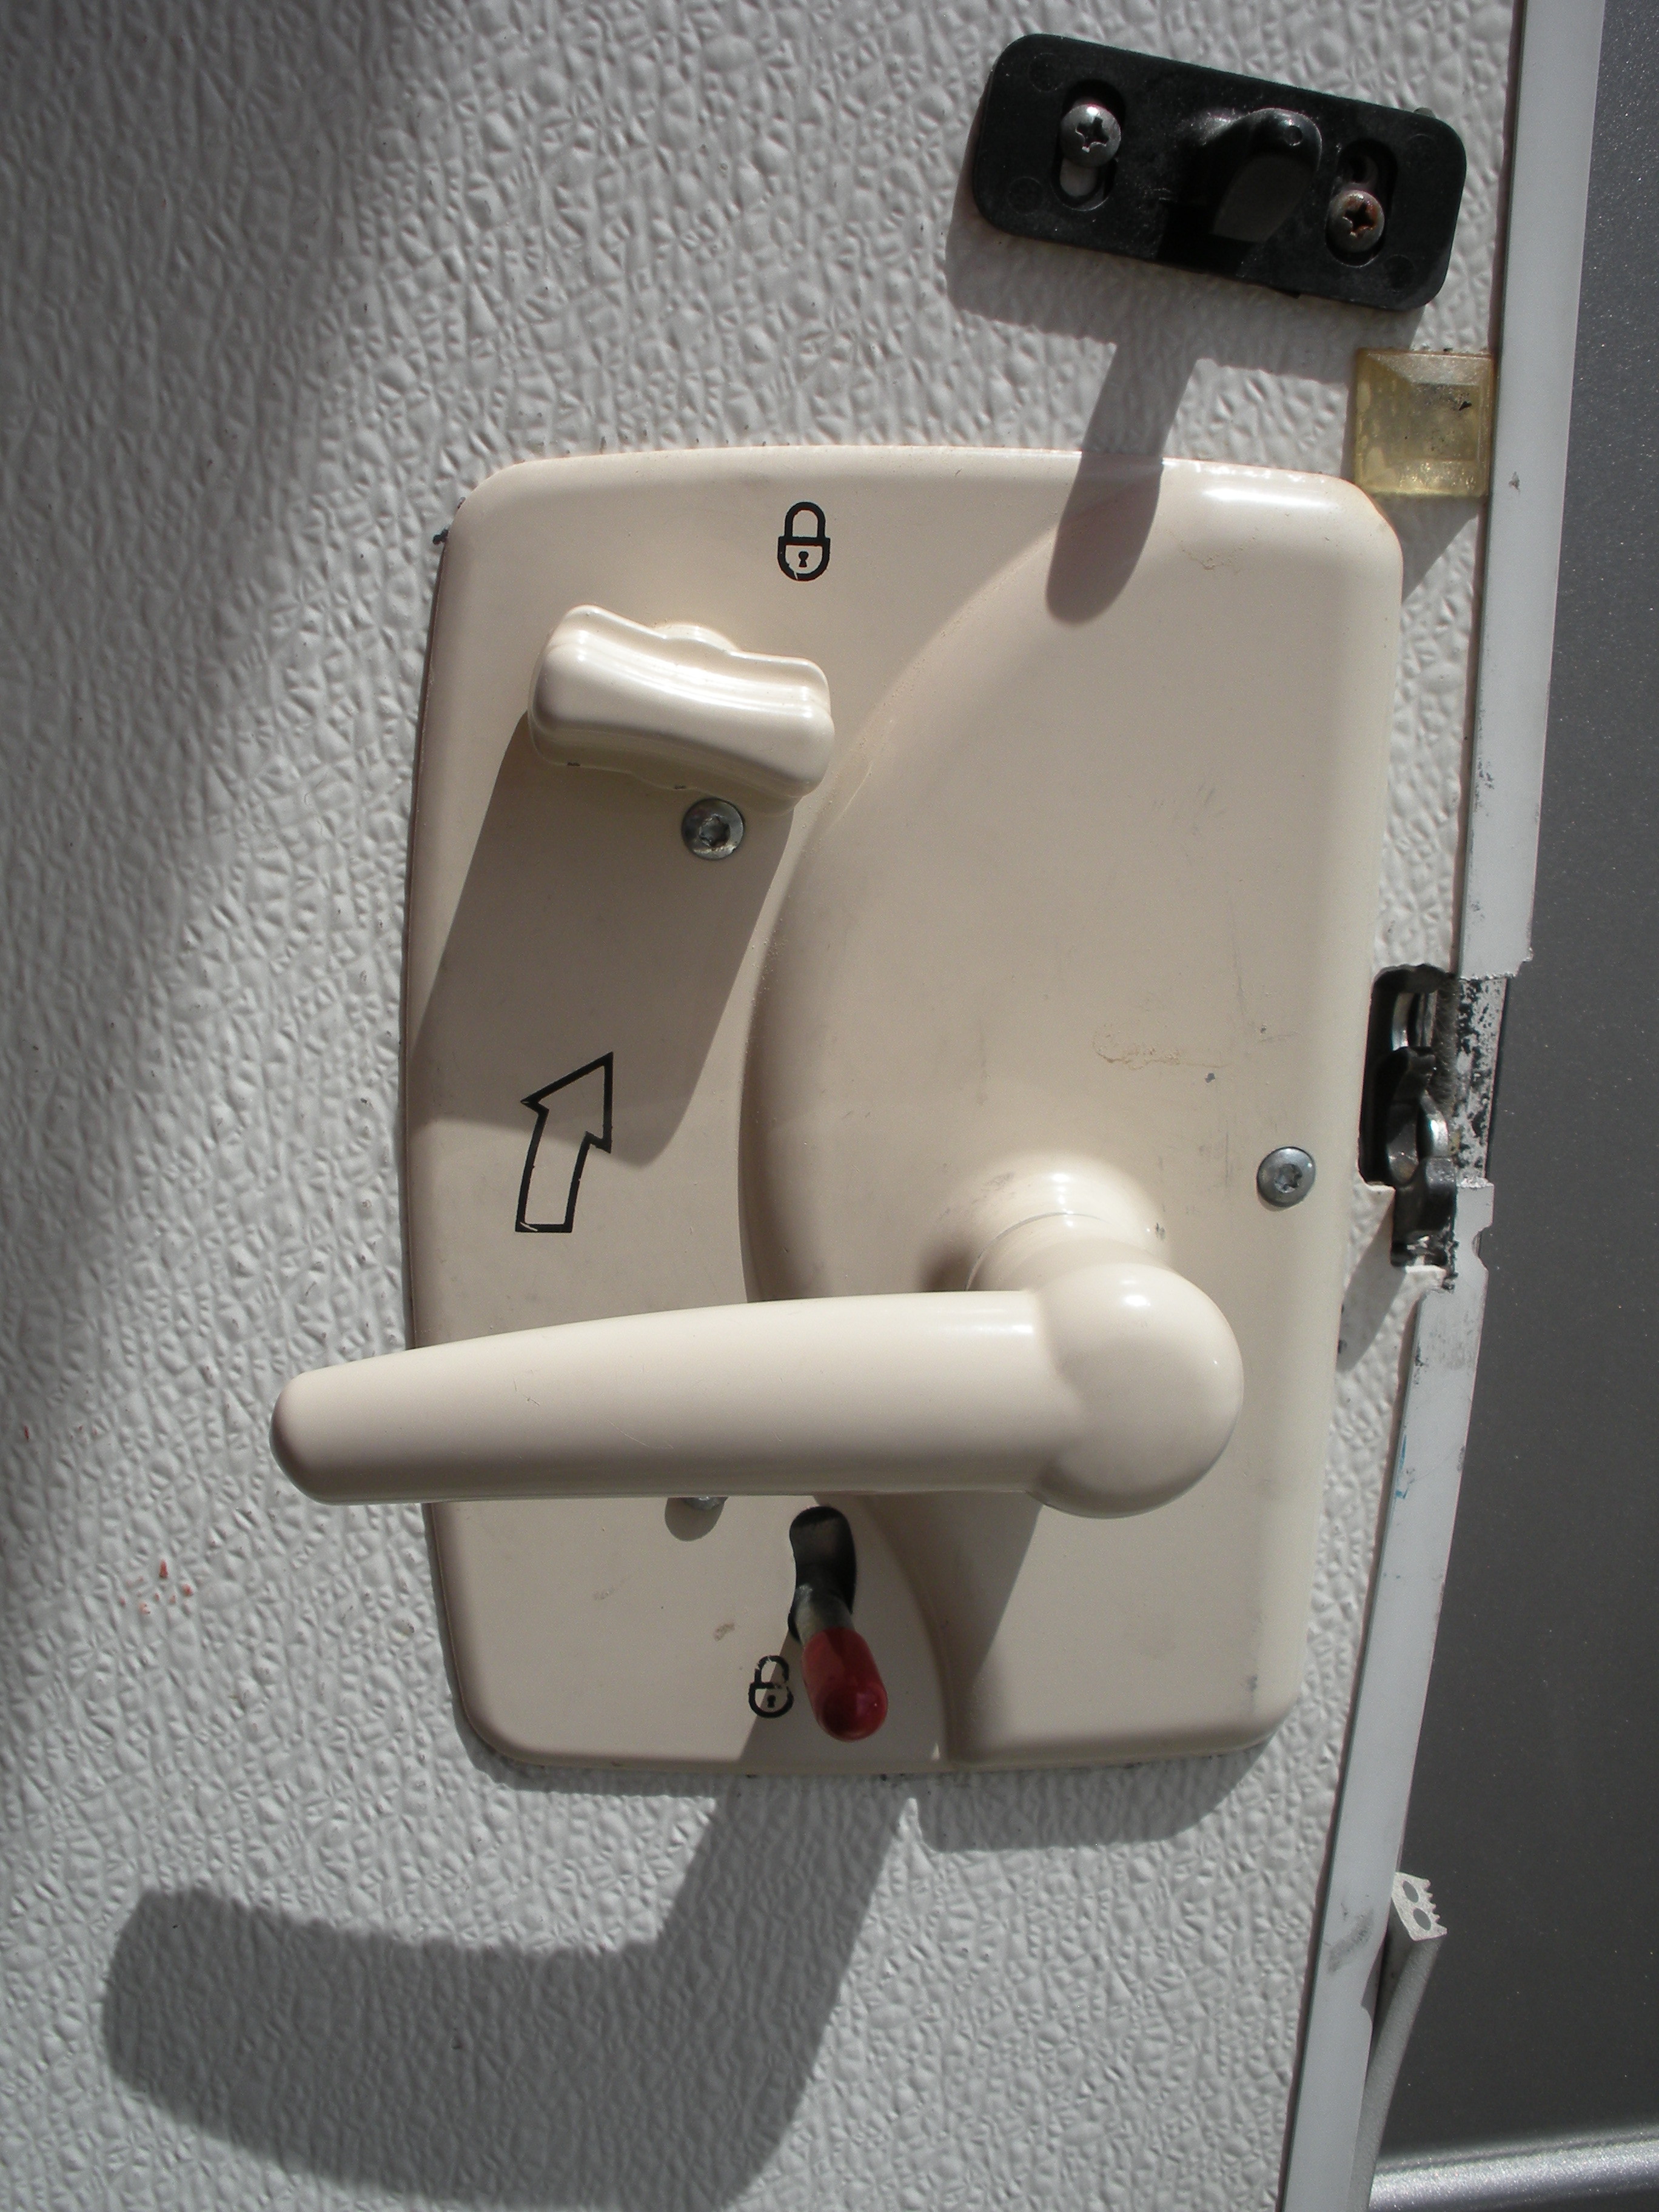
The inside handle slides onto the post for the deadbolt (which is part of the outside handle), and the handle lock lever fits through a slot at the bottom. If you’ve gotten them together right, the screw holes should already be lined up–put all three in, align the handles so they’re straight (not crooked like when I took these pictures), and tighten. Before you try closing the door, make sure it’s unlocked. It’s also not a bad idea to make sure you have another way in as well. Notice that the handle lock is in the locked (down) position…good thing there was another door for me to go in!
You have a little more flexibility on the door jamb. If there’s enough structure close enough (likely only on heavier, steel-framed motorhomes), you could potentially drill and tap a hole to match the striker bolt. Odds are you’ll have to use the striker bolt retaining plate, which in most cases will be the better solution anyway as it gives you some room for adjustment.
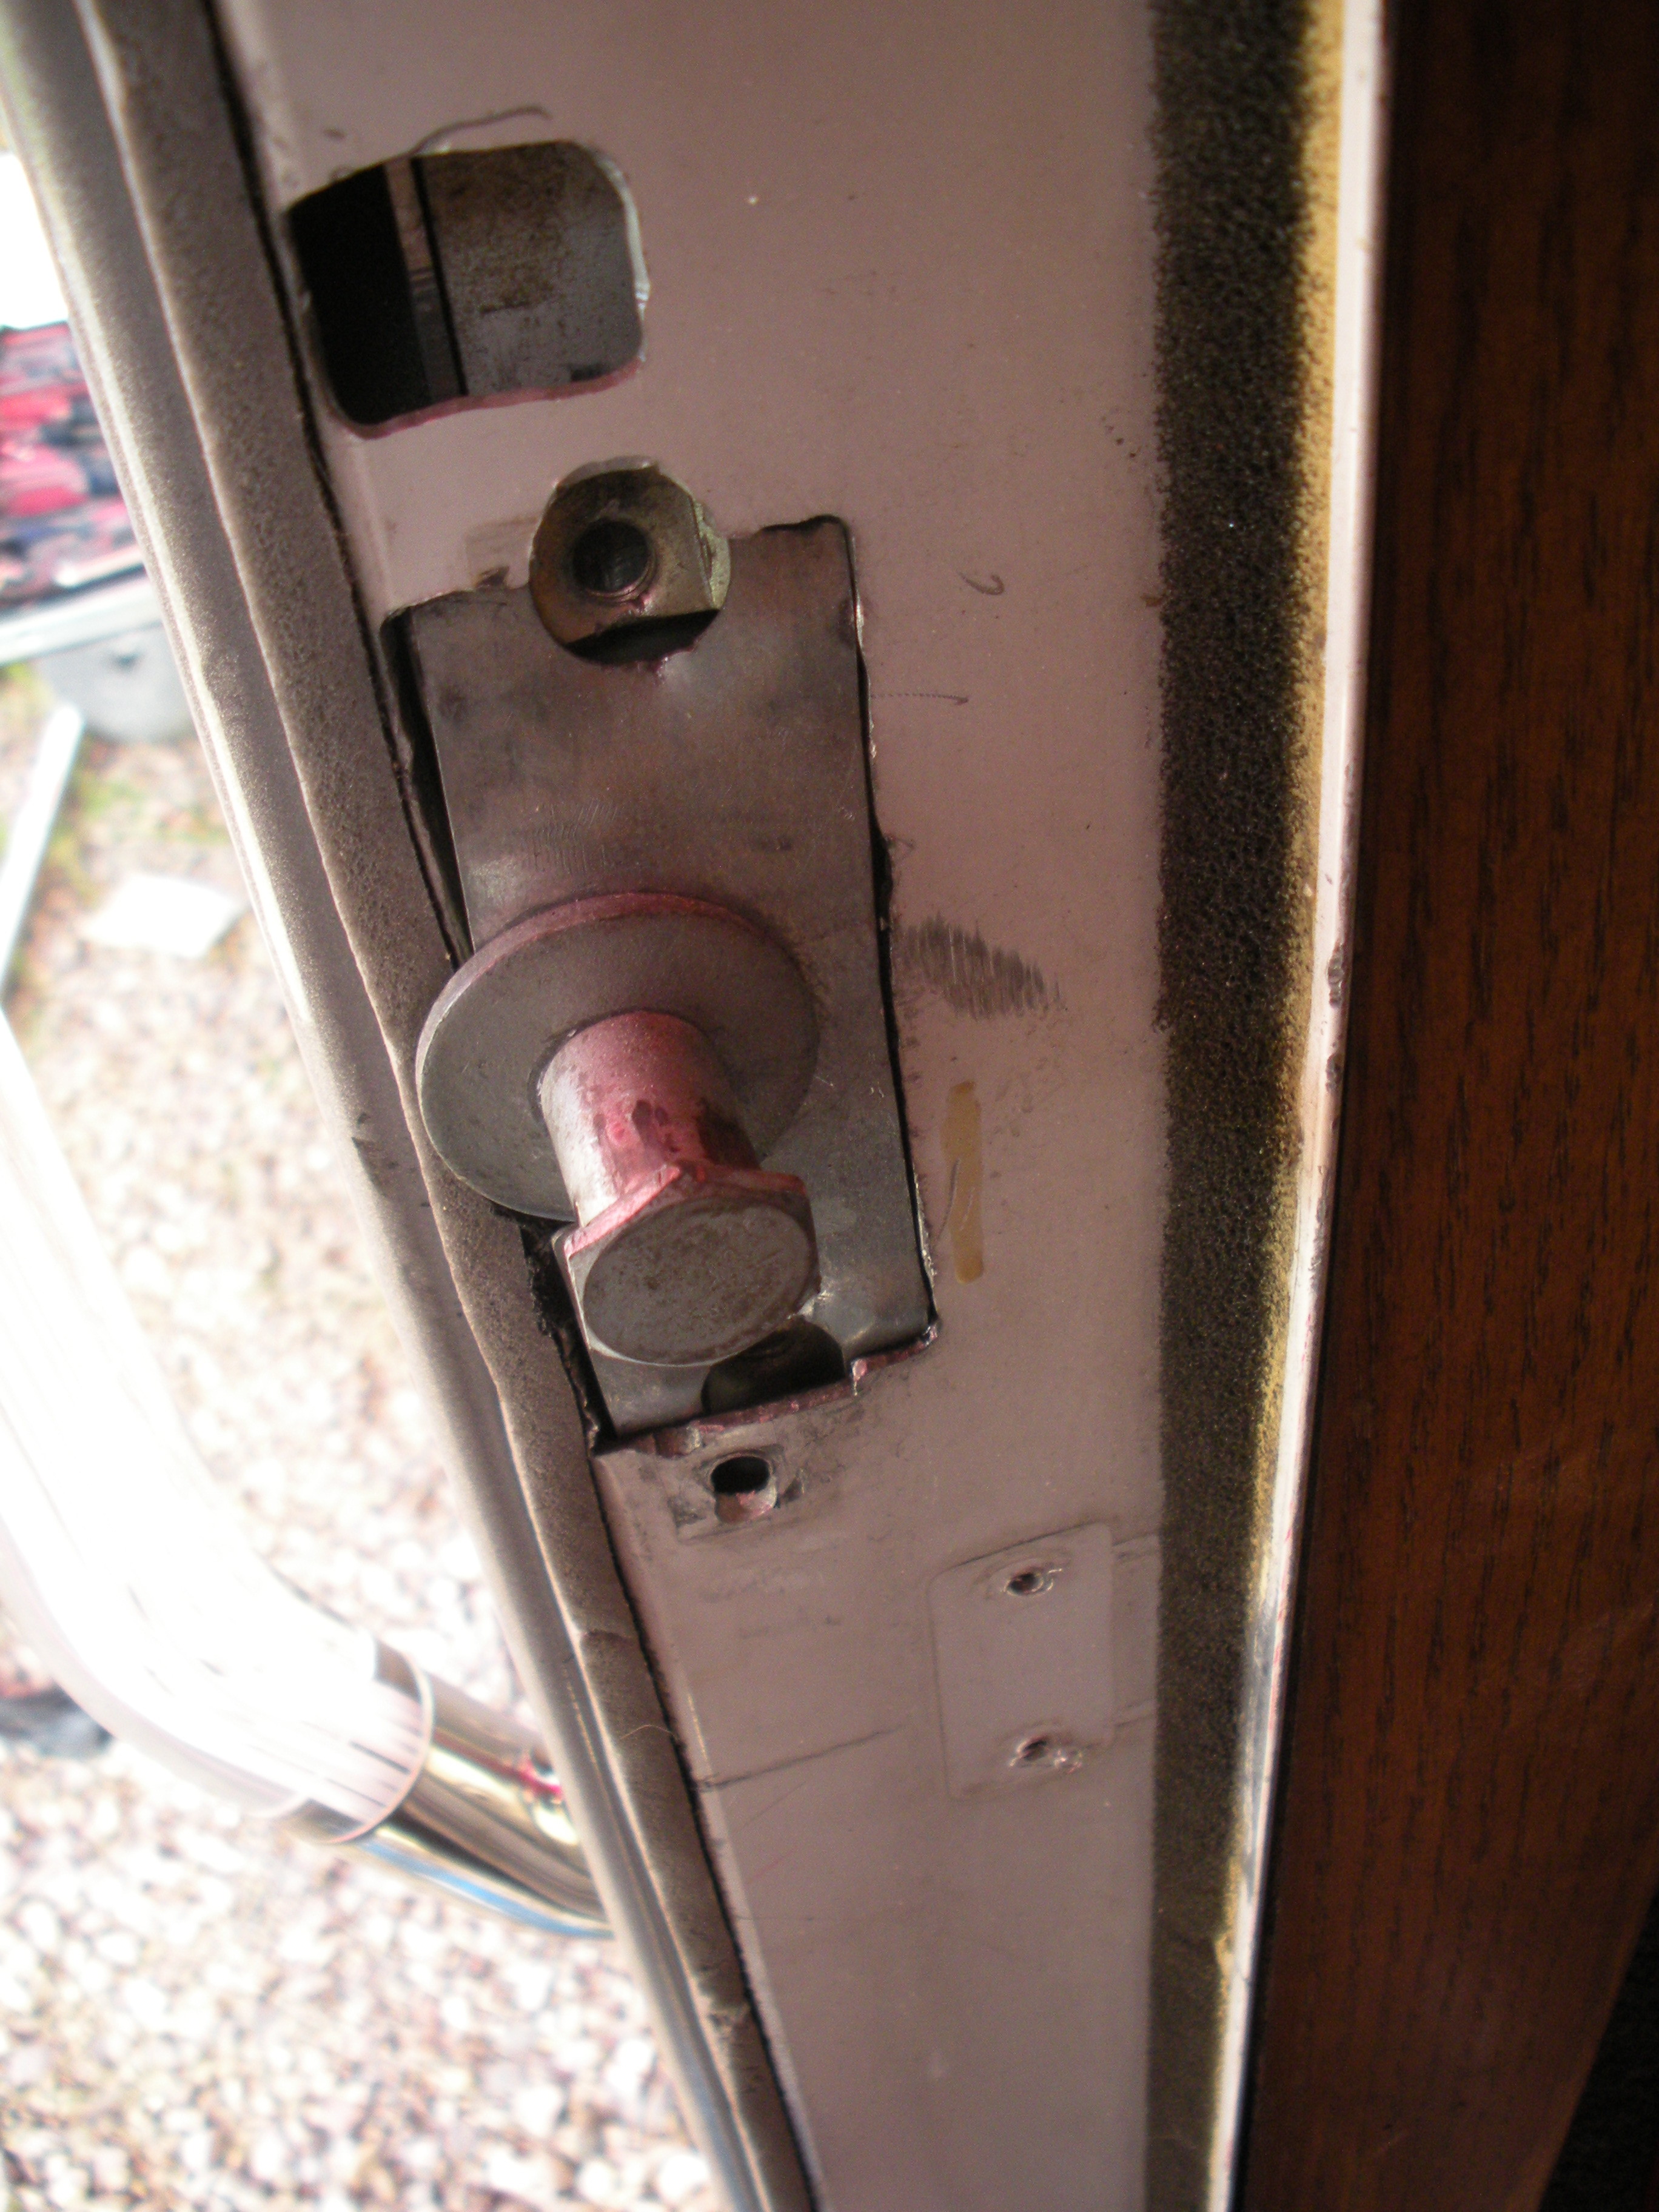
In my case, I used the retaining plate, and enlarged the hole enough that it could be tucked in. You’ll notice in the pictures that it’s not screwed in. On this door, there’s a steel tube just beyond the frame, and that retaining plate has been driven into place with a hammer. When the striker bolt is tightened, it wedges between the steel frame member and the door frame–you can hit the striker bolt with a sledgehammer as many times as you want and it won’t move. Even if it does, if the door’s closed, it won’t be able to open without releasing the latch.
After putting the door back on its hinges, it was time to eyeball the alignment between the bolt and latch. Adjustment up and down is pretty easy to get right by sight; the fore-and-aft adjustment is more of a trial-and-error process to get the door so that it readily latches when you shut it but still closes tightly.
In some cases, you may have to also trim the screen door frame to clear the striker bolt. If it interferes, I’d recommend taking it off until you’ve got everything else in place and adjusted, then you can mark it and make the cut based on the position of the striker bolt.
The only thing left to do is cut a hole in the door jamb for the deadbolt, which was pretty easy–mark it, drill a small pilot hole, then open it up with a Dremel tool and tungsten carbide bit.
This was completed in April, 2012. Locking is much more secure (the mechanism for actuating the deadbolt on the old latch was plastic!), the door hasn’t come open even on some really rough roads. It also no longer has the default key, so there’s some measure of security there.
In the future, I plan to add central locking, which this latch will support. Stay tuned…
-Dave
Please note that you take responsibility for your work when you modify your motor home. This article is meant as a guide to help you in your choices to improve your RV, and does not guarantee the performance of these modifications.