This has dragged on quite a while, and will probably continue to, but I thought it might make sense to post some comments on a number of smaller items so far in the project. Some are just notes on how I’ve done certain things, others are thoughts on what I’m planning. As always, comments and suggestions are appreciated!
Finishing
I’ve been asked how I have finished the cabinets–both what I’ve used and how it was applied. All of the wood used is a red oak–in the case of the wood used for the face frames and the plywood for the sides of the cabinets, it was purchased at Lowe’s. The cabinet doors and drawer fronts are also red oak, but supplied by Barker Door in Oregon.
I used an orbital sander (like this) to progressively sand all surfaces, starting with 120 grit, then 220 grit. Before a final pass with 320 grit, everything was wiped with a wet rag to raise the grain–this results in a smoother finish when stain is applied.
The stain used for these cabinets is Minwax’s Espresso. I found it on the shelves at Home Depot, but it can also be found online for about the same price. I tried their PolyShades all-in-one product, but wasn’t nearly as satisfied as with the separate stain and polyurethane. The stain was applied with a foam brush, and after sitting for about five minutes wiped with a paper towel. The stain doesn’t dry quickly–it needs a day or so before it’s ready for polyurethane. This caused a little bit of trouble at one point trying to get staining done when the weather wasn’t cooperating.
The polyurethane goes on pretty easily, but you do have to be careful to make sure you don’t go too thick and get runs. A couple of hours between coats is all that’s needed for this to dry. To get a smooth finish, a very light rub with 000 steel wool between coats knocks down any bubbles/bumps. For most parts of the project, I put on 3 coats of polyurethane.
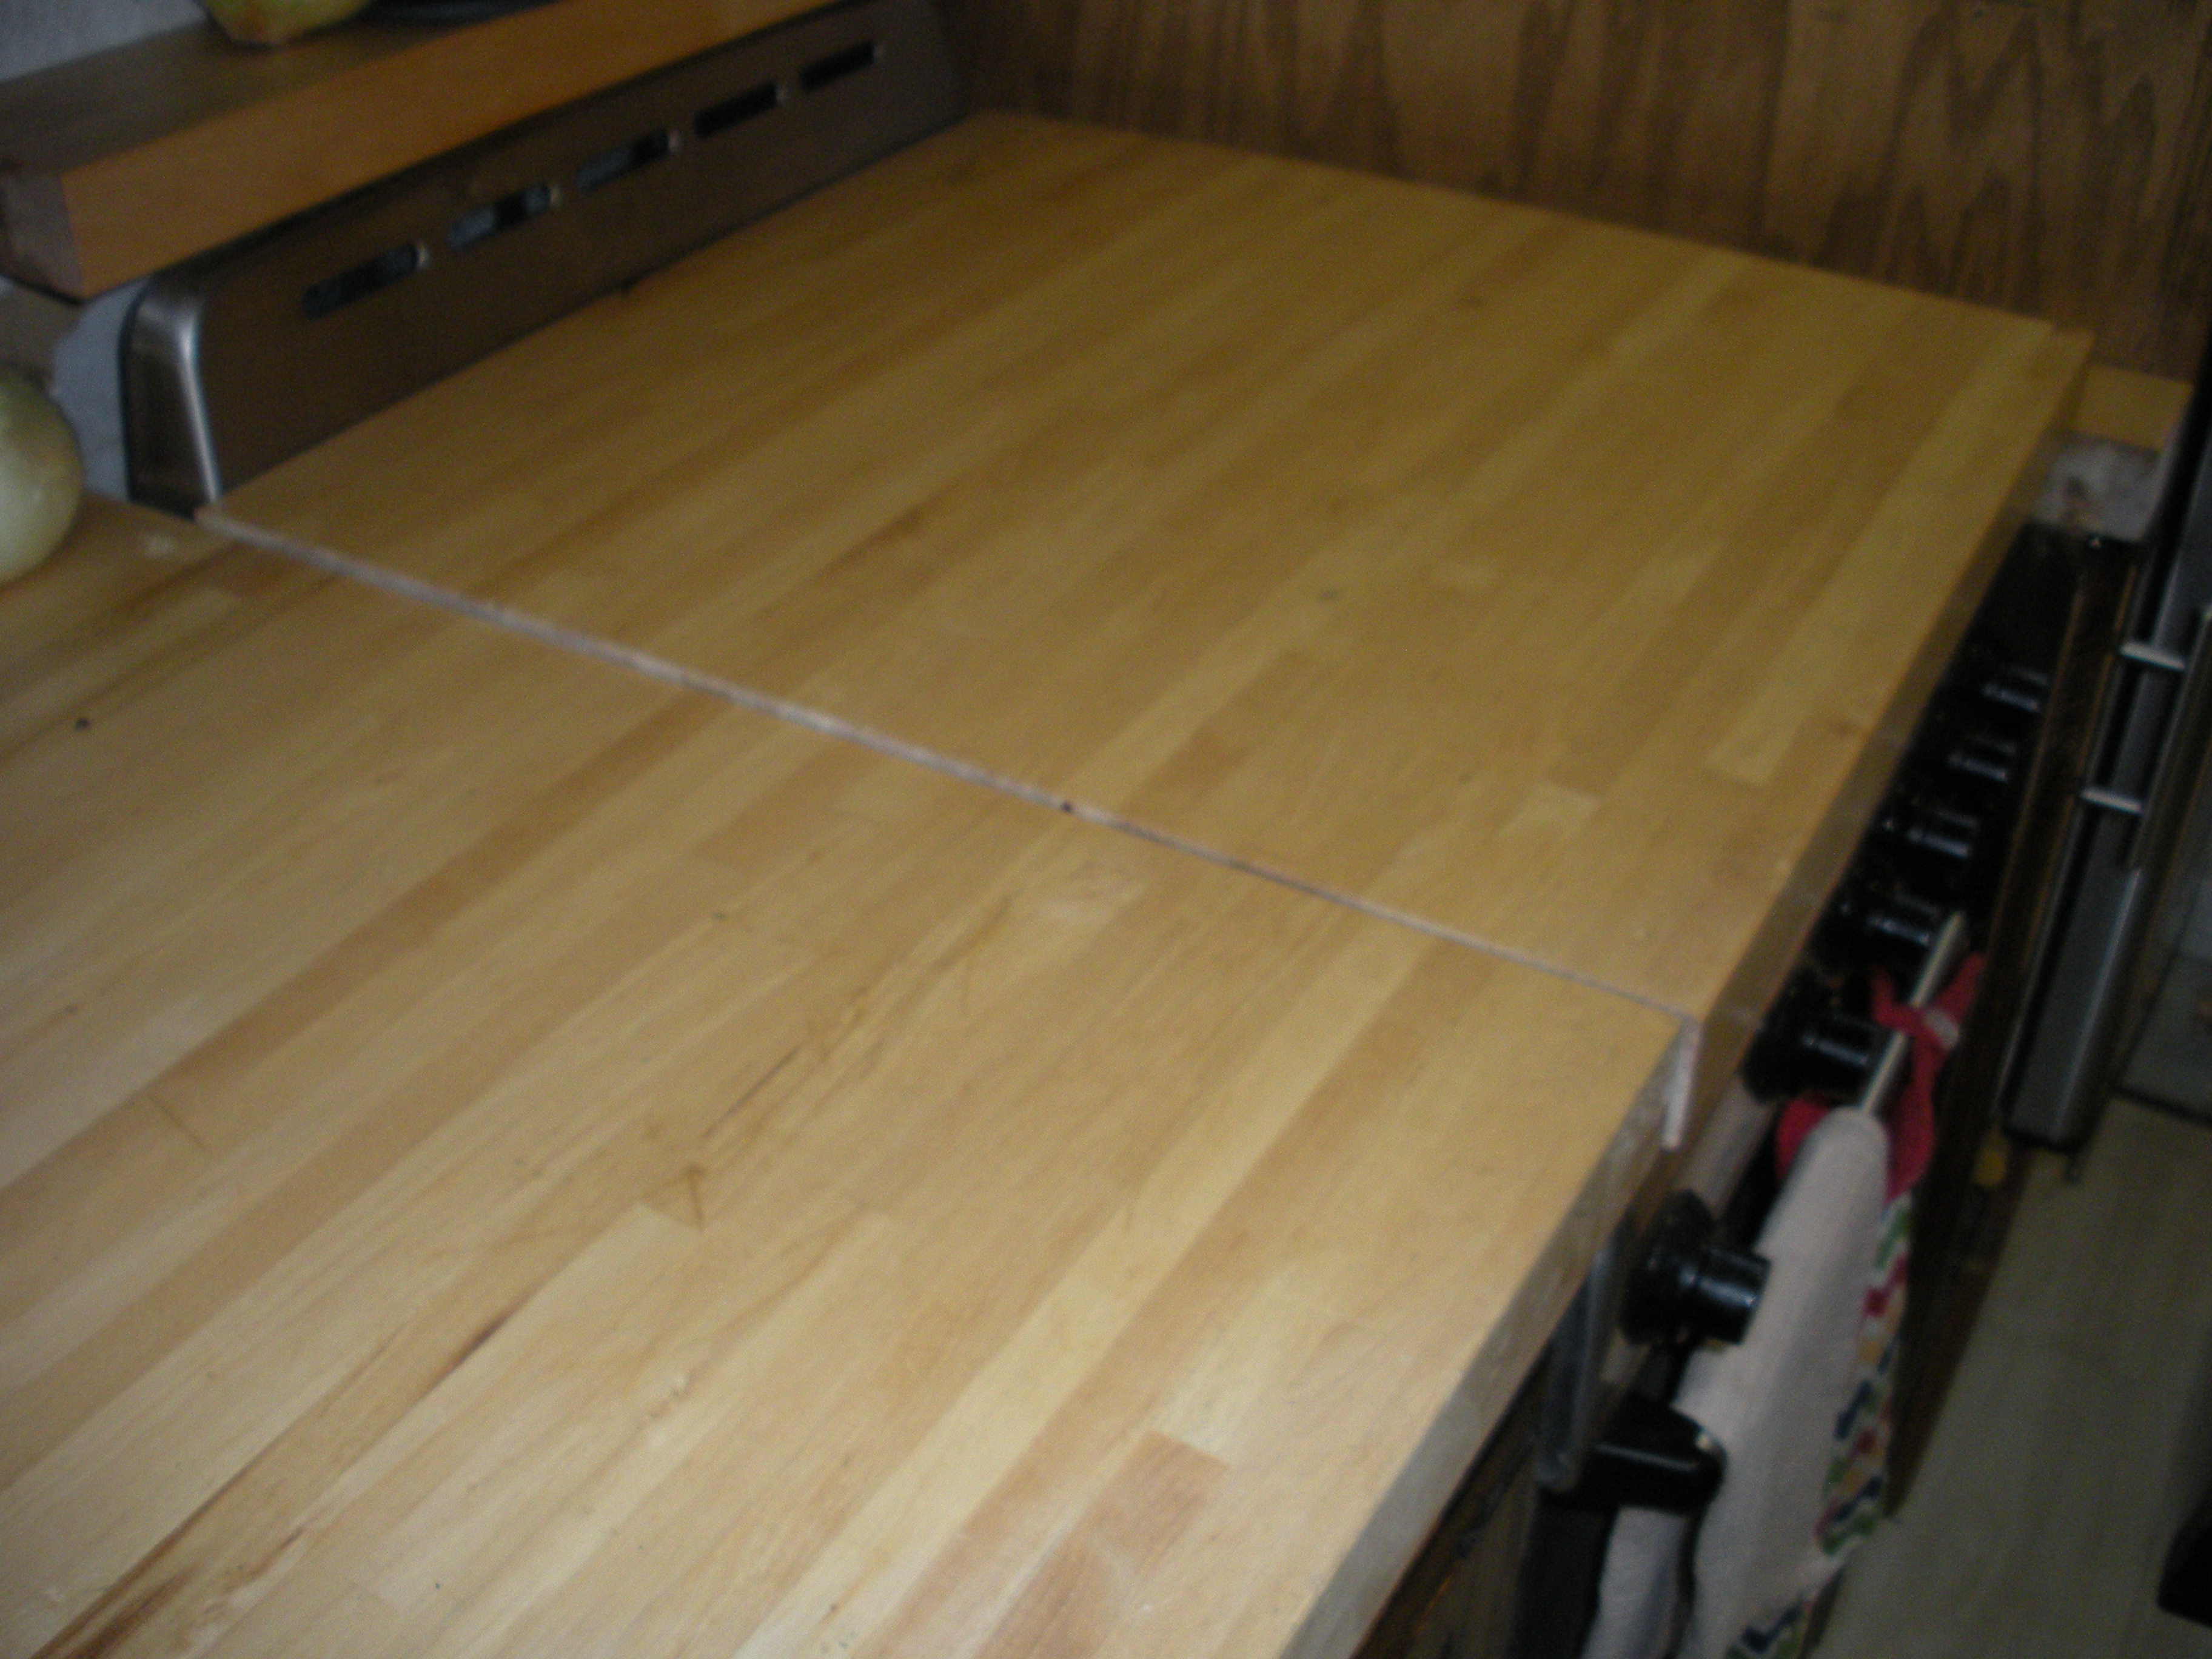
Stove cover
This is one part of the project that took a lot more effort than I expected. I wanted
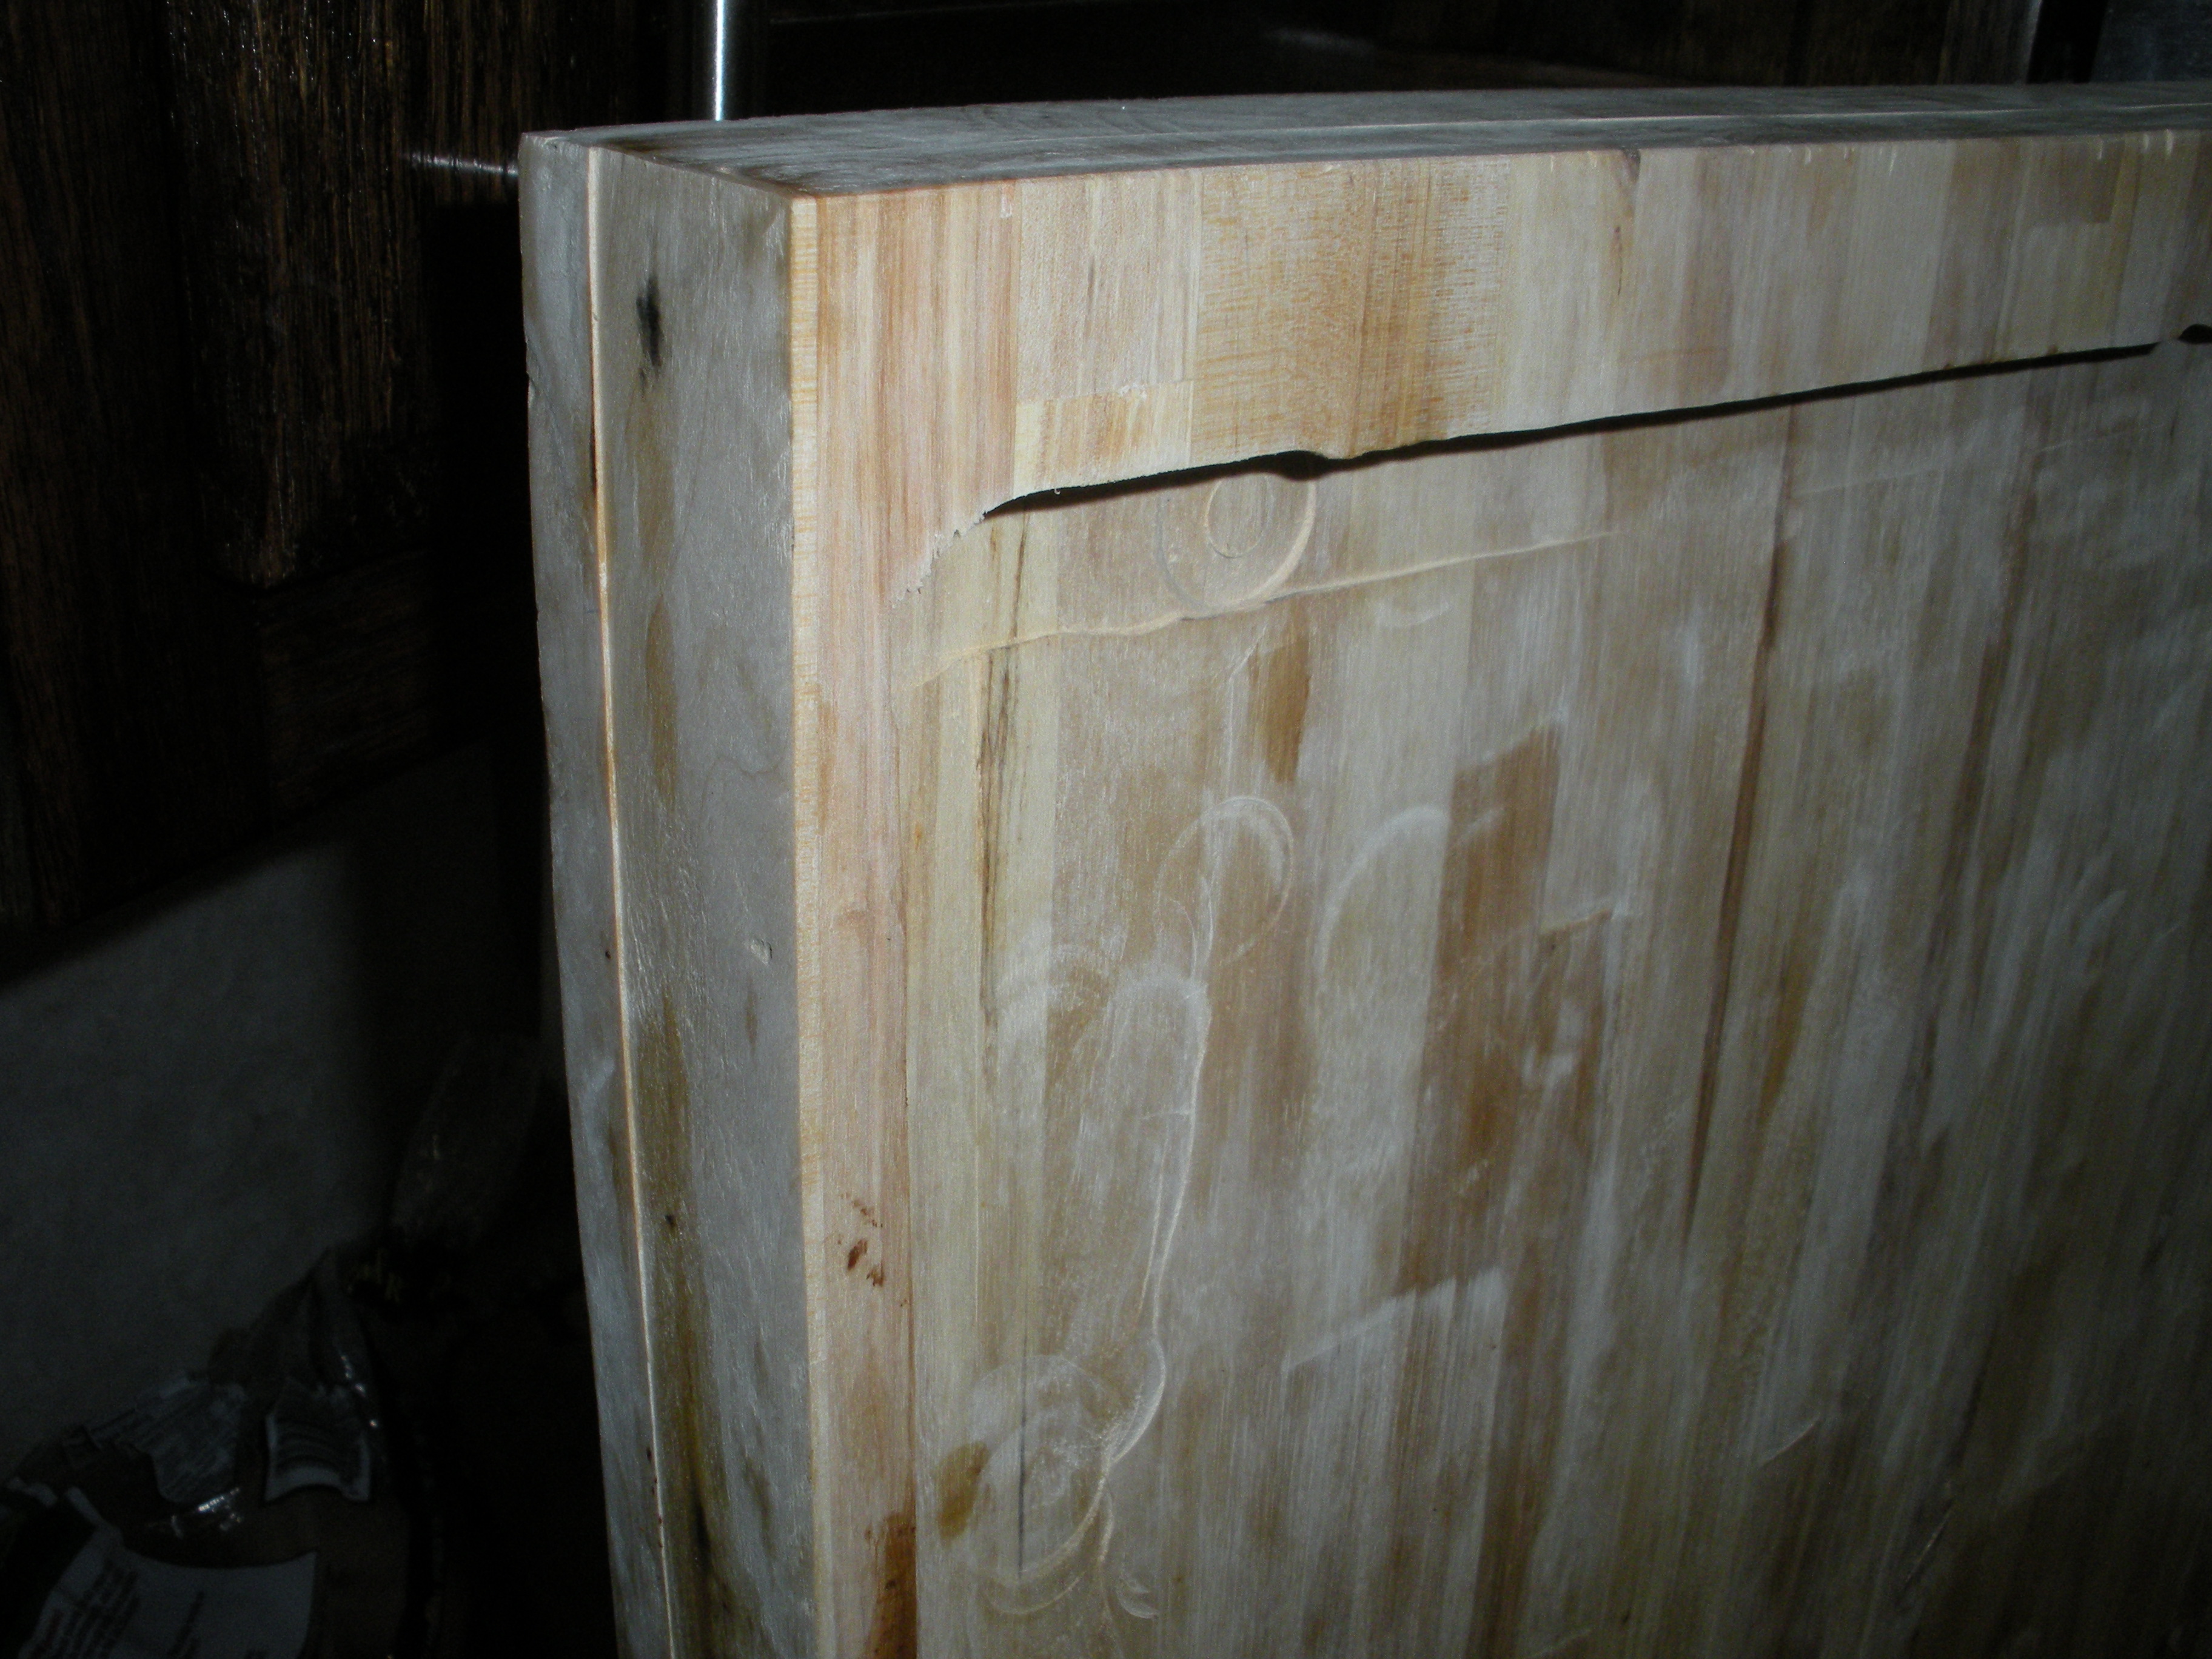
the stove cover to sit level with the countertop, and to fit over the grating so that it wasn’t inclined to slide around while driving. That meant a lot of work routing out about 1″ across most of the underside of the cover. This probably took several hours, but I’m happy with the result:
Ceiling trim
Haven’t quite figured out what I’m doing here. I left myself enough room at the top of the cabinets to do a small soffit (mainly to cover some of the holes from the old cabinets), which I plan to add lighting to. Just haven’t done it, and haven’t decided what I want it to look like.
I also need to figure out how to clean the ceiling. It has a fine layer of what I think is diesel soot, and is a royal pain to get free. I’ve gotten a few sections clean with a lot of work, which ends up making it worse by highlighting how dirty the rest of it is!
Floors
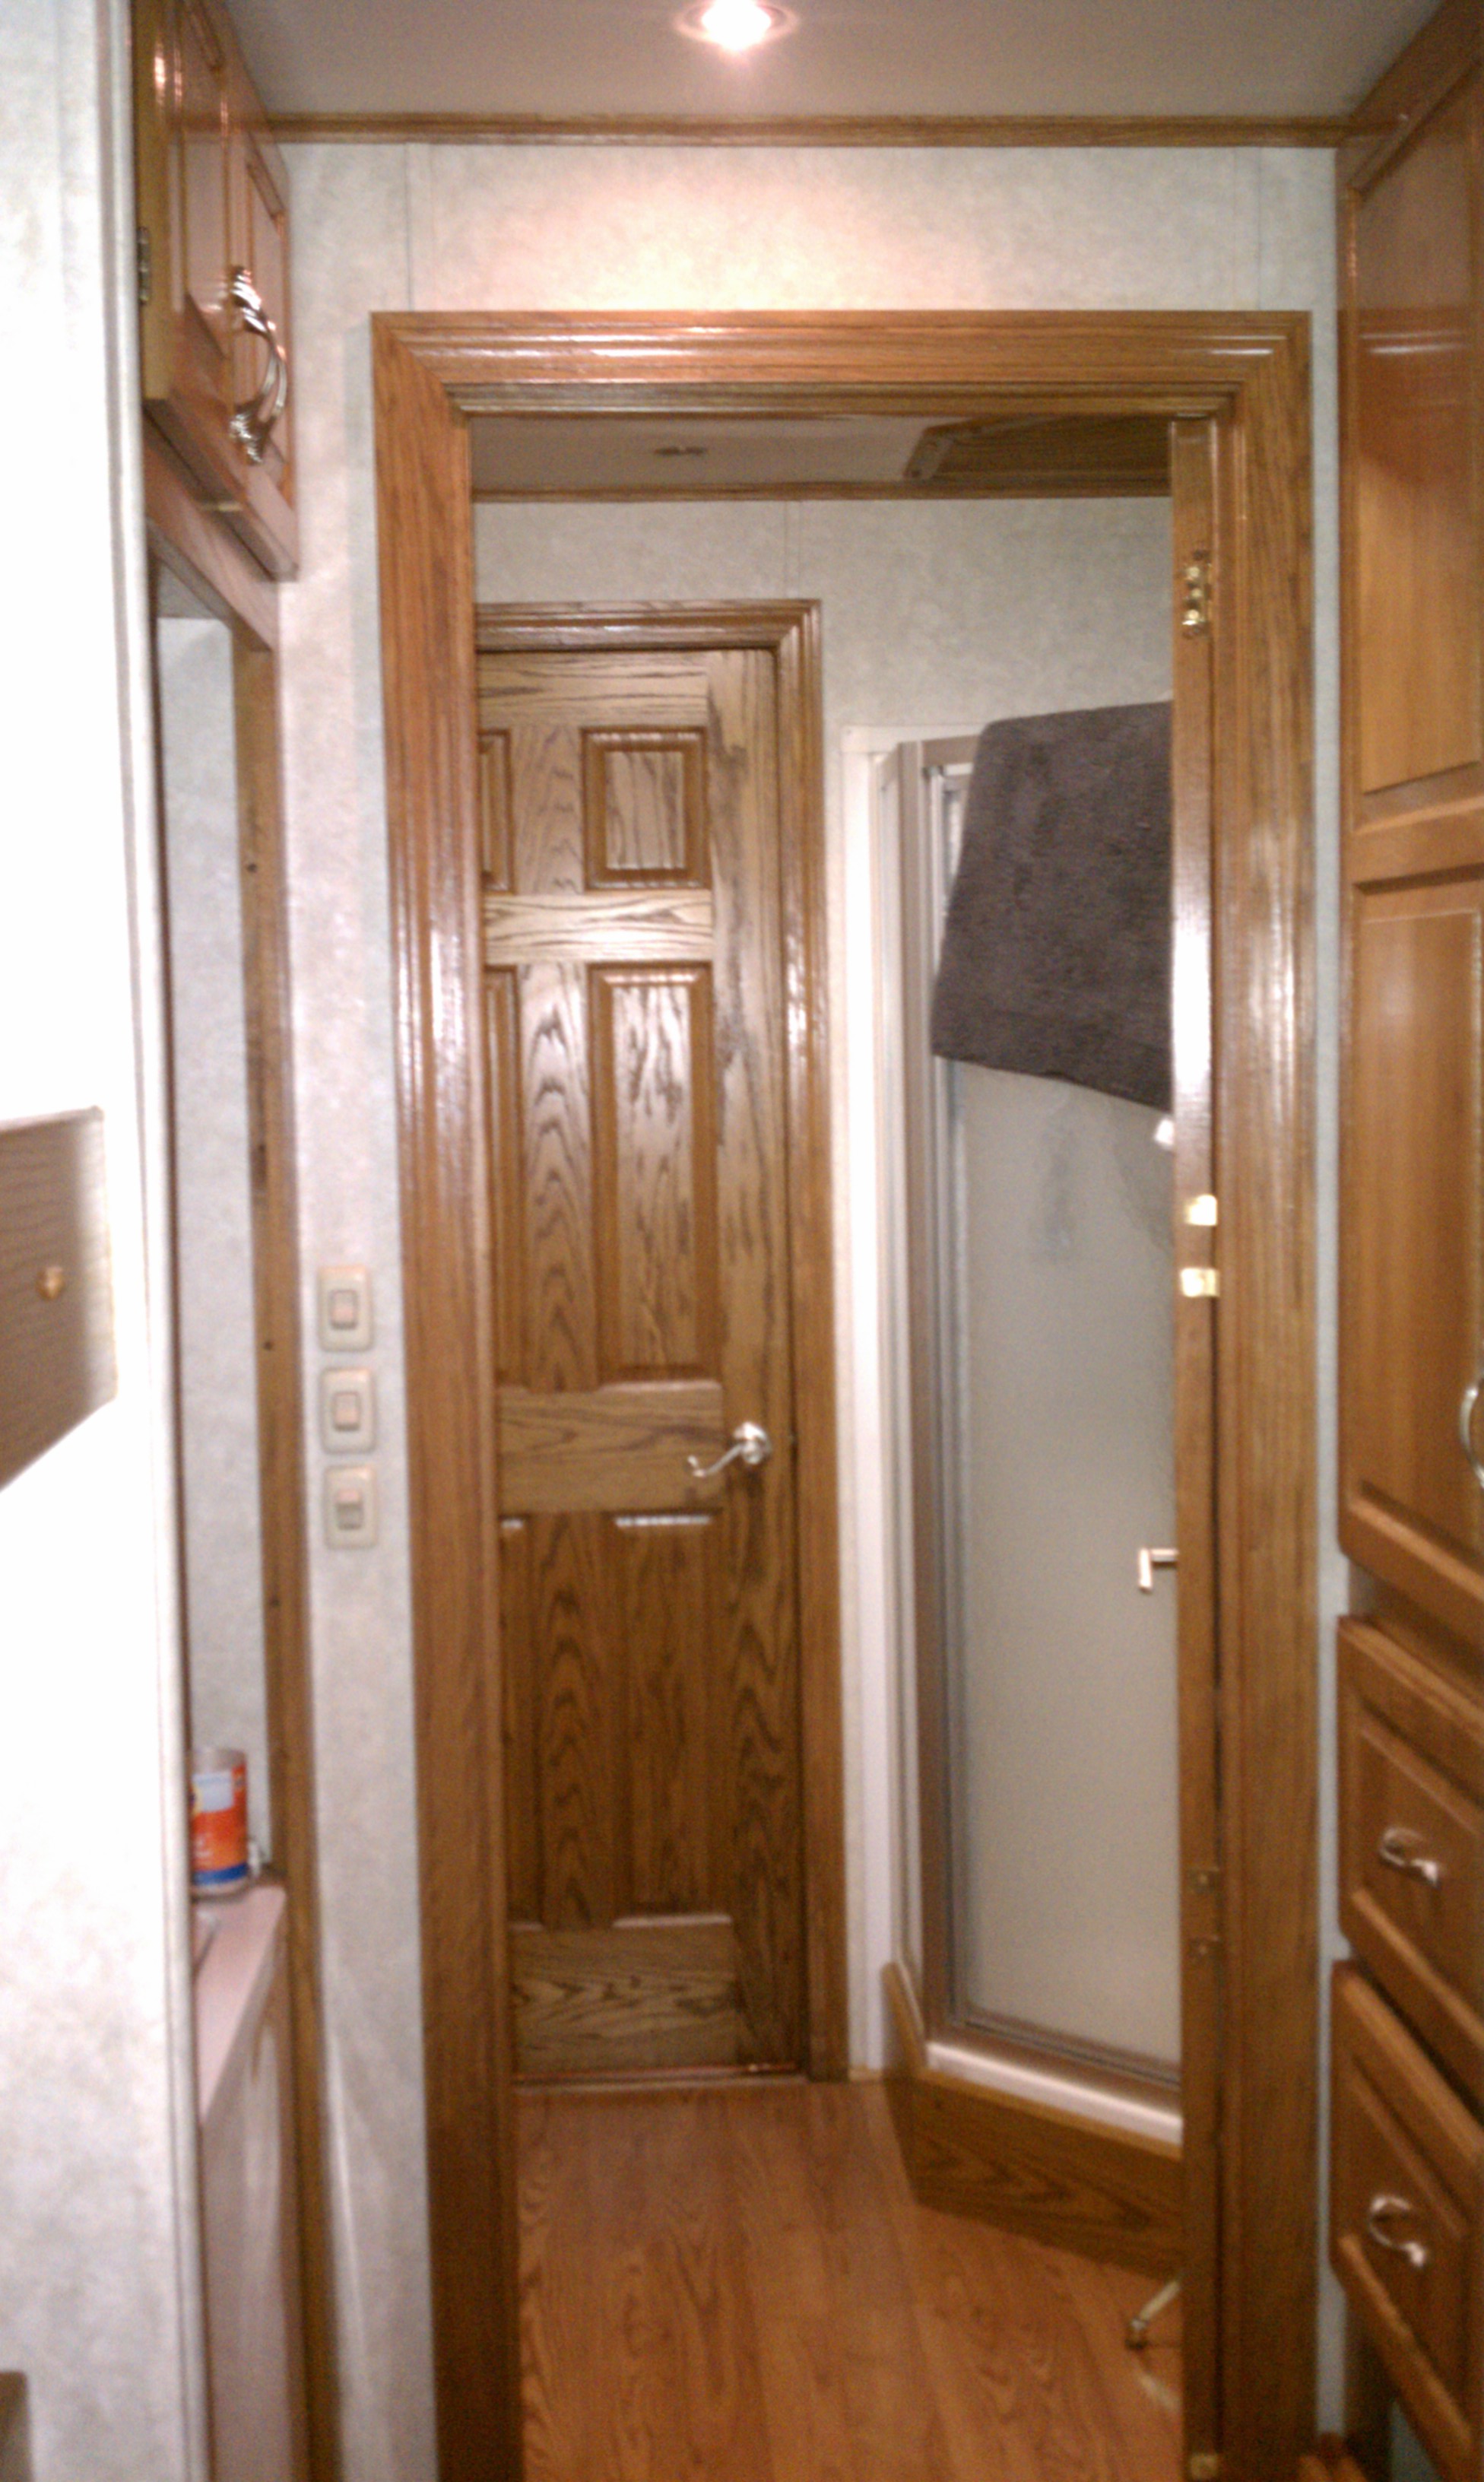
The floors were actually the first project, tied in with replacing the shower stall. I used Allure Aspen Oak click-lock vinyl plank flooring, bought at Home Depot. It’s more expensive than the laminate planks, but being solid vinyl is way more tolerant of moisture. I’d had problems in the bathroom with the pressboard swelling from drips from the shower door and wet feet.
I didn’t take any pictures during the process, but here are a couple of pictures before and after in the bathroom.
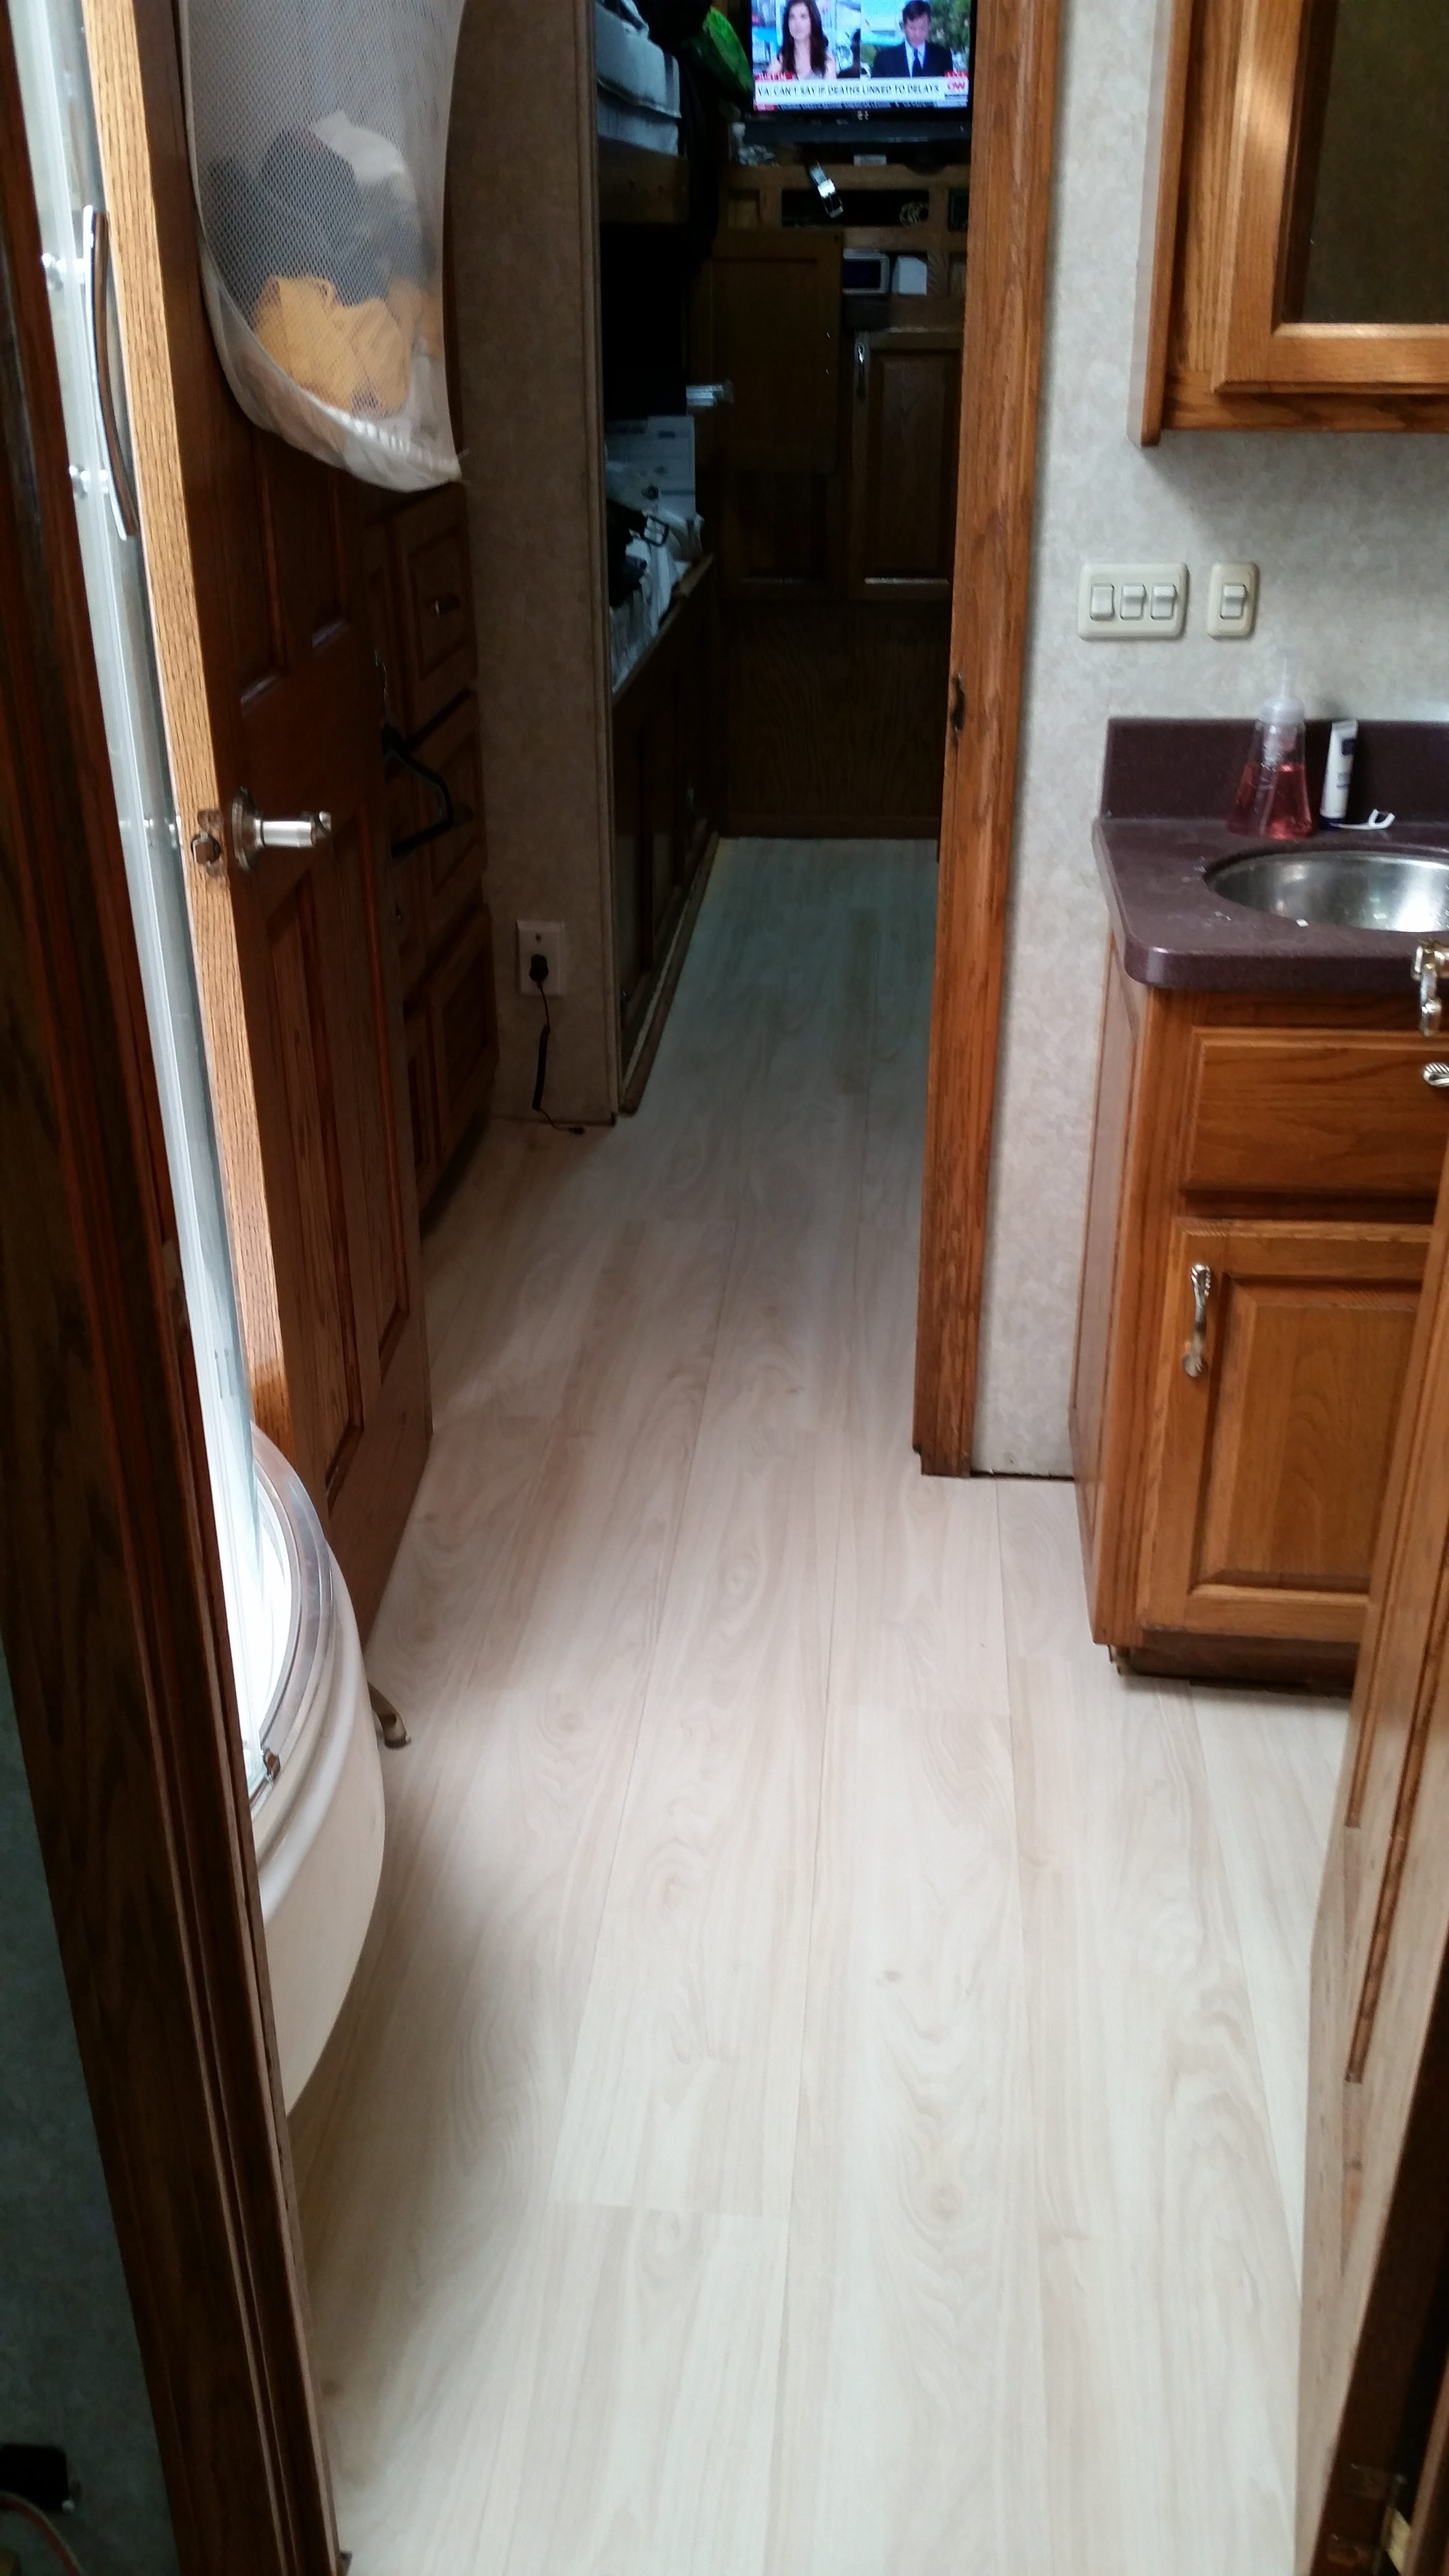
These floors have held up really well, and I think they do a good job lightening things up and providing contrast with the darker cabinets.
That’s all for now, but hopefully the next few posts won’t take so long!
Looking good! Great job!
WOW, that is beautiful! What backsplash finishes have you narrowed it down to? I put in a very thin copper metal on ours and it provided the warmth I was looking for. That was 4 yrs ago and so far I haven’t changed it yet. hahaha
I really haven’t narrowed it down much. I’d definitely be interested in the copper you used–I was thinking about something easy like the peel-and-stick stuff, but am leaning toward stainless steel tiles right now. It’s been almost a year with nothing, so I’m obviously not in a hurry!
Look at Fasade panels. You can order free samples, free shipping, and GREAT pricing from DIYdecorstore com. https://diydecorstore.com/?gclid=CjwKEAjw1Iq6BRDY_tK-9OjdmBESJABlzoY7s3-PvokLn5ofTbBz-jc6aMK6Iz0BM5wFNm4Kkajm-hoC9fzw_wcB
Lots of ideas there! Thanks!