Since there was so much stuff out of the way, it seemed like a good time to get rid of some nasty looking wallpaper in the bedroom. Every attempt at cleaning got a little dirt off, but it just never looked clean. A few coats of primer and paint can’t hurt.
Here’s what it looked like before:
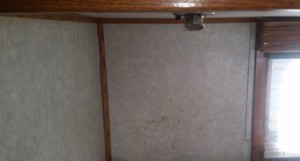
Before paint.And after a couple of coats of primer:
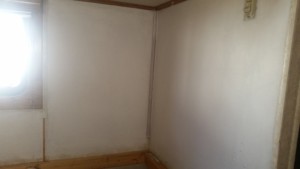
By this point, the floor wasn’t too wet any more, but it still had a ways to go. Somewhere along the way, I worked my way around the plumbing, trying to cut the carpet as close to the wall as I could.
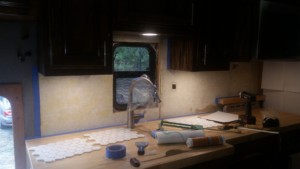
In the middle of this, I also decided to finally put up the backsplash in the kitchen, but I’ll do a separate post on that later. Here’s a teaser:
Now back to plumbing. I’ve grown to like PEX tubing, and the steel crimp rings that have overlapping bands. It’s easy to see at a glance that you have a good crimp, and the tool isn’t too expensive. Here’s what I have:

I bought mine at Lowe’s some time ago, and if memory serves me correctly, I paid closer to $50. I just went to look for a picture and link for the crimp rings, and I’m cringing at how much more I paid locally–$15 for a 25-pack at Lowe’s, $35 for 100 on Amazon. I lost count, but I used most of two 25-packs of crimp rings, which should give you a feel for the amount of re-plumbing that occurred.
Most of the brass fittings and all of the valves from the old configuration were reused. The nice thing about the crimp rings I linked is that a side cutter can get them free. The copper rings take more work, and the tool has to wrap around the pipe, which would have been difficult in the space I had.
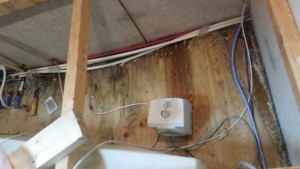
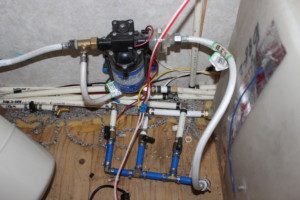
In the picture above, you can see the plumbing starting to come together. The drain line from the tank on the right will continue to the tee over towards the left, stopping along the way to supply the pump. The three valves connected to blue pipe control flow to the pump from each tank, and you can see the first of 2 drain valves installed toward the left. Note that I’ve started to label the lines–it’s too easy, and will make it easy in the future to figure out what’s going on.
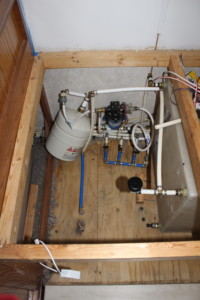
Now it’s more or less all finished up, except for a few loose ends tying all of the pipe. The round black thing on the overflow line at the front of the tank is a vacuum breaker, to prevent siphoning when the tank is overfilled. This was a problem previously, as it would sometimes siphon nearly half of the water out before drawing in air.
The way everything is set up now, with the drain and pump supply sharing the same tank outlet, I’m able to connect the pressure sensor directly to the tank (lower front corner), in a position a little less vulnerable than before. After a check for leaks, it was time to fill the tank and get back to normal.
But I have plans for reconfiguring the side wall of the bed platform. There’s going to be a little more open space, and a shelf for boots/shoes in a previously inaccessible space. More on that next time!
You can get the bands at Home Depot. They don’t sell the crimpers. Lowes sells the crimpers but not the bands.
That’s odd. I bought both at Lowe’s.